9. Printing the object
It’s time to work your “mojo” on the Mojo!
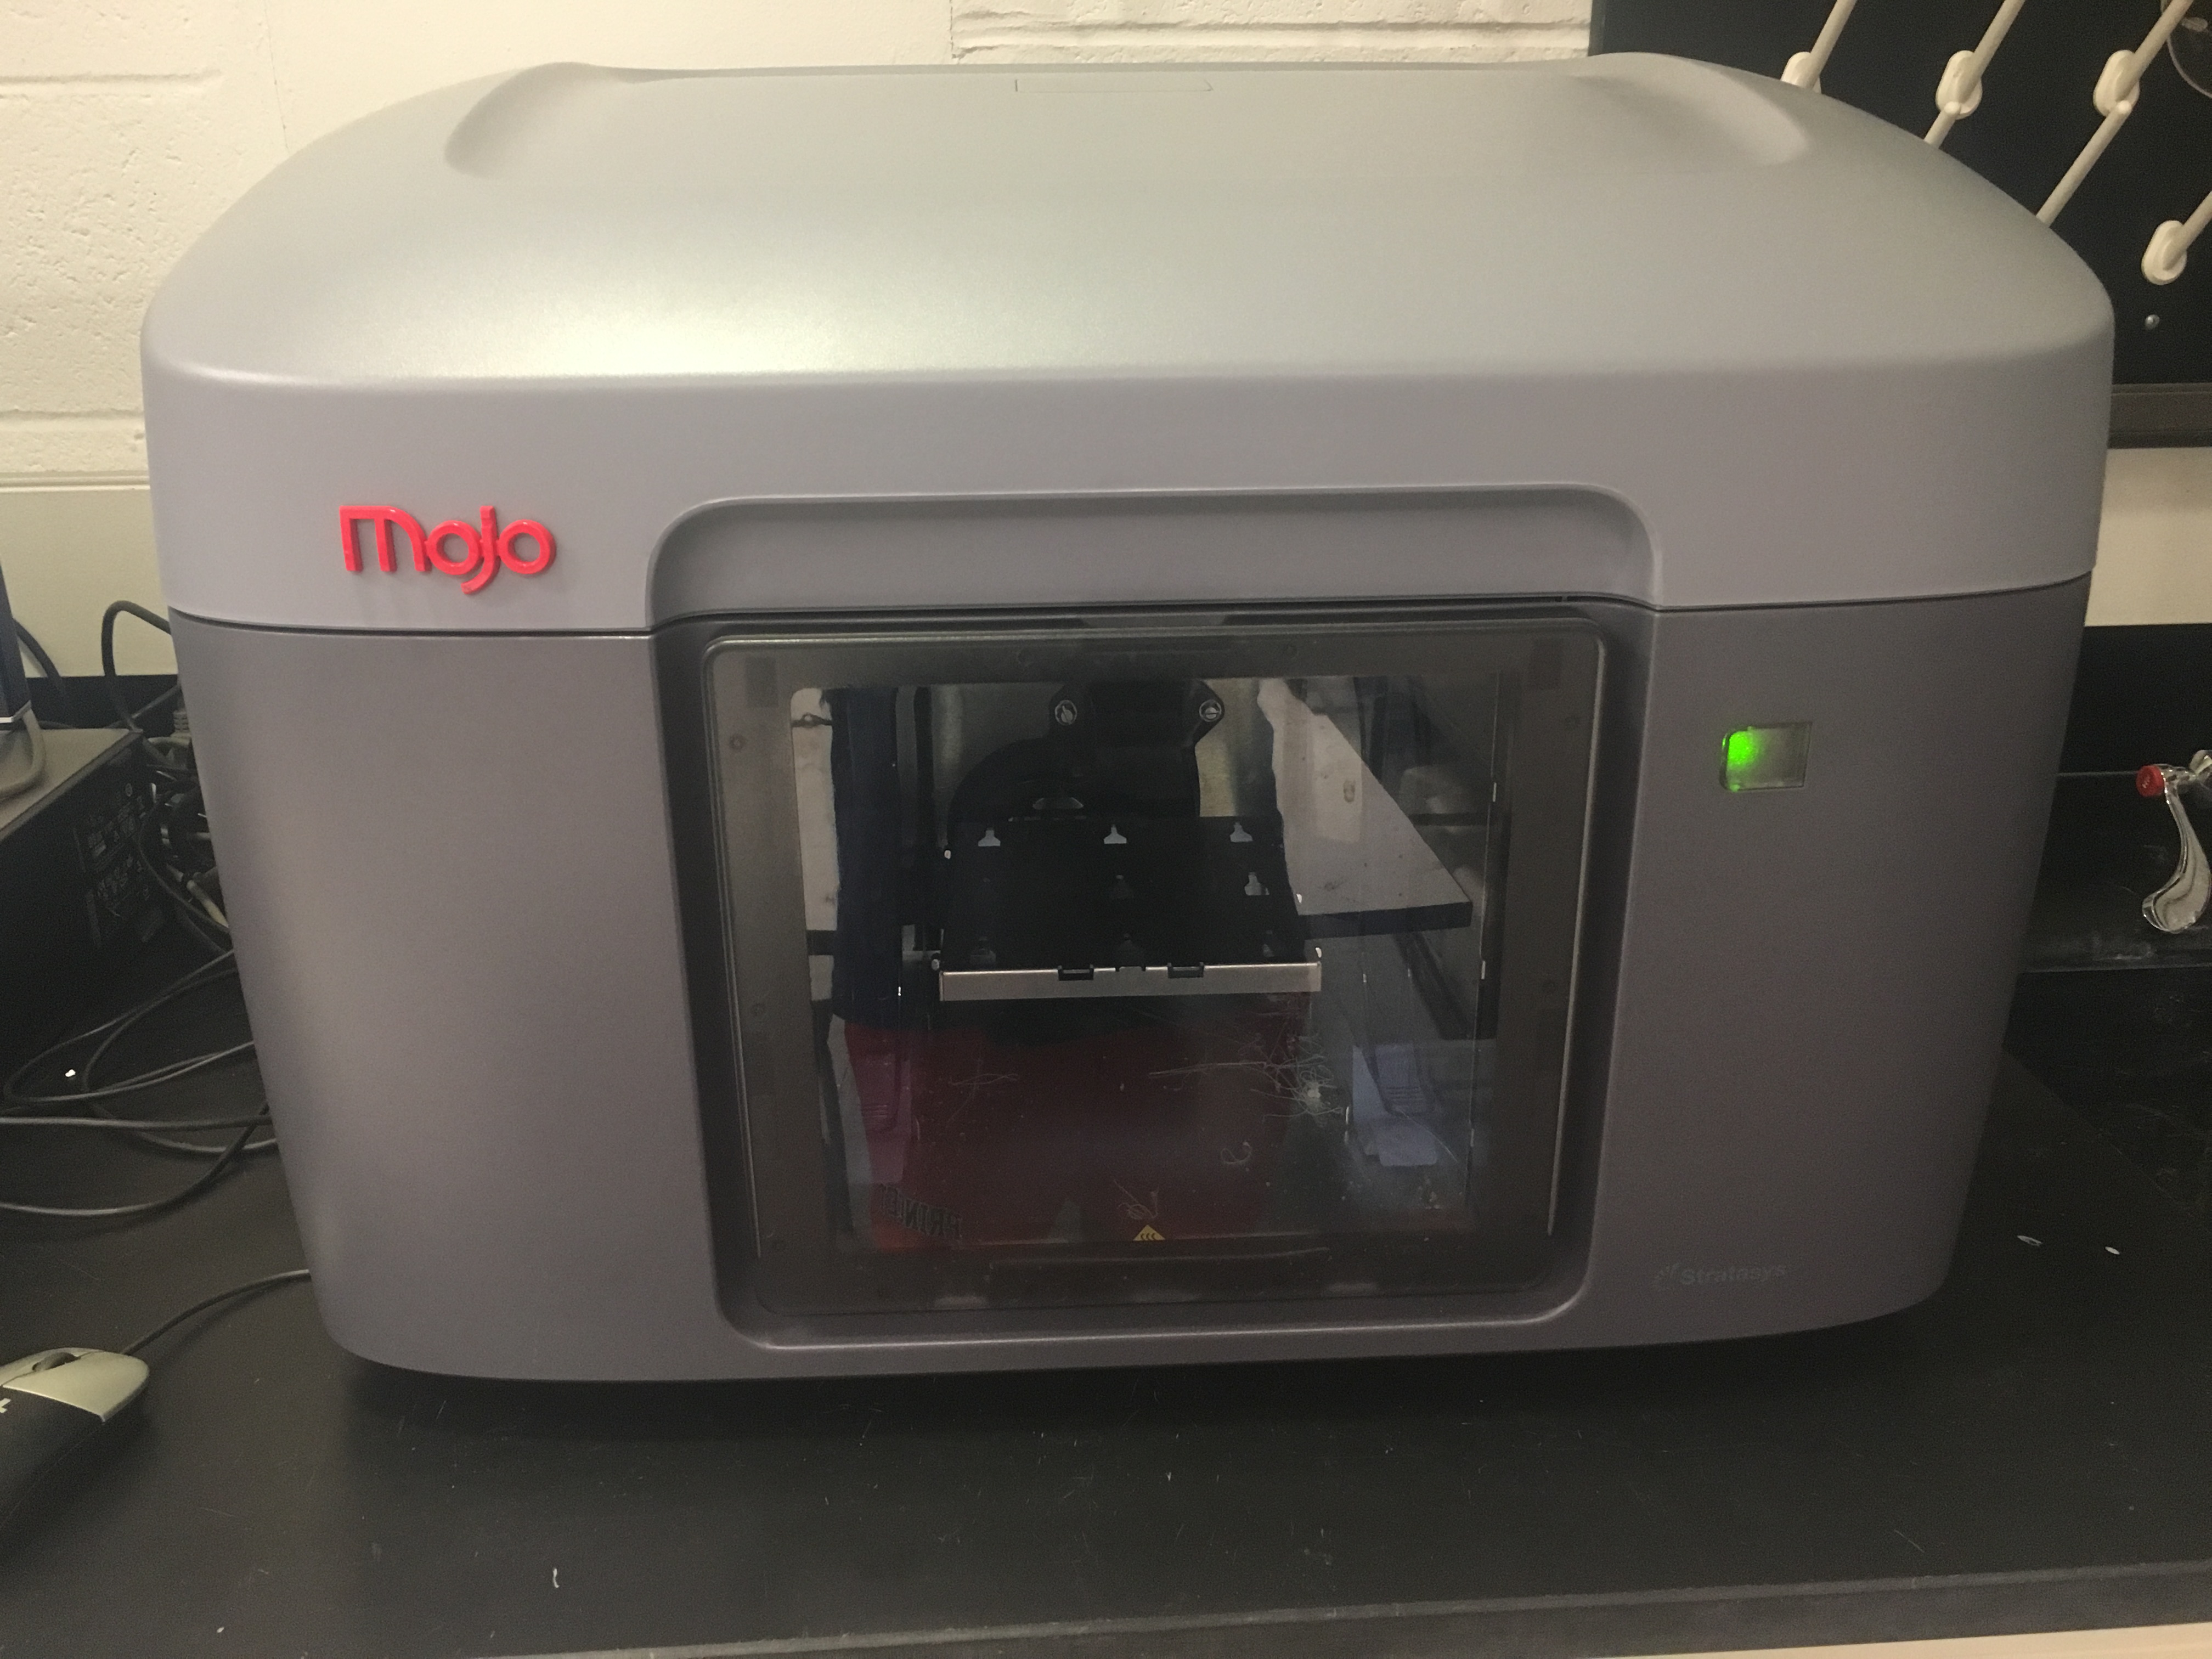
9-a. The file has been sent to the Mojo printer and is in the queue, waiting to be released. So, now, it is time to get the printer ready for printing. Your Mojo 3-D printer should be turned on (as indicated by the green light, Mr. Gatsby)
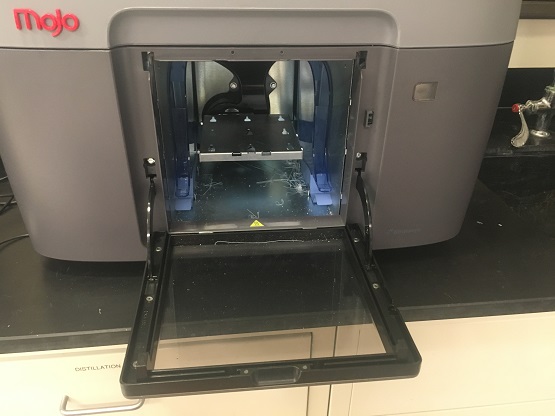
b. Now, open the door in the front. By gently pulling it down.
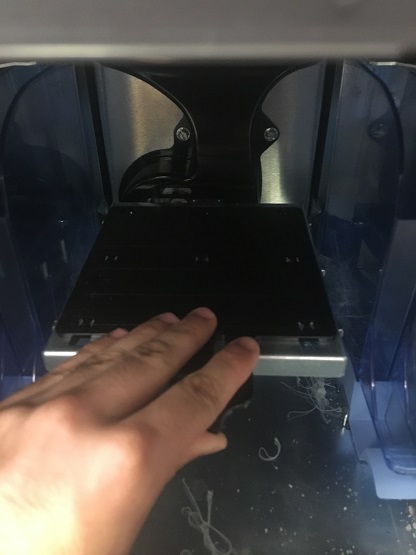
c. Remove the old build plate if it’s in there (it is a piece of black plastic). Then, grab a fresh build plate and insert it into the printer. It slides in and down, then clicks into place as it’s moved forward. Ensure that the two plastic containers on the sides that catch the excess plastic are not full.
Note: The Mojo’s build plates are not intended to be reused. Thus, it is best to print as many items as you can per plate (a.k.a find some friends to make nameplates with!)
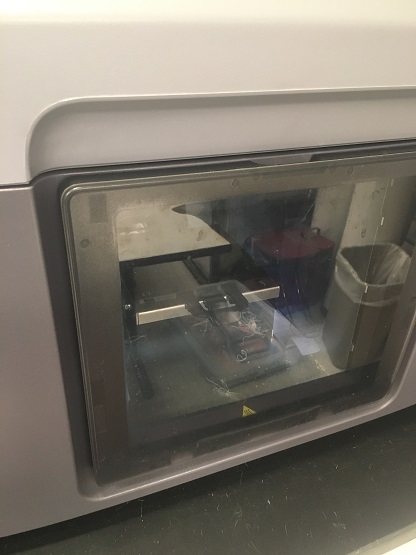
d. Close the door securely. The green indicator light will stop flashing and will turn solid green. You are now ready to print!
e. To begin the print, you’ll need to open up the “Mojo Control Pane” application by clicking on its icon.

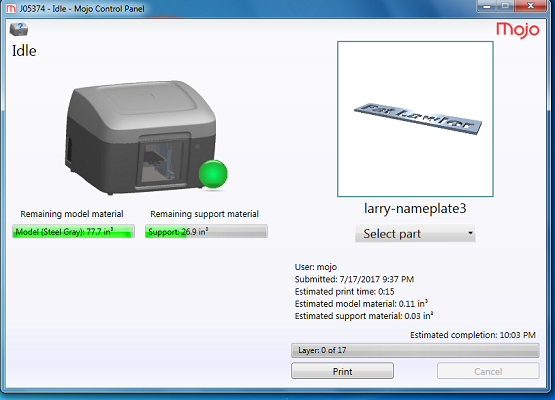
f. A window will pop-up showing the printer’s supply levels and condition.
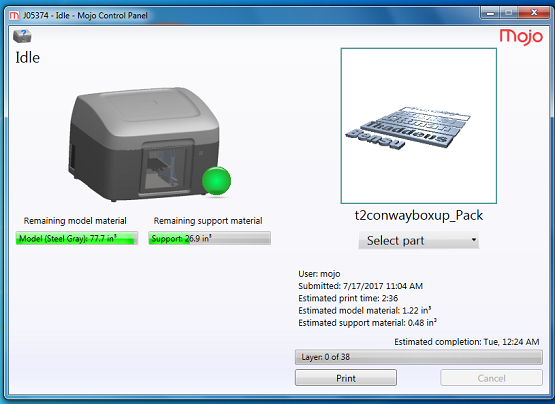
g. On the right side of the screen, you will see a preview of an object. Click on the drop-down menu below it to select your part. Once you have your part selected and see a preview of it in the frame in the upper right corner, confirm that there is sufficient model and support material by comparing the estimates with the remaining material levels (if it will be a close call, seek the advice of a professor or TA). Also, ensure that the print time is 10-20min per nameplate (print time is given in hours). For example, if you are printing 5 nameplates, it should take about 1-1.5hrs.
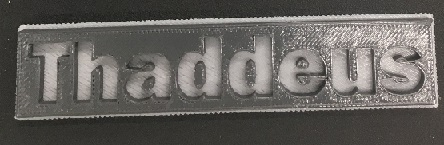
h. If everything is good, you are ready to go! Click the “Print” button near the bottom right corner. When the printing is finished, you will have your very own two-color plastic nameplates. Carefully peel the ivory support material off the plastic base to remove your nameplate from the black build plate. Your nameplate should sport two colors and look something like this (with grey being whatever material color you printed with).
i. Congratulations! You just designed and printed yourself a two-color nameplate – from scratch using the Creo software package and the Mojo 3-D printer!
With skills like these, you can transform Princeton into “Prints-ton!”