1. Open Creo and create new file
Who “new” it would be this easy?
1-a. Open Creo by clicking on its icon, or by doing a search for “Creo” from the Start menu. There may be multiple applications installed with the name “Creo.” Click the one whose icon looks like this:
![]()
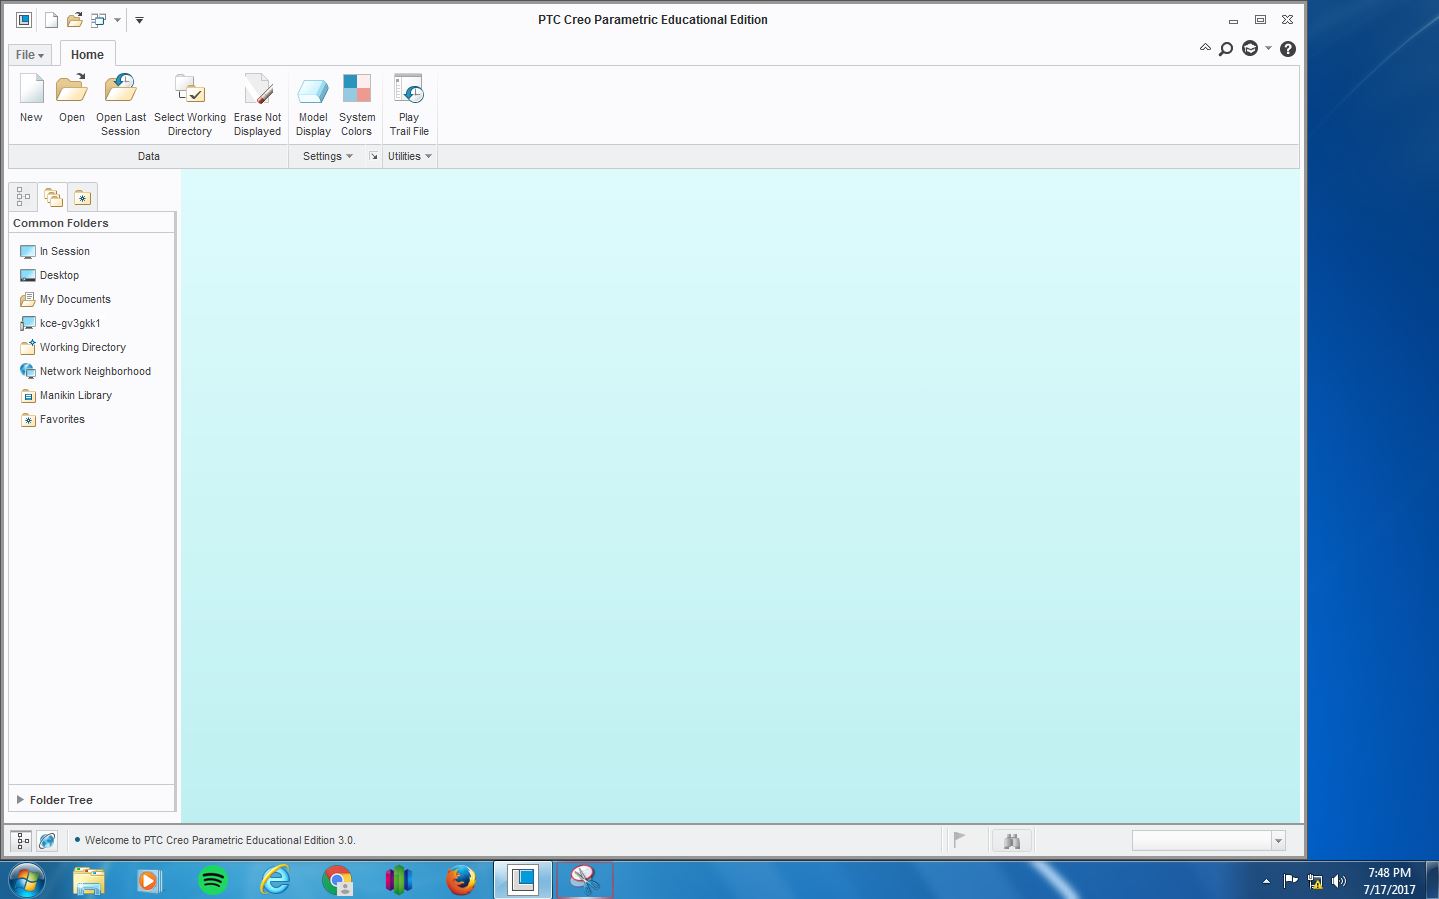
b. A window should pop up that looks something like this
c. Click New or File -> New to create a new file. Select “Part” and “solid” and give your part an acceptable filename (letters and numbers are allowed).
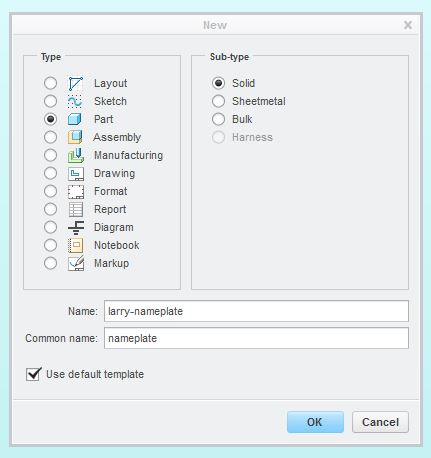
d. Check “Use default template” and click “OK.” A workspace should pop up that looks something like the following. The thing that looks like a star in the middle is actually three planes intersecting. Your view may be in a different orientation, so it may not look like a star.
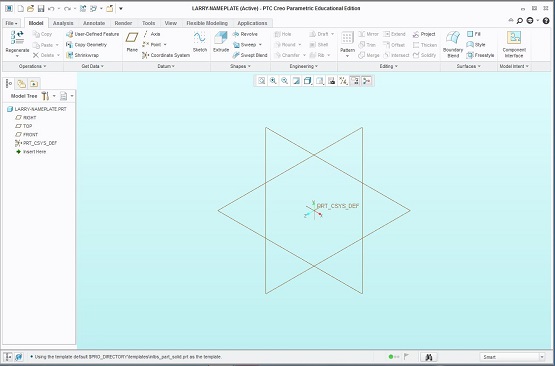
e. There are three perpendicular planes and an origin in the center. Try zooming in and out with the scroll wheel. Hold down the scroll wheel (a.k.a middle button) while moving the mouse to pan your view. Hold down the middle button and “Shift” key while moving the mouse to move your view. Lastly, under the “View” tab, click on “Refit” to automatically center your view
![]()