7. Saving as STL file for printing
You’ll have to “save” your excitement for a bit longer!
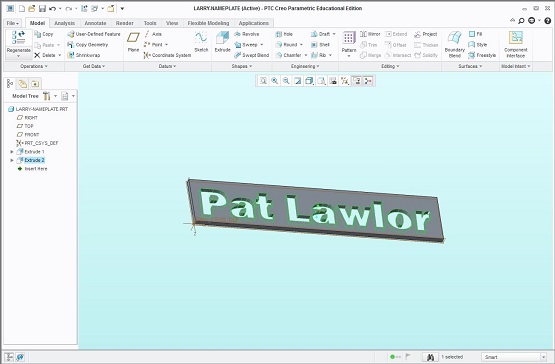
7-a. Now it is time to save the file in a format that can be 3-D printed. The mojo printer accepts .stl files, which are composed of a triangular mesh. Your object should look something like the image below.
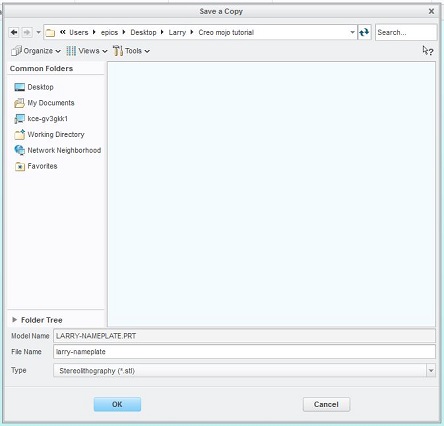
b. To generate the STL file, click on File -> Save As… -> Save a Copy. A window will pop-up. Navigate to the folder in which you would like to save your file. (You can’t save into the Fonts folder – that is protected by Windows). Then give your file a valid name (alphanumeric characters and dashes are fine). Under the “Type” drop-down menu, select “Stereolithography (*.stl).” Click “OK”
c. A window will pop-up with some options. Type 0 as the value for “Chord height” and “Angle control” – this will set those options to their minimum values (which may be different than the values in the image below)
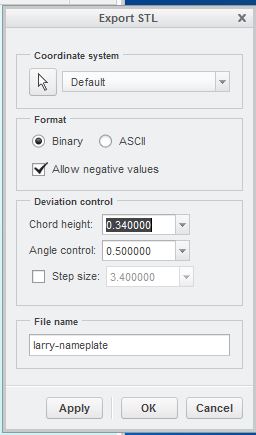
d. Check the checkbox next to “Step size” and type 0 as its value to set the step size to its minimum allowed value. Then, click “Apply” and wait a while until your model turns red (it’s really a bunch of tiny triangles outlined in red).
Note: If you get an error about being unable to triangulate, try changing the values for “Angle control” and “Chord height” until it works – seek assistance if you are still encountering this error.
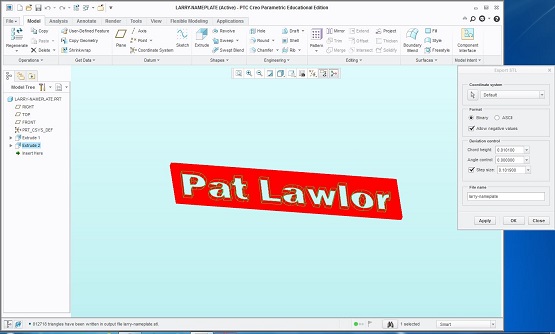
e. Once the object is in red, click “OK” to save the file. Patiently wait until it finishes saving the file. You are now done with the modeling portion of the tutorial. Now, it’s time to print your nameplate on the Mojo 3-D printer!