We would like to thank Prof. Littman, Harini Fredrickson, Noel Valero, and the EPICS staff, whose support and encouragement was vital to the project’s success. Niklas Wegmann also deserves a special thanks for his dedication and enthusiasm for the restoration. His problem solving and creativity have made him my “right hand man.”
From Purchasing to Playing
The story of the pinball restoration project begins with the Joseph Henry group in EPICS, whose work focuses on science education outreach, explaining electricity and magnetism and the many concepts and effects related to them. We decided that a pinball machine would be a great candidate for a restoration project because of all the solenoids and other electro-mechanical devices inside of it. Additionally, a pinball machine could be used to get younger students interested in engineering and science, since pinball is inherently entertaining.
For several weeks, we checked the local newspaper for garage sales and frequented Craigslist and eBay. After investigating 3 different pinball machines, we settled on one that we found through Pinside, an online community for pinball enthusiasts. The original ad is shown below:
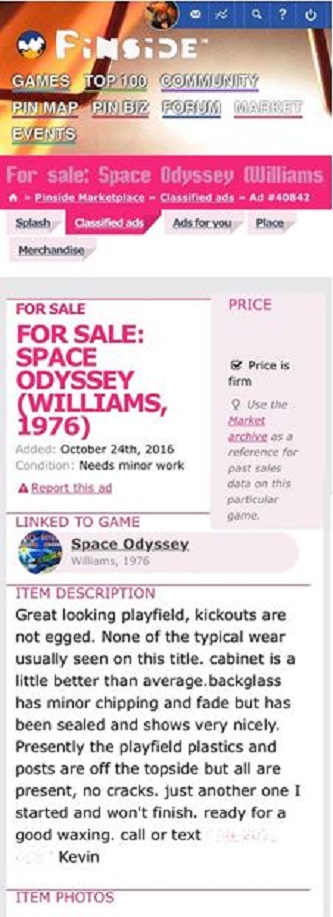
We contacted the seller, who assured us that this would be a good machine for our project since it did not work properly but it could at least turn on and start a game. The difficulty was just right for a first pinball machine restoration. The price reflected this, and we made our purchase.
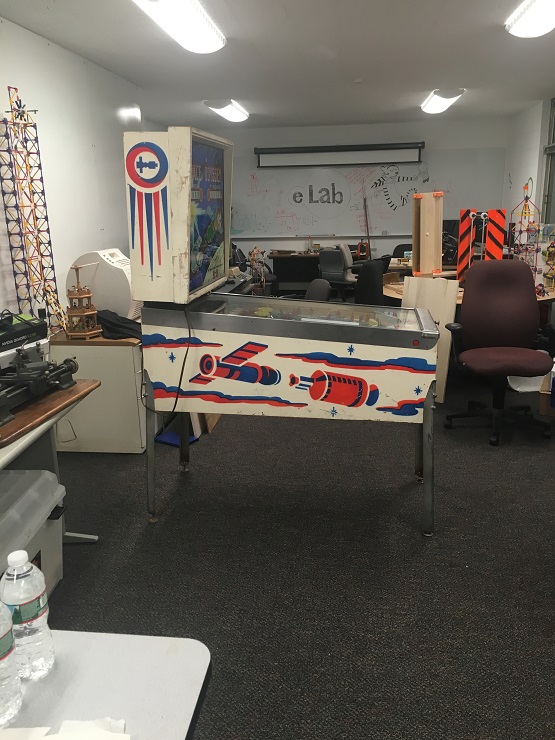
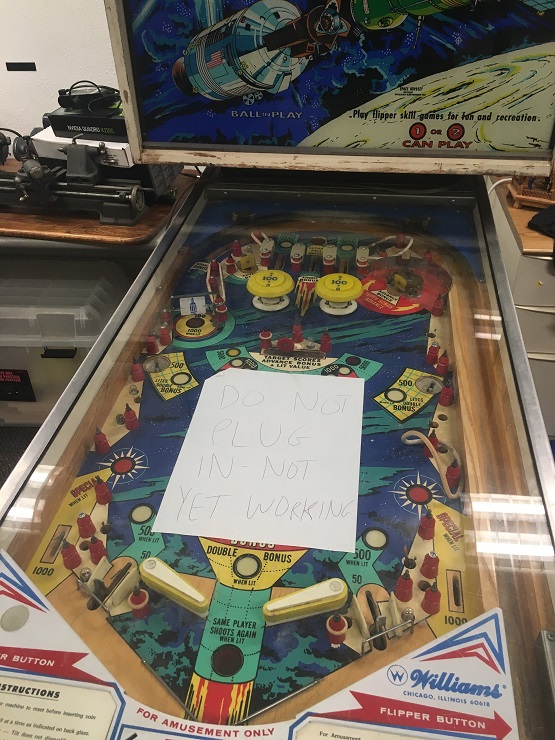
The first step was loading it in a van and transporting it to the EPICS lab. After a few set-backs, we successfully brought the machine to the lab. With the help of a loyal friend, we installed the legs, head, and pinball. We then played a few test balls, learning that the ball count unit prevented any game from getting past ball 1 (definitely a problem that we needed to address).
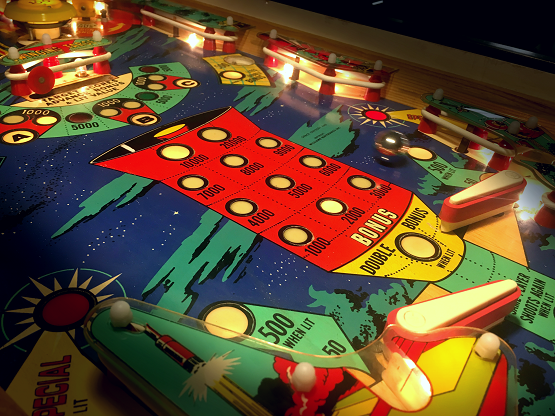
The first thing we did was a basic cleanup. We took all the plastics off the playfield, removed the posts, and vacuumed the playfield. The tune-up kit we ordered included a playfield cleaner and wax, which we used on the playfield.
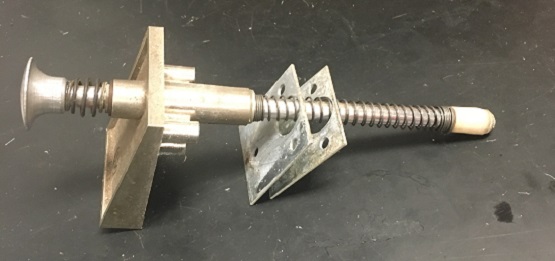
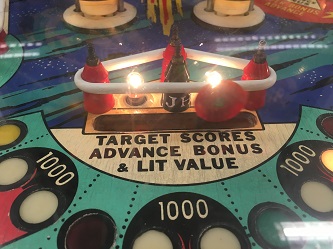
We then replaced all the bulbs above and below the playfield with cooler-running #47 bulbs to preserve the artwork and prevent the plastics from warping. We screwed in the ball trough and rebuilt the plunger using new parts.
We then replaced the old worn out white rubber rings with new ones, so the ball would bounce around quicker.
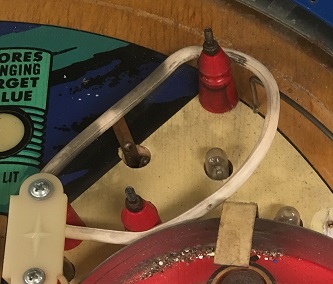
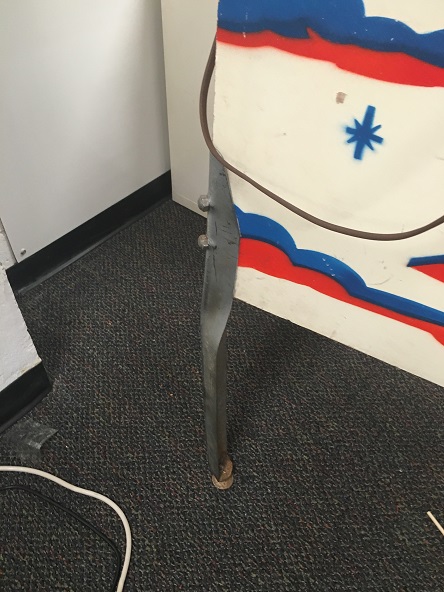
After installing the rubber rings, we adjusted the switch contacts to ensure proper scoring. Also, we noticed that the machine had been carelessly moved by a staff member, irreparably damaging one of the legs, so we ordered replacement legs.
We then installed a tilt mechanism in the pinball machine to penalize players for excessive nudging. We also installed the new legs and fixed the error with the ball count and bonus units.
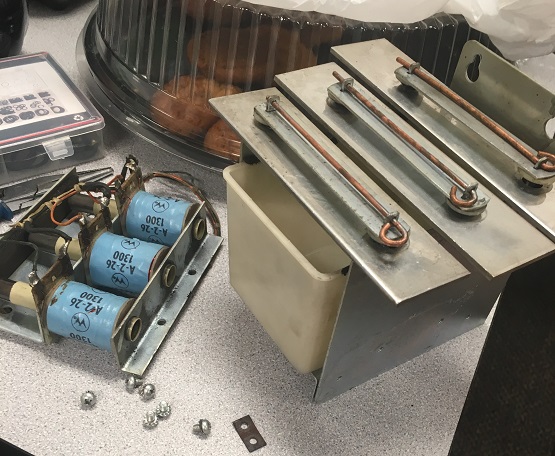
The next task was to rebuild the chime box to improve the game’s sound quality, which often sounded more like clanging than ringing. Although Williams electro-mechanical pinball machines were never famous for their sound quality, the rubber O-rings we installed improved the sound quality considerably and made the chimes’ sounds tolerable.
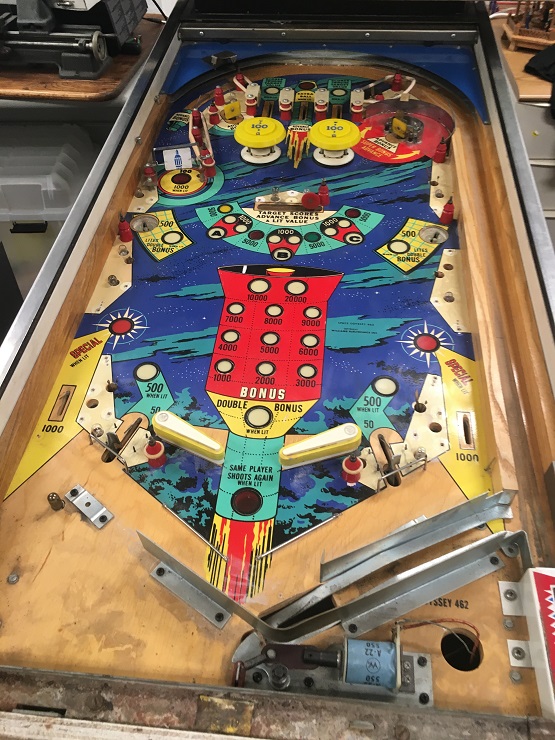
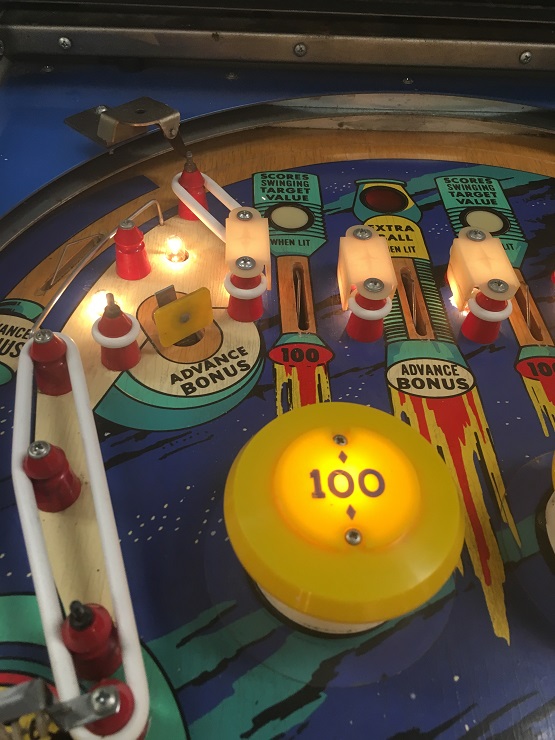
We then installed two fake score reels that display the number zero. Known as “dead zeros,” they are located in the ones digit of each player’s score. Since all targets score a multiple of 10 points on this machine, there was no need for Williams to spend money building a functional score reel in the one’s place, so this was the manufacturer’s clever solution.
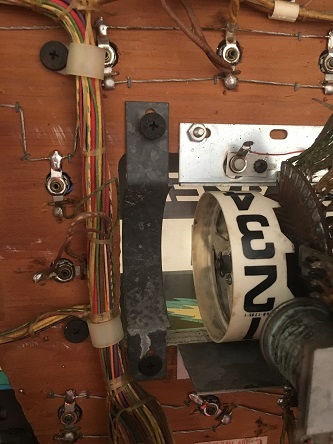
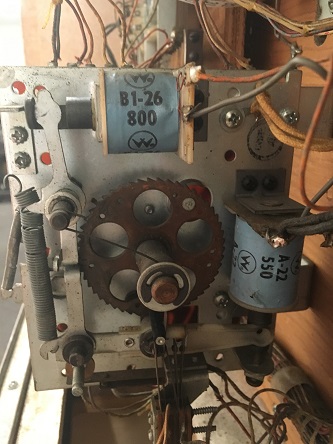
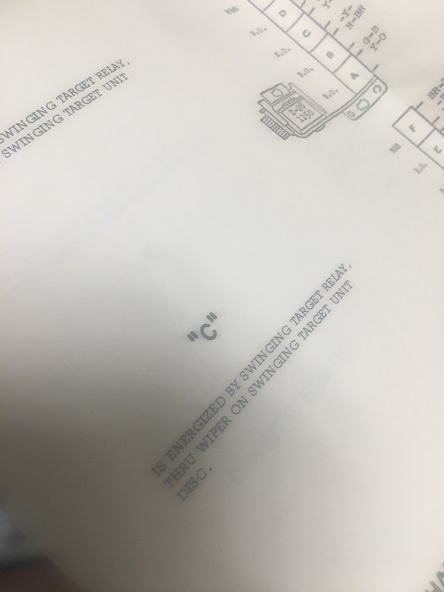
We then researched how Space Odyssey should score and diagnosed an error where ‘C’ was impossible to score. After consulting the game’s manual and schematics, the faulty switch was adjusted to work properly.
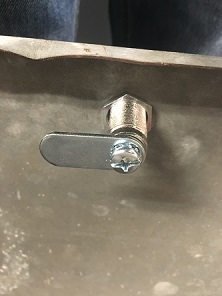
We also scanned the manual that came with the machine so we would have a PDF backup. The next job was to install a new lock in the cabinet door. This was a relatively painless process.
We then noticed that the “Super Bonus Advance” rollover switch was not working properly – often, it would get stuck down and score 2 or 3 times instead of once. So, we removed the switch, took it apart, cleaned it, and applied a small amount of dry lubricant to its shaft, which fixed the problem.
Next, after vacuuming inside the cabinet, we observed that the knocker never activates. On most pinball machines, the knocker indicates that a replay or extra ball has been earned by emitting a loud knocking sound. We had assumed that it would activate when extra balls and free games were earned; however neither action produced a knocking sound. Since a previous owner had altered the credit reel to allow for unlimited games, we figured he may have altered the way a replay is awarded. Thus, we focused on the extra ball and the knocker.
After many hours spent trying to diagnose the problem, we consulted the schematics only to learn that the knocker is in series with the credit step up coil’s end of stroke switch. Since the step up coil was disconnected by a previous owner, we had to undo the owner’s alterations to get the knocker to work. This involved a small amount of soldering and a careful reading the schematics. Unfortunately, restoring the game to its original state also removed the ‘free play’ functionality of the game. This was remedied using alligator clips to bypass the zero credit switch.
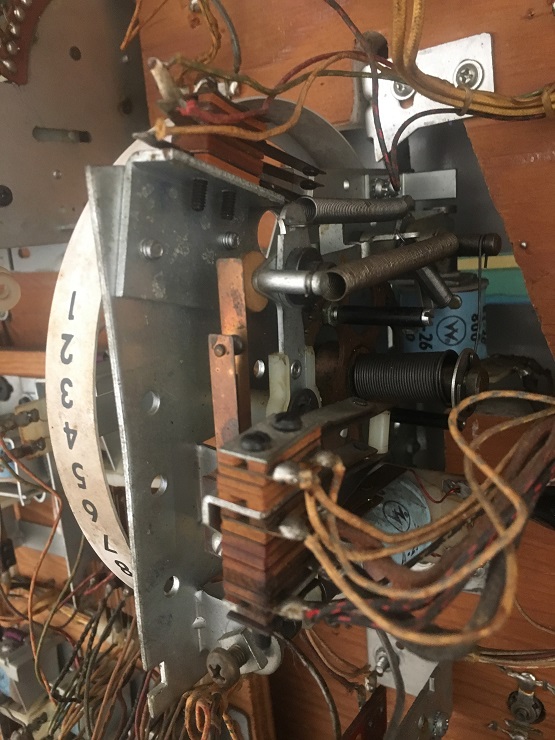
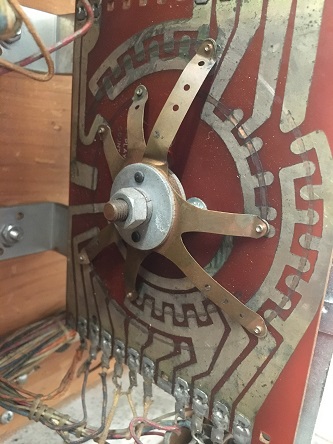
An error with the alternator unit (the unit that controls match) was fixed and the end of stroke switches on the flippers were tested. After fixing a double-scoring issue involving the eject holes, we moved on to testing the match unit and its 10 corresponding indicator lights. While we had the backglass removed, we also replaced all the light bulbs with new number 47 bulbs to preserve the fragile, already-flaking paint.
After replacing the bulbs, it was time to get started with some of the finishing touches. A nail was added to the left outlane in the same position as the one in the right outlane to reduce wear on the apron. New reproduction score cards were printed to display the rules. The appropriate adjustments were then made so the game would play according to the written instructions.
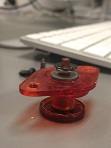
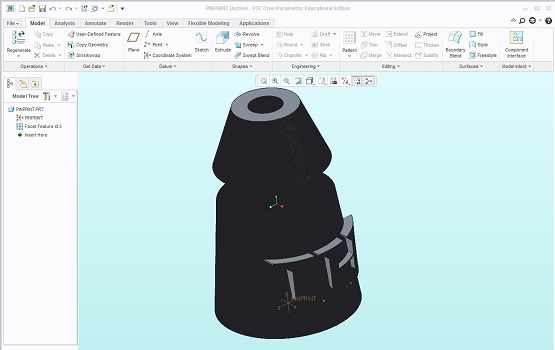
Unfortunately, when we were installing the plastics, we noticed that we were one plastic post short. Thus, we measured a post with a pair of calipers, modeled it in Creo, added a “JH” to the front (for Joseph Henry, the name of our group) and 3-D printed our replacement post.
After painting the “JH” white, we installed it in the center, where it would be most visible.
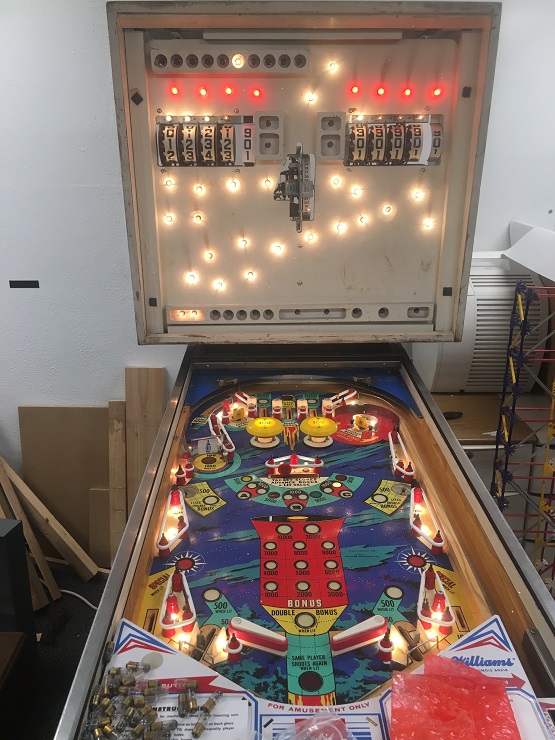
We then moved the pinball machine a few feet back towards to the wall, leveled the plafield, adjusted the incline, cleaned and waxed everything, cleaned the glass and began creating this website to detail the restoration project and give information about the pinball game, highlighting its value from both an engineering/science perspective and a historical/design perspective.

And best of all, we now have a beautifully-designed pinball machine ready for anyone to play, so step right up and have some fun – and learn while at it!
Happy flipping!