2. Sketching a rectangle
Let’s build some knowledge we can “draw” upon later!
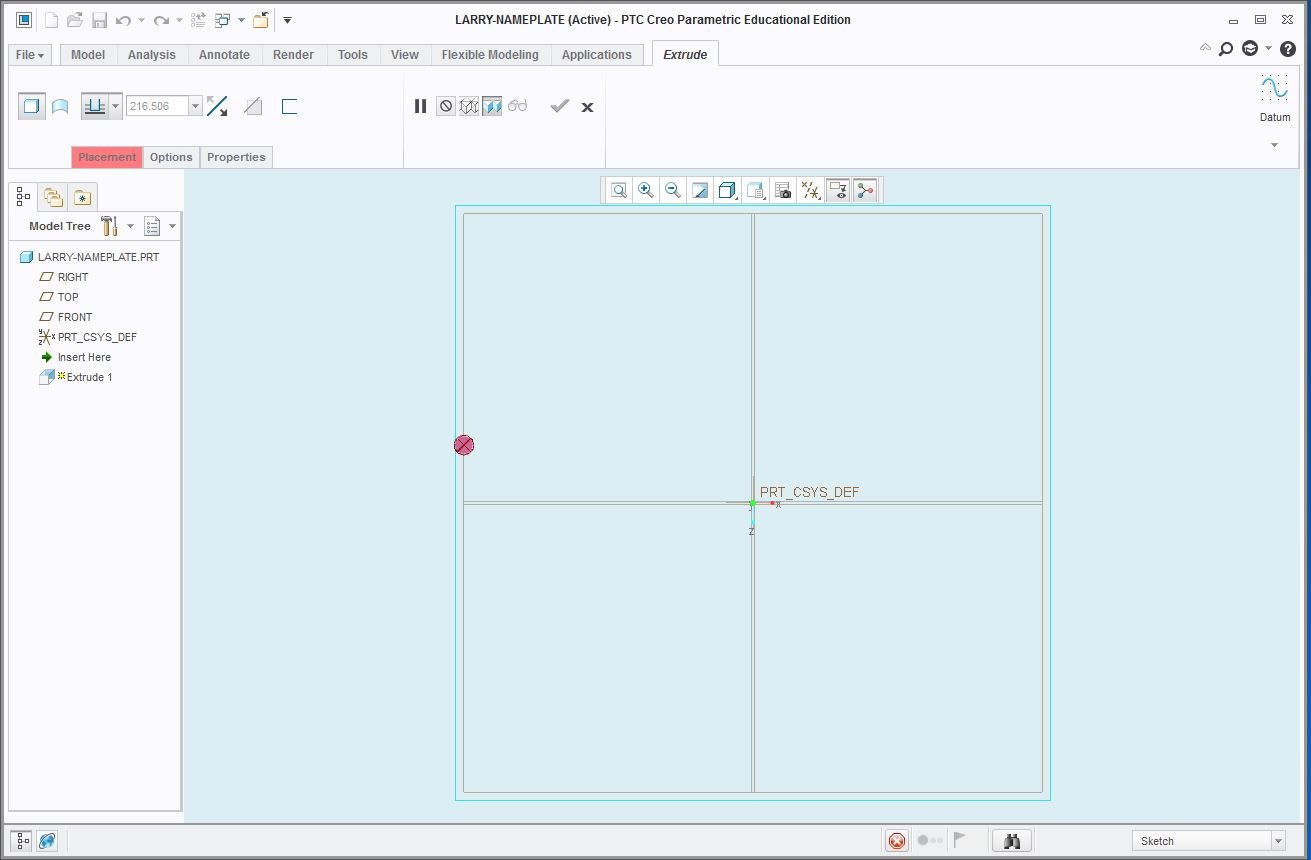
2-a. Now, we are going to extrude a rectangle to create a rectangular prism base for our name plate. To do this, click the “Extrude” button under the “Model” tab.

b. If you already had a plane selected, the view will shift to a top-down view. If not, click on one of the three red planes in the center of the screen (you’ll have to click the red border to select the plane). The camera will rotate so that you are looking at the plane from a top-down perspective
Note: Beware that clicking the center mouse button (the scroll wheel) is a shortcut for accepting the sketch or extrusion, so you should be careful not click the center button unless you are moving/rotating your view. If you accidentally do something you wish to undo, there is an undo button in the left of the very top of the window, next to the save icon. Undoing may take you back further than you’d expect.
c. Under the “Sketch” tab, click on “Rectangle” to begin drawing a rectangle
![]()
d. Click on the origin (the center) – you’ll notice your cursor conveniently snaps to it as you get near it. Then move your cursor a bit up and a further right. so that you see a rectangle labelled with ‘V’ and ‘H’ on its vertical and horizontal sides respectively. Make sure that these sides are of different length (otherwise, you’ll draw a square instead). Note: If it appears that the ‘H’ line is vertical not horizontal, remember that you may be viewing the drawing plane at an angle of 90 degrees, so don’t worry.

e. Click again to place the upper right corner of the rectangle. Press “Esc” or click the select tool under the “Sketch” tab to exit the rectangle drawing tool. Your rectangle will turn solid and its sides will be labelled with their lengths (dimensions)
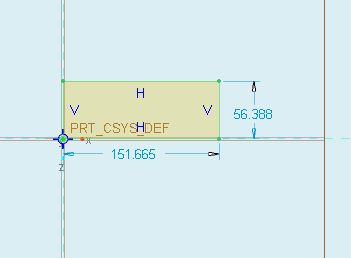
f. Double click a dimension to edit it. Type the new value and press “Enter.” Please make the rectangle 100 wide by 20 tall (units are mm for this print). It should look like this:

g. You have successfully sketched a rectangle in Creo. Congratulations! Click the green “OK” checkmark in the “Sketch” tab to accept your sketch.
![]()