8. Importing your object into Print Wizard
Let Print Wizard work a little magic for you!
8-a. On the computer adjacent to the Mojo 3-D Printer, open up the Print Wizard software by clicking on its icon

b. A window will pop-up asking you to find the file you would like to open. Select the .stl file that you had created in step 7. It will probably be in an undesirable orientation such as the one below
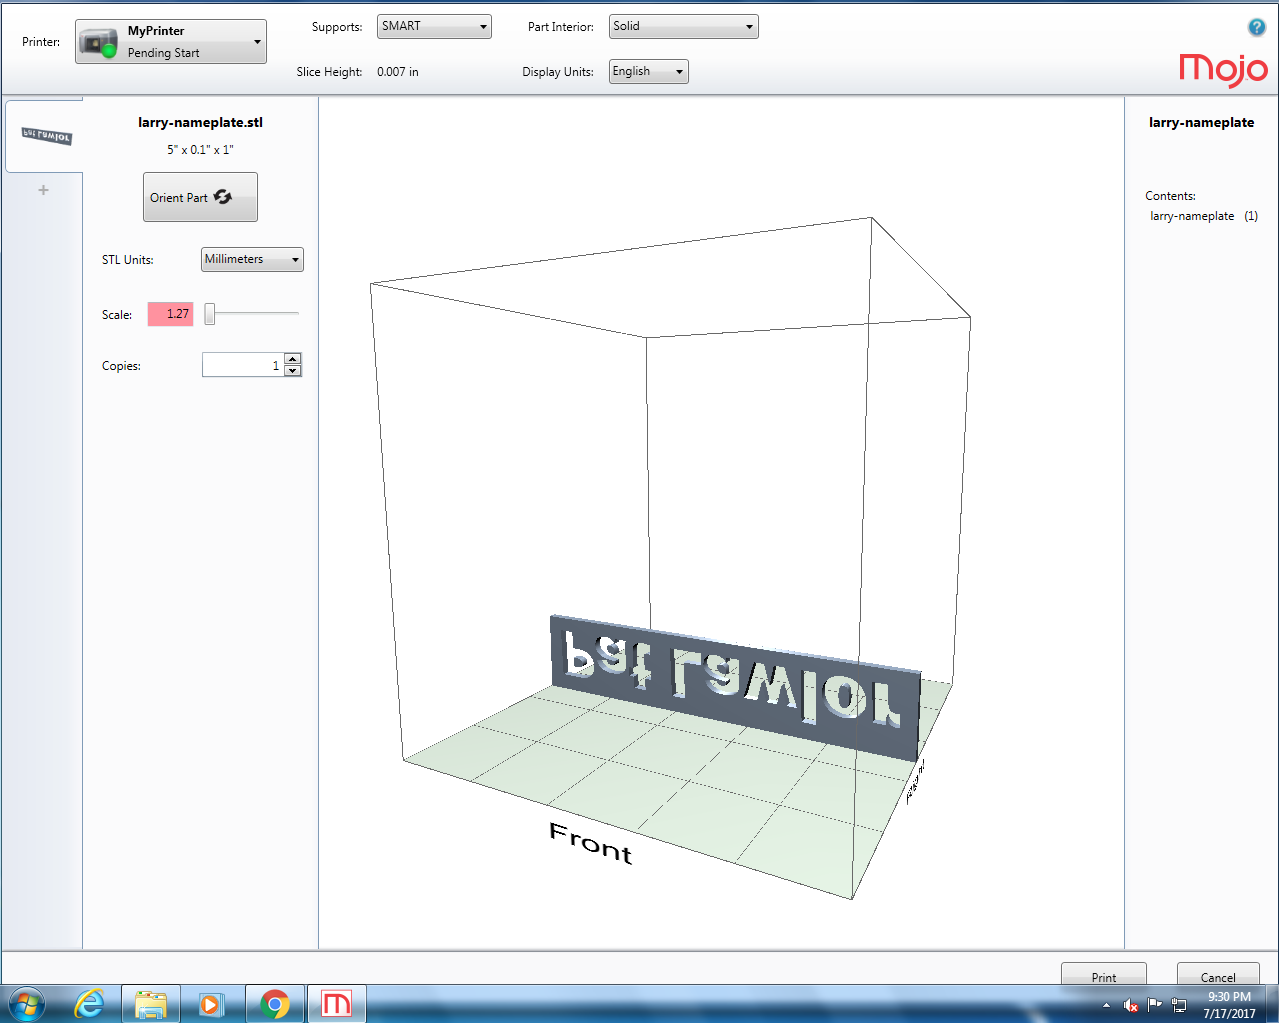
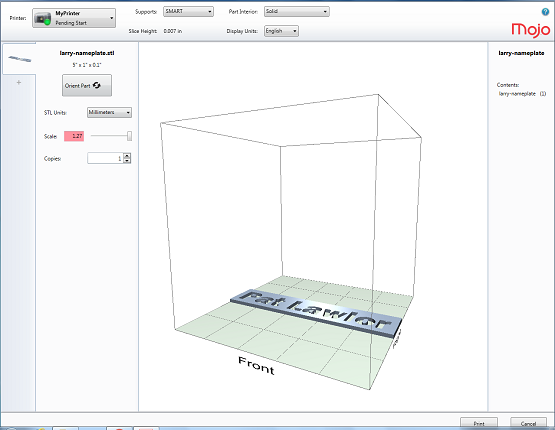
c. Click the “Orient Part” button and select the orientation that depicts the nameplate lying down on the plate with the text facing up (so that someone looking down at the nameplate from above could read the name). Make sure the text is not backwards! That is very important!
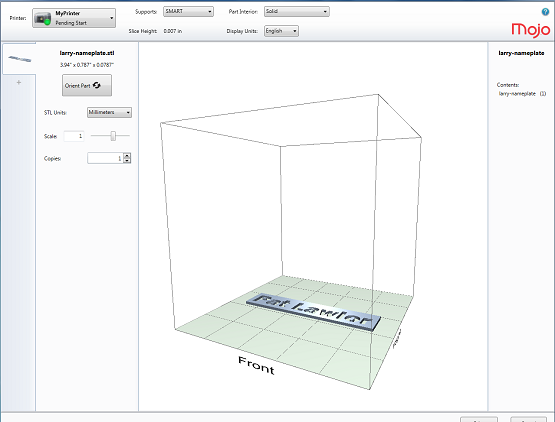
d. Enter 0.7 for the scale (on the left) and make sure the units are Millimeters (mm). Set copies to 1.
e. Change Supports to “SMART” (minimum) and change the “Part Interior” to “Sparse – Low Density” using the drop down menus. These settings are important, since the print will take a lot longer otherwise.

f. After examining your part in the center of the screen, click the “Print” button in the bottom-right corner.
![]()
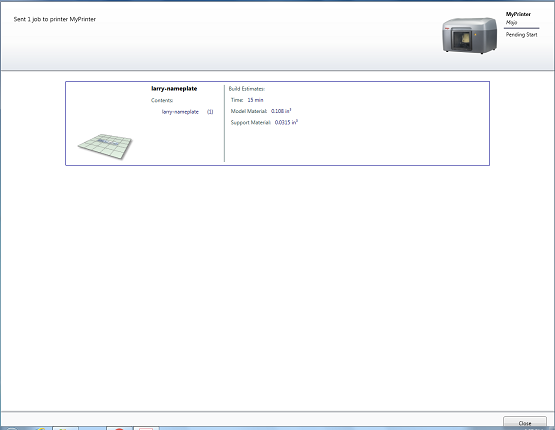
g. A window should pop up showing confirming that the print has been sent and providing an estimate of how long the print will take and its material consumption. At 0.7 scale, it should take approximately 15 minutes. At full (1.0) scale, your nameplate would take about 30 min to print.