4. Preparing to add text
This is some “text” level shift!
4-a. Now that we have our rectangular prism, we would like to carve letters into it (extrude them inward to remove material). This will be done by clicking the “Extrude” tool under the “Model” tab and then clicking on one of the two large rectangular faces of the object (highlighted in green below).
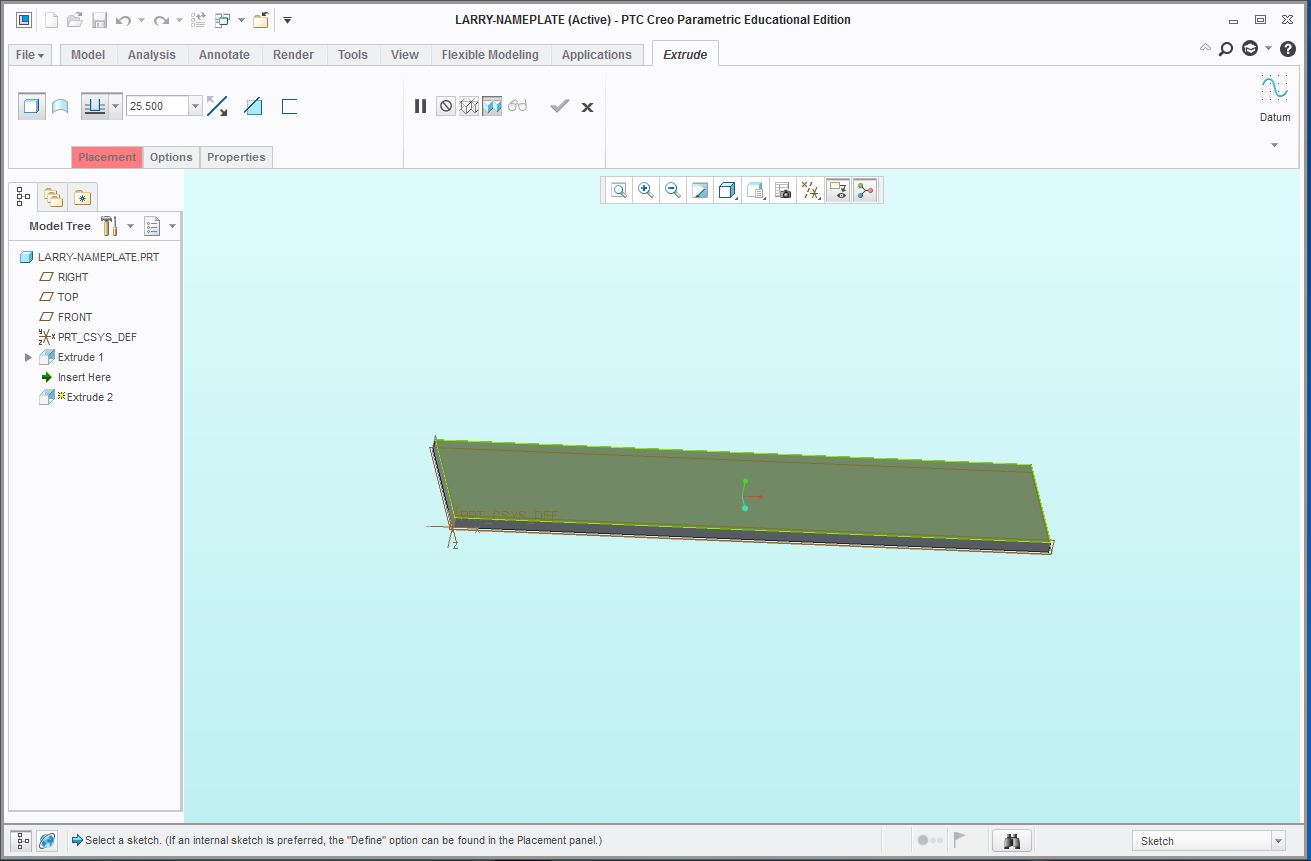
b. By clicking on this face, we are selecting it as the sketching plane for our extruded text. The view will rotate automatically to show the plane from a top-down view.
Note: If your view rotates the second you click “Extrude” without giving you the option to select a surface, that means you already had a surface selected. If your view doesn’t look like below (if the view is of one of the smaller faces of the rectangle), click the “X” next to the checkmark in the “Extrusion” tab to cancel and then try again after selecting the proper face of the object.

c. By default, Creo comes with several fonts installed. However, we would like to use a font from Windows instead. In order to do this, we have to add a link to the directory (folder) of fonts. To do this, click File -> Options. A menu will popup in a new window. Open the “Configuration Editor” tab on the left.
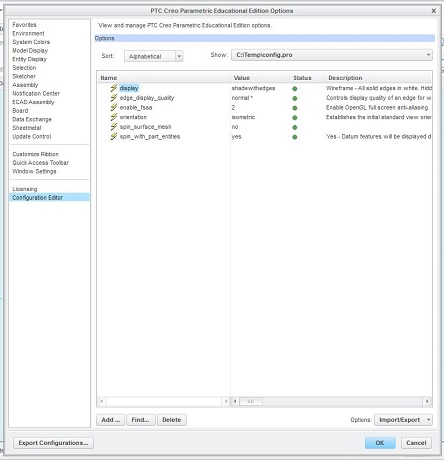
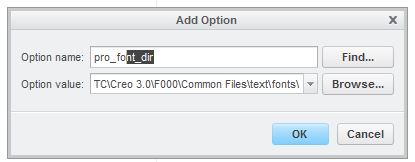
d. Click the “Add…” button at the bottom. Type “pro_font_dir” in “Option name” but do NOT click “OK” yet! We will change this folder to be the one where our computer stores all its default fonts.
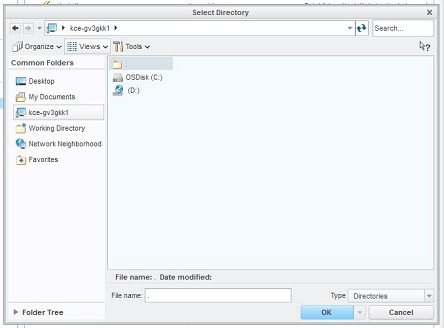
e. To do this, click the “Browse…” button. Navigate into the main hard drive’s directory. Note: Your computer may look different than below.
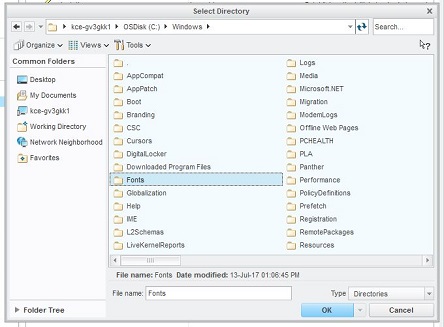
f. Double click to open it. Inside it, you’ll see a directory called “Windows.”

g. Double click it to view its contents. You’ll see a folder called “Fonts” select it by clicking on it once and then clicking the “OK” button.
h. The window should now look something like this. Click “OK”

i. Click “OK” on the large pop-up options window. A warning might pop-up asking if you’d like to save these settings in a configuration profile for future use. Click “No.”
