- Make sure that the printer itself is on and has finished calibrating. If this is accomplished then the printer will indicate that it is idle.
- Check if the levels of the support material and model material are sufficient for your print.
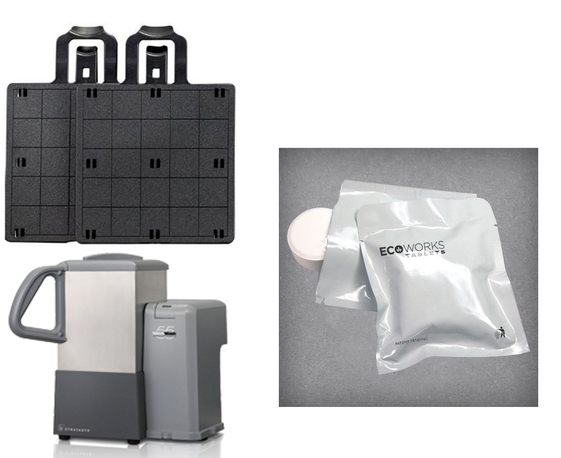
- Place a black printer platform into the printing bay (make sure it snaps into place by pushing the clips on the underside of the platform into the holes on the metal bay)
- Load the .stl file of the part you would like to print on to the print wizard software.
- IMPORTANT: MAKE SURE YOU SPECIFY WHAT SCALE YOU WISH TO PRINT THE PART TO
- Once the file has been loaded, orient it to your choosing
- Click print and the status profile of the mojo printer will be loaded.
- Click the “parts selected” drop down menu, and choose the part you want to print and simply hit “print.
- Once the part has been printed, there will be white support material on it, this is to be dissolved using the Wavewash 55
B) Operation of the Wavewash55
- First fill the reservoir with enough water (up to the gray line on the interior)
- To create the dissolving solution, add an “Ecoworks tablet” to the water and run the Wavewash for a couple minutes until the tablet has completely dissolved.
- The solution created from 1 tablet is sufficient for dissolving 40 cubic inches of support material.
- Once the solution has been created, place your part in the reservoir, switch on the machine and just wait for the support material to dissolve. This may take a couple hours.