3. Extruding the rectangle
Let’s get a more “solid” grasp of how to use Creo!
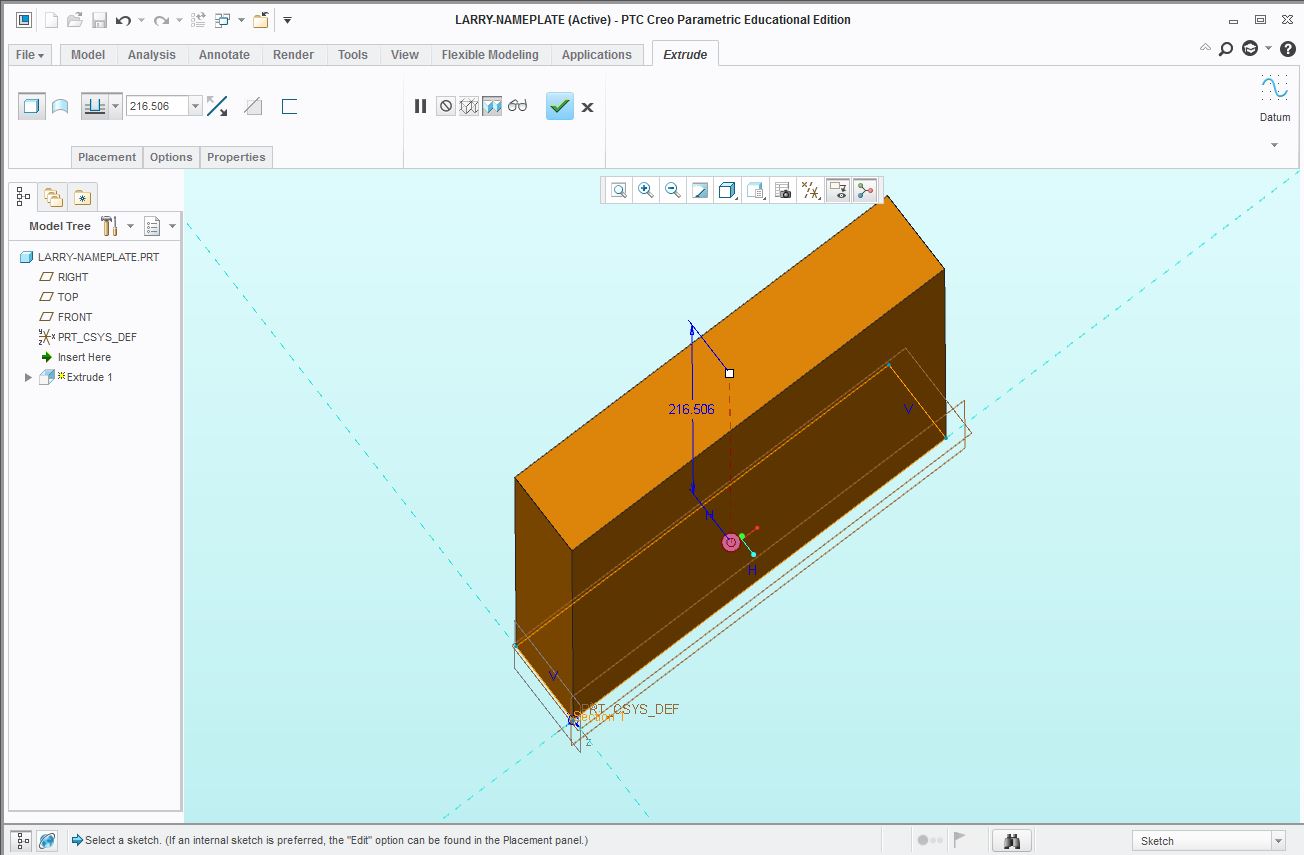
3-a. Now that you have accepted the sketch, it will turn orange and become a 3-D solid object. The extrusion tool takes a 2-D sketch and gives it a thickness. In the next few steps, we will adjust this thickness and complete the extrusion process. Your screen should look something like this (you may wish to adjust your camera to view the object)

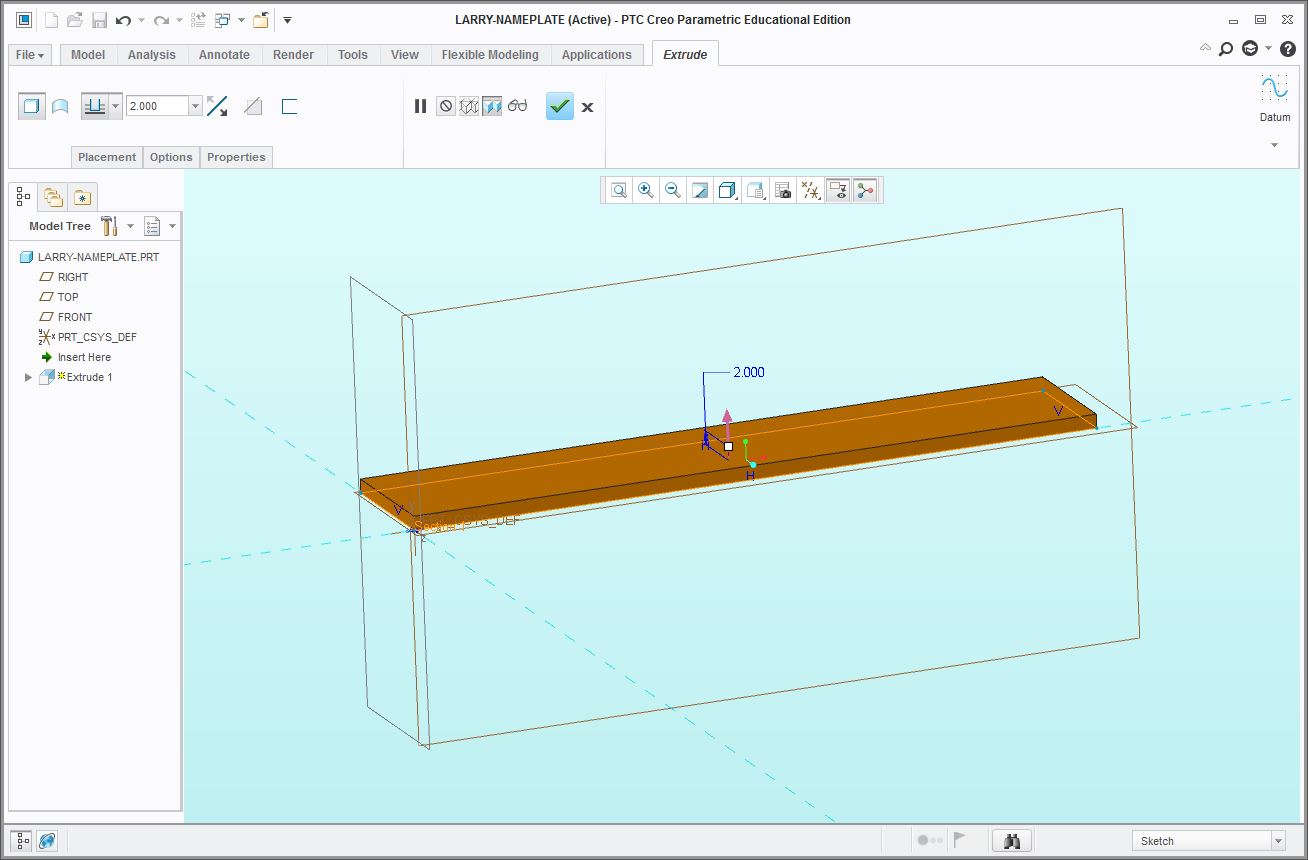
b. Notice that the extrusion dimension (in blue) is very large. We want to change that dimension to 2. This can be done by editing the label or by typing the new value (“2”) in the Extrusion tab.

c. If it looks like the 100 by 20 by 2 rectangular prism above, click the green checkmark under the “Extrusion” tab to accept the Extrusion
![]()
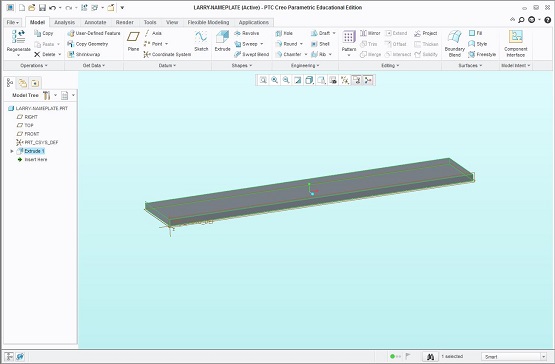
d. The part will now turn grey, indicating that it is now a solid object in your file.
