Grace, Aly K, Jenny
Our Journey
Wheels team this semester was such a blast! We predominantly worked with the wheels, but we also learned much about the other parts of the bike. We disassembled the bike, took apart the wheels, measured the offset, learned about each of the parts, and cleaned all of the individual parts (All the time taking very detailed notes about each part and making sure we labeled each part, so that we wouldn’t lose any of the 80 spokes). We then began putting the wheel back together and developed keen strategies that allows us to apply this to the “Art of Motorcycle Design.”
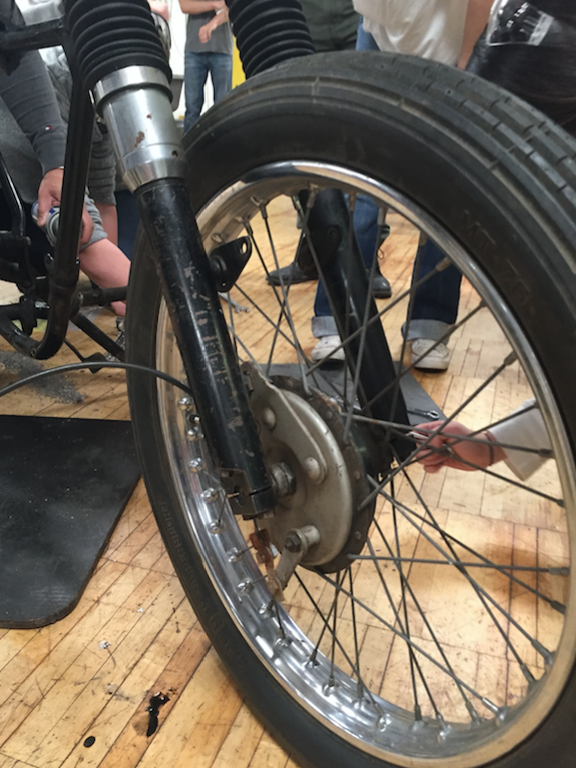
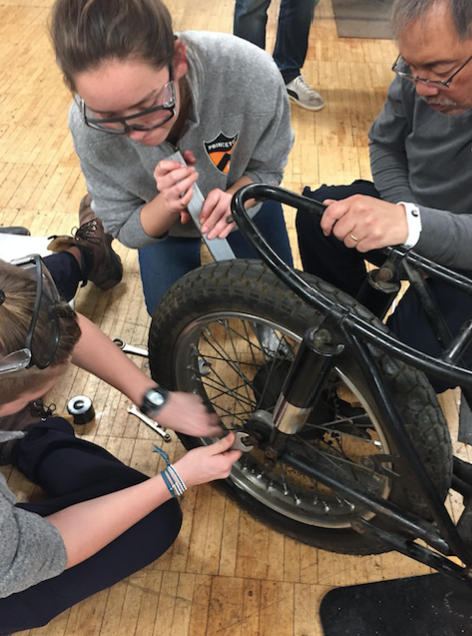
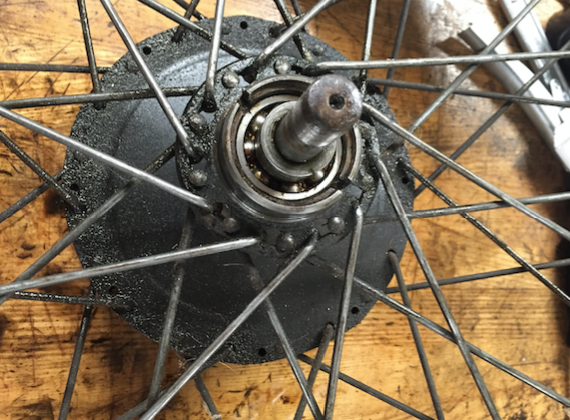
We began by taking apart the wheels, which allowed us to get a sense for the different parts of not only the wheels themselves, but the entire bike as a whole. First we had to remove the wheel from the actual bike. We also realized that the front wheel and the back wheel had very similar but different structures. After removing the wheel from the bike, we started taking apart the actual wheel. Beginning with the front wheel, we started by taking apart the hub, removing each bearing and nut. In the process, yield, a rust removal spray, became our best friend.
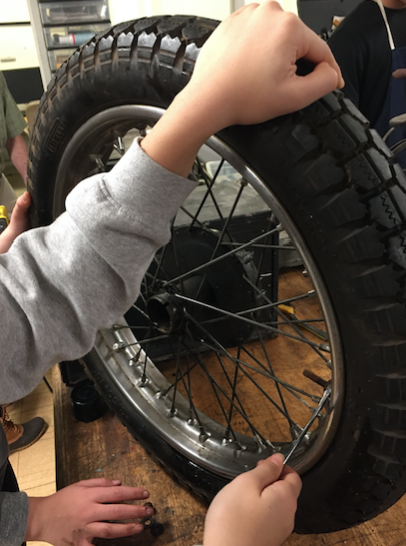
After removing the middle components, we began taking off the inner tube. This was an extremely difficult process and required the help of many people. We used three tire irons to remove the inner tube and a mallet to successfully remove the tire. This way, we could successfully remove the nipples and spokes.
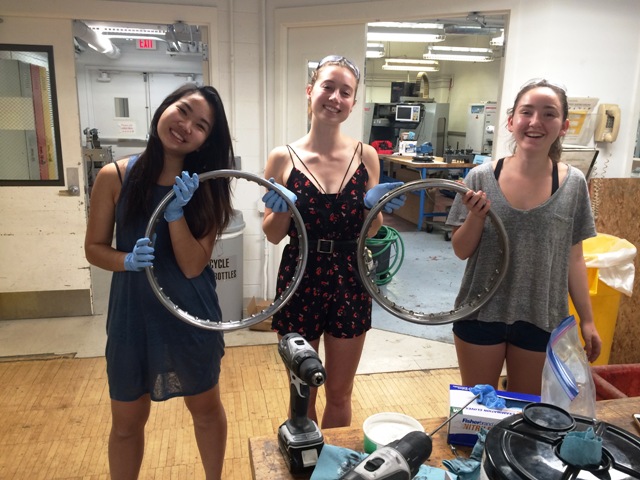
We then we measured the offset of the hub from the rim so that when we put the wheel back together, we could make sure that the spokes were at the right angle. We also made sure to take pictures of the pattern of overlap of the spokes to ensure accurate reassembly of the spokes. Next we removed all 40 nipples and spokes, then repeated the process with the back wheel. We had successfully taken apart the wheel!
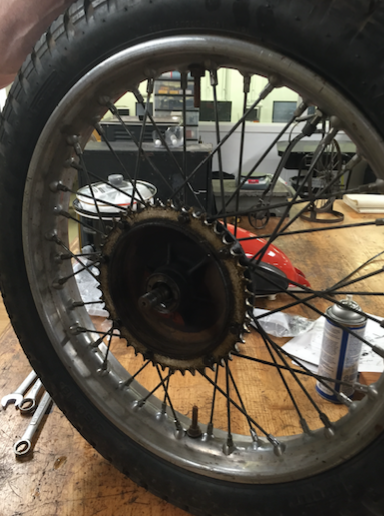
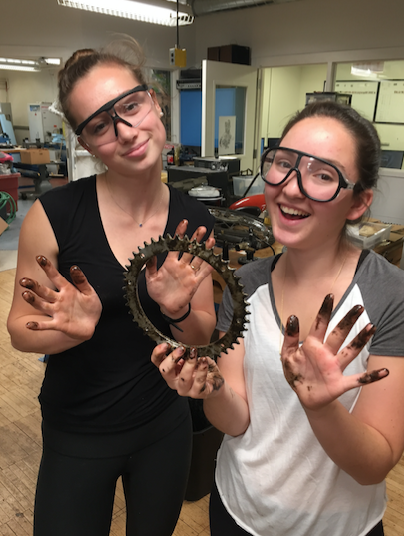
While the structures of the front and back wheels are generally very similar, there are a few key differences. The front wheel, for example was smaller than the rear wheel. The rear wheel also included a sprocket, which connected to the chain of the motorcycle.
The next few weeks consisted of long hours of cleaning and maintaining, as we cleaned all 80 spokes and every nipple, bearing, nut, and spring. The bulk of our time was taken up with spoke cleaning, which we initially did by hand. With Noel’s help, however, we expedited the process by inserting the spokes into a screwdriver. This really made the process more efficient and effective!
Near the end of our cleaning process, Bill Becker came in to teach us about the physics behind the wheel and the steps to putting the wheel back together. After a presentation in which he explained the forces acting on a wheel and the materials used in the motorcycle, Bill came into the lab and taught us how to true a wheel using a truing stand and small spoke wrenches. While truing involved a long process of adjustments to allow the wheel to spin evenly, it was incredibly satisfying to see our work finally coming together.
Our next steps in assembling the wheel included putting together the cam and brake, attaching the spokes based on our photos and observation of the ‘62, and truing of the wheel. Weaving the spokes back in was particularly frustrating for us because we had the wrong rims, so we had to weave and unweave the wheel three different times before we finally wove the right spokes into the right rim. After our rims spokes were assembled, we trued the wheel which consisted of tightening and loosening the tension in the spokes. Without the correct tension in the spokes, the offset of the spokes we measured at the beginning of the process would be inaccurate. The process is correcting the imbalance in the spokes. By using the spoke wrench, we tightened or loosened the spokes depending on the lateral or concentrical offset. We even tested the spokes by listening to the frequency of the vibrations.
Soon enough, we were ready to put the tire back on with the tire irons and the attach the final wheel onto the bike. The remaining few steps included attaching the brake cables and the chain. Now we were reading to take the bike for a spin!
We have really enjoyed working on the wheels and having a hands on opportunity to work on the bike. We hope that our presentation was enjoyable! We certainly enjoyed making the presentation (and the cake!), and we hope that all future wheels teams enjoy the class as much as we have. Thank you, Professor Littman, so much for the opportunity to take part in such a special class!
The link to our video! Enjoy!
https://www.youtube.com/watch?v=uOuFI83CbSk
We have also attached our Prezi presentation to the end of the page.
Our Prezi Presentation: