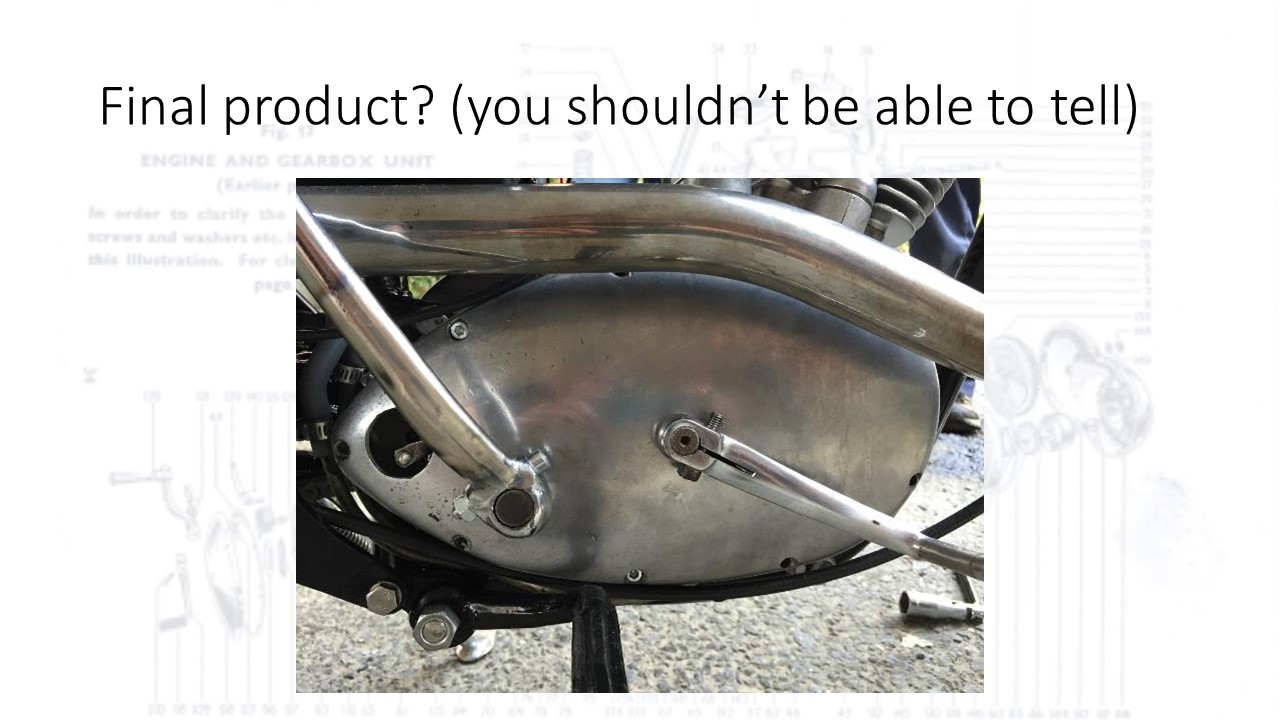
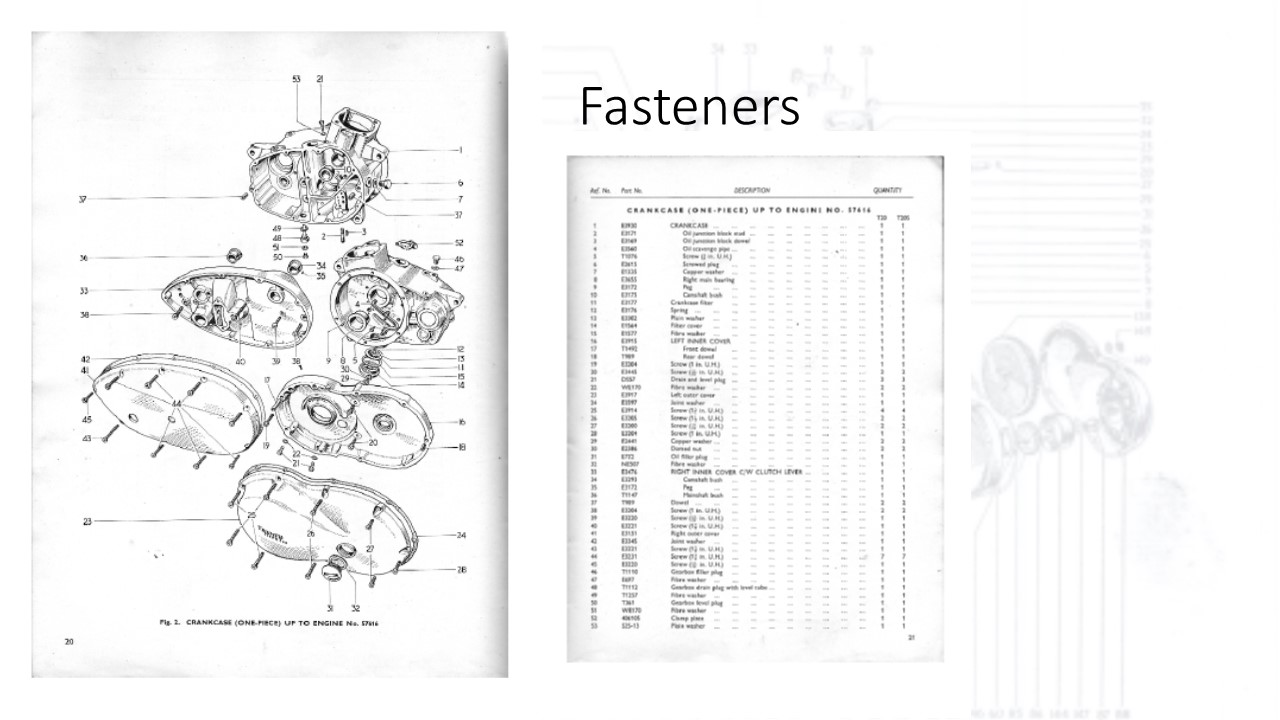
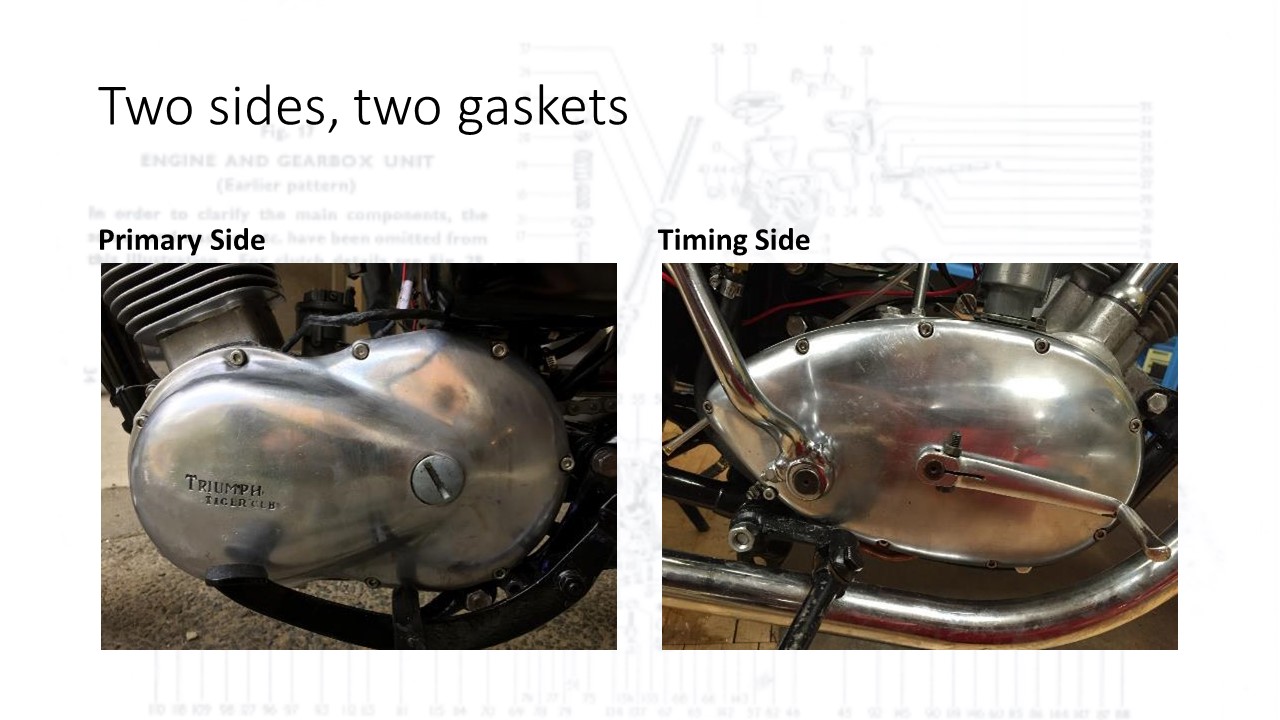
The engine was held together by many fasteners, as shown in the above diagram. In particular, this presentation focuses on the fasteners holding the engine covers to the engine block.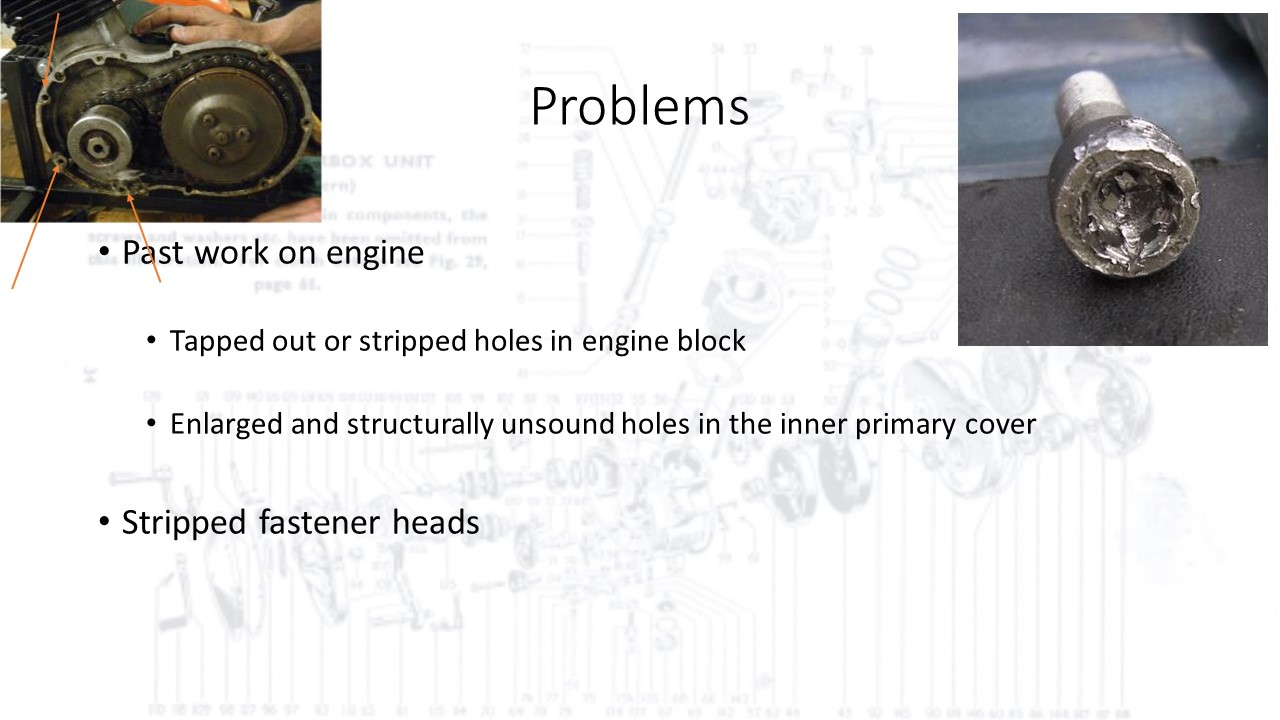
A past owner had at some point stripped the thread of some of the engine block holes. To “fix” this, he had screwed larger bolts into some of the original holes, messing up the top thread completely, and retapped other holes for larger bolts.
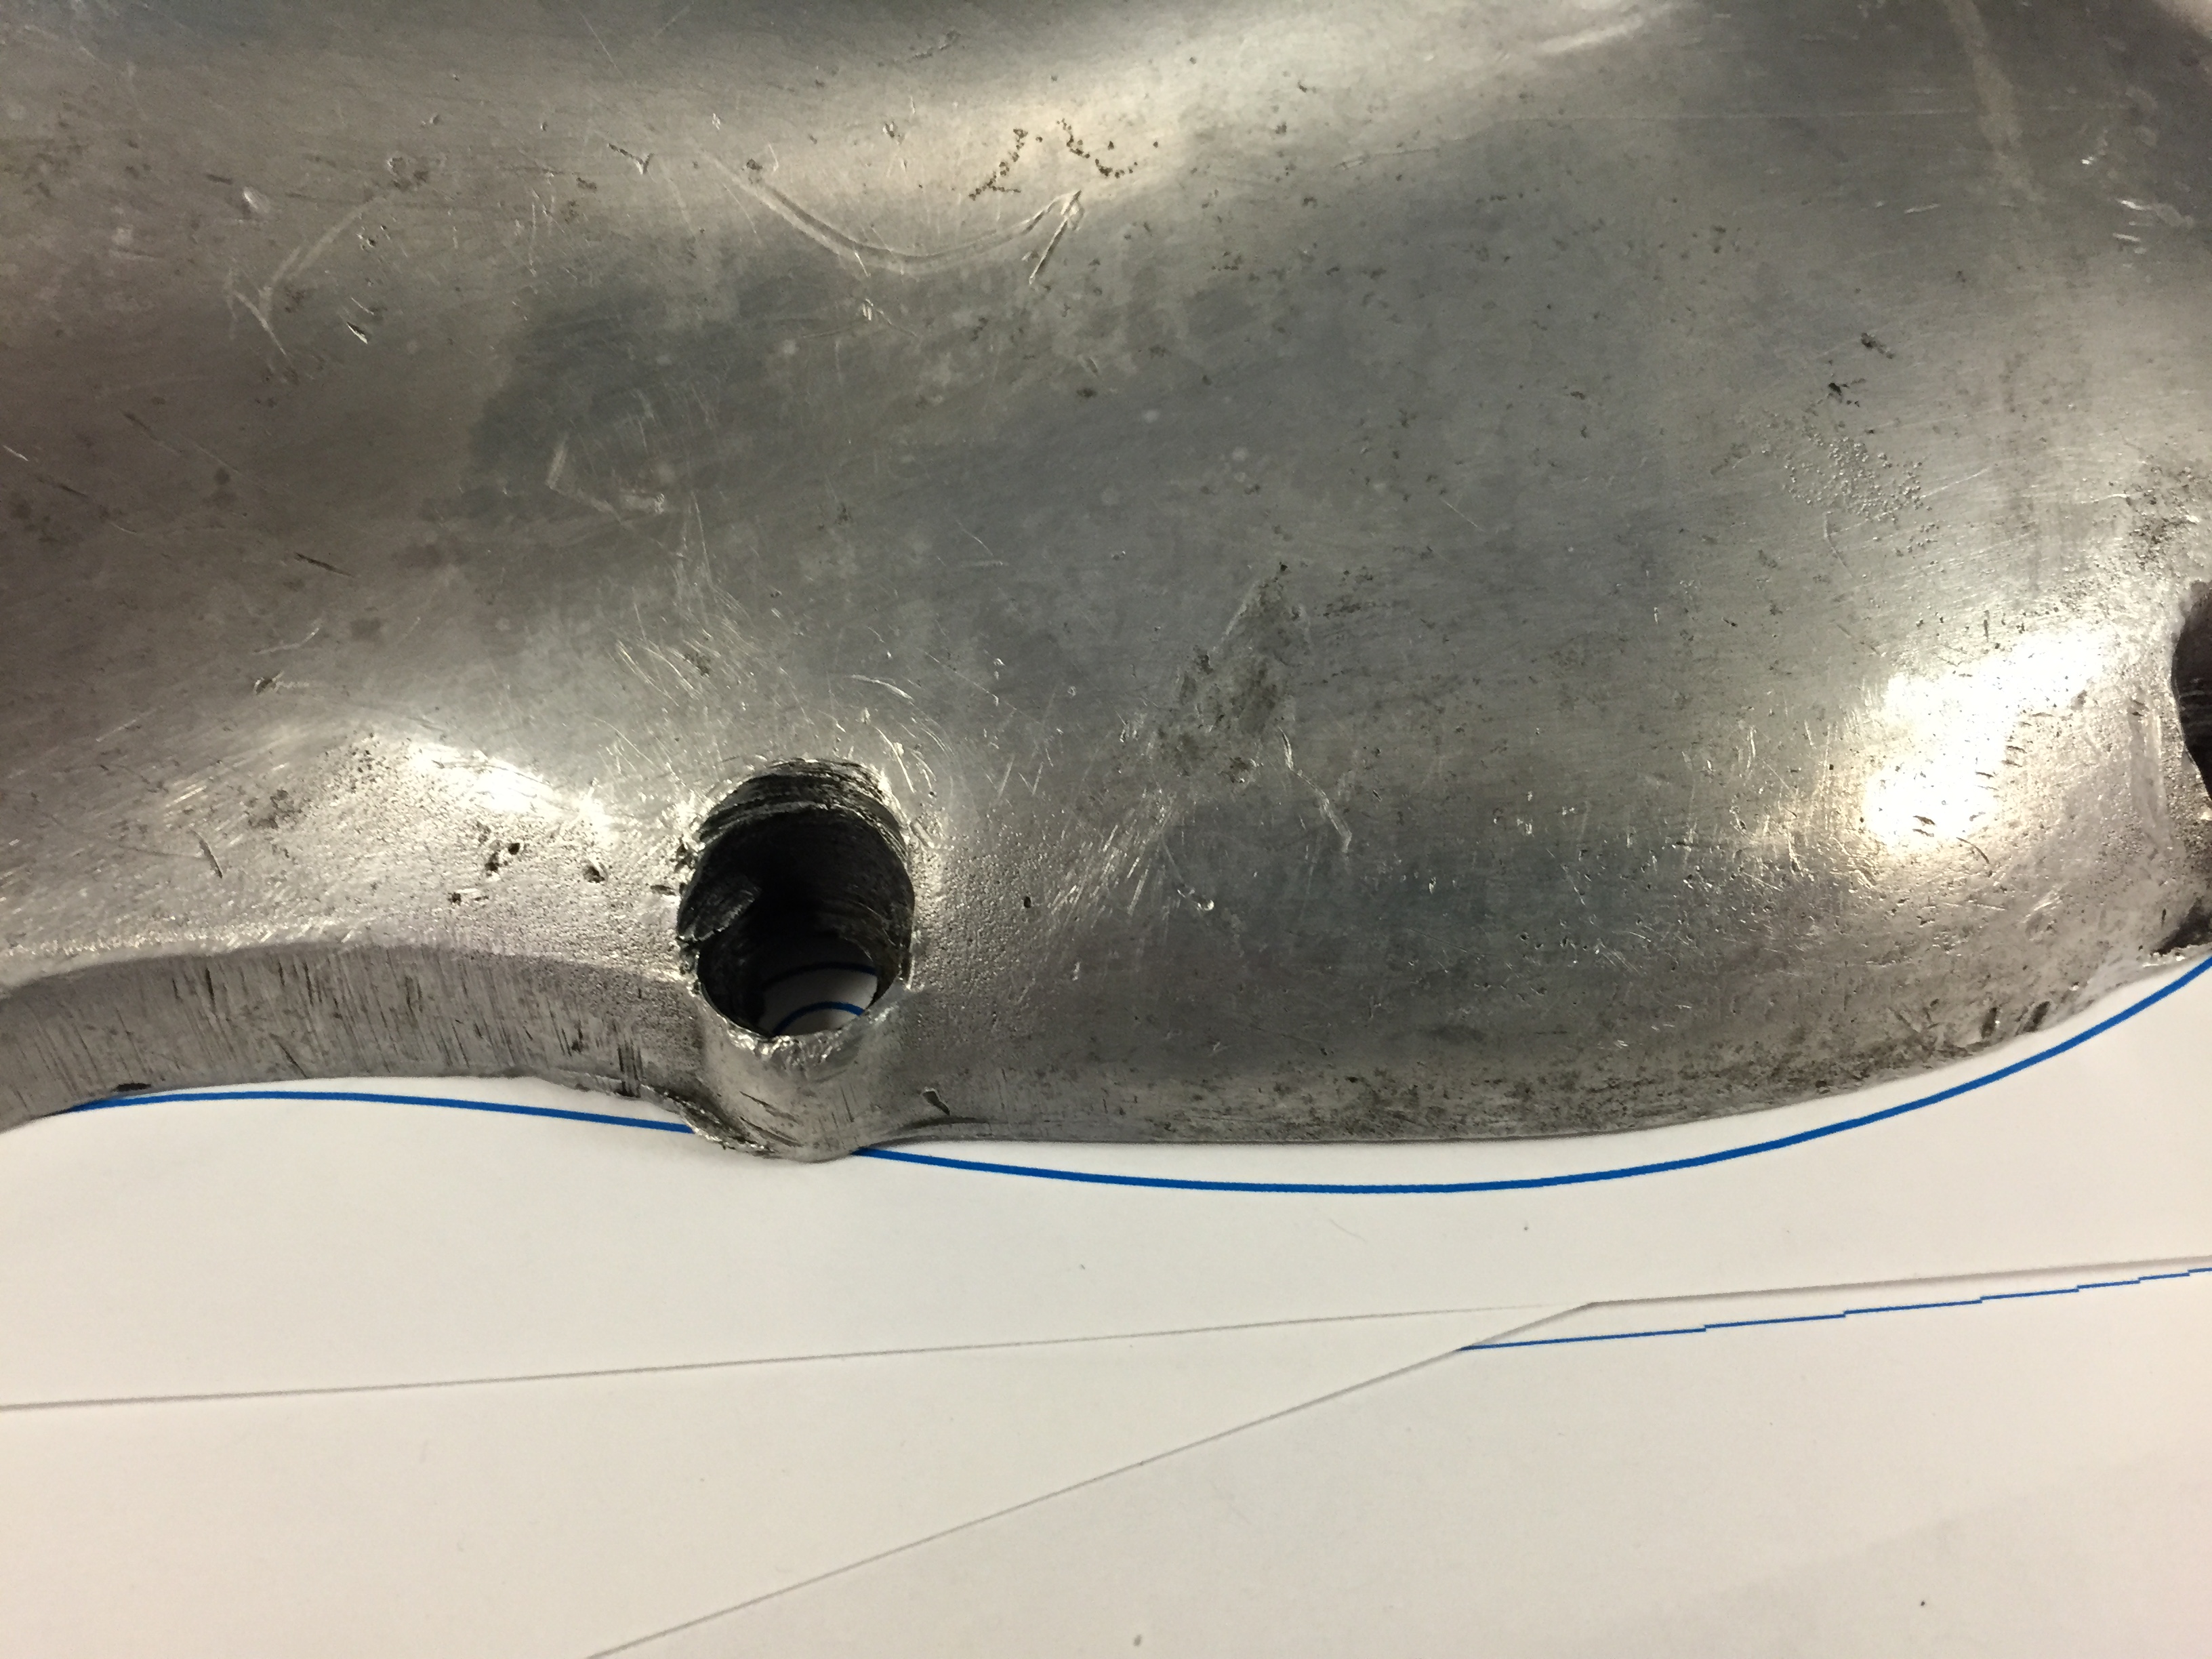
Because he was using larger bolts, he also had to drill out the holes in the covers. This was particularly bad in the inner primary cover. The holes were larger than they were designed to be, leading to cracks in the cover, some of which had been welded together at some point.
In addition to all of this, most of the bolt heads were in very poor condition.
Stripped head photo from www.advrider.com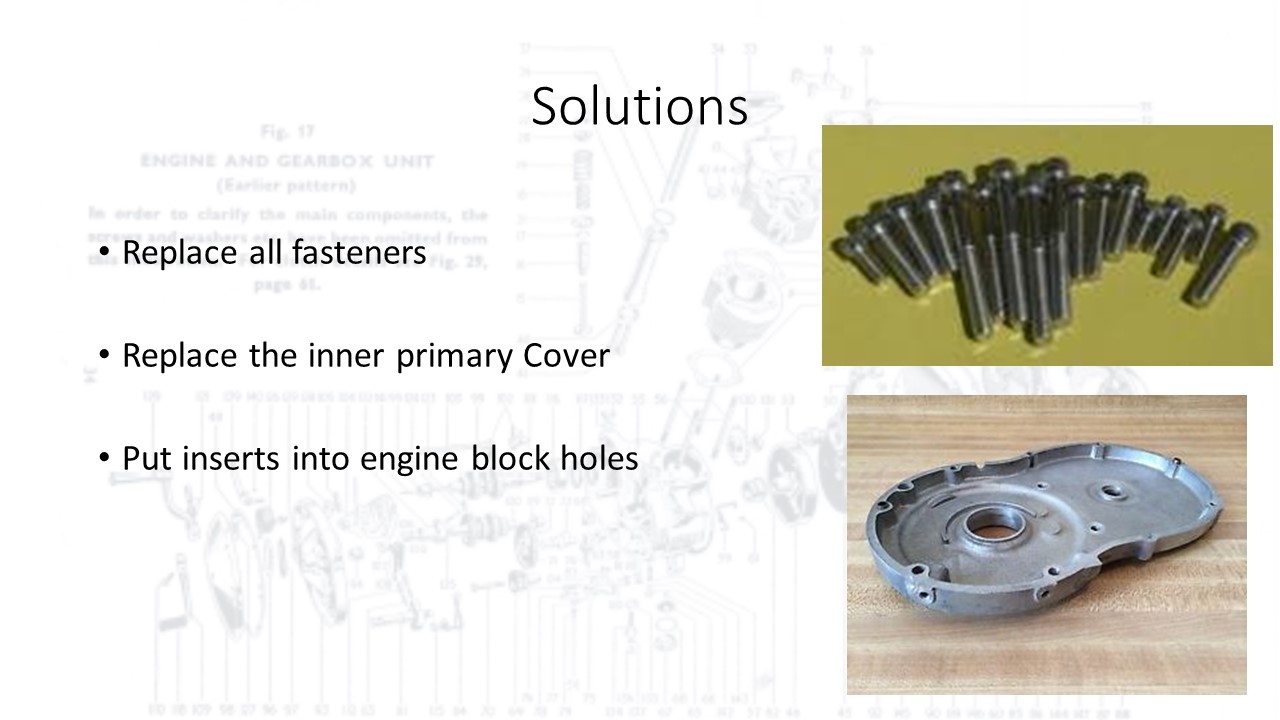
Since few of the bolts in the engine were useable, we replaced them all with new stainless bolts of the original diameter and pitch.
Since we were using bolts of the original diameter, we could use a new inner primary cover also, getting rid of the old cracked one.
But since we were using smaller bolts in the drilled-out engine block, we also had to put inserts into many of these holes. The engine block matched the motorcycle frame, so it was important that we not replace it with a different one.
Photos: Bolts from www.classicmotorcyclespares.com Cover from www.ebay.com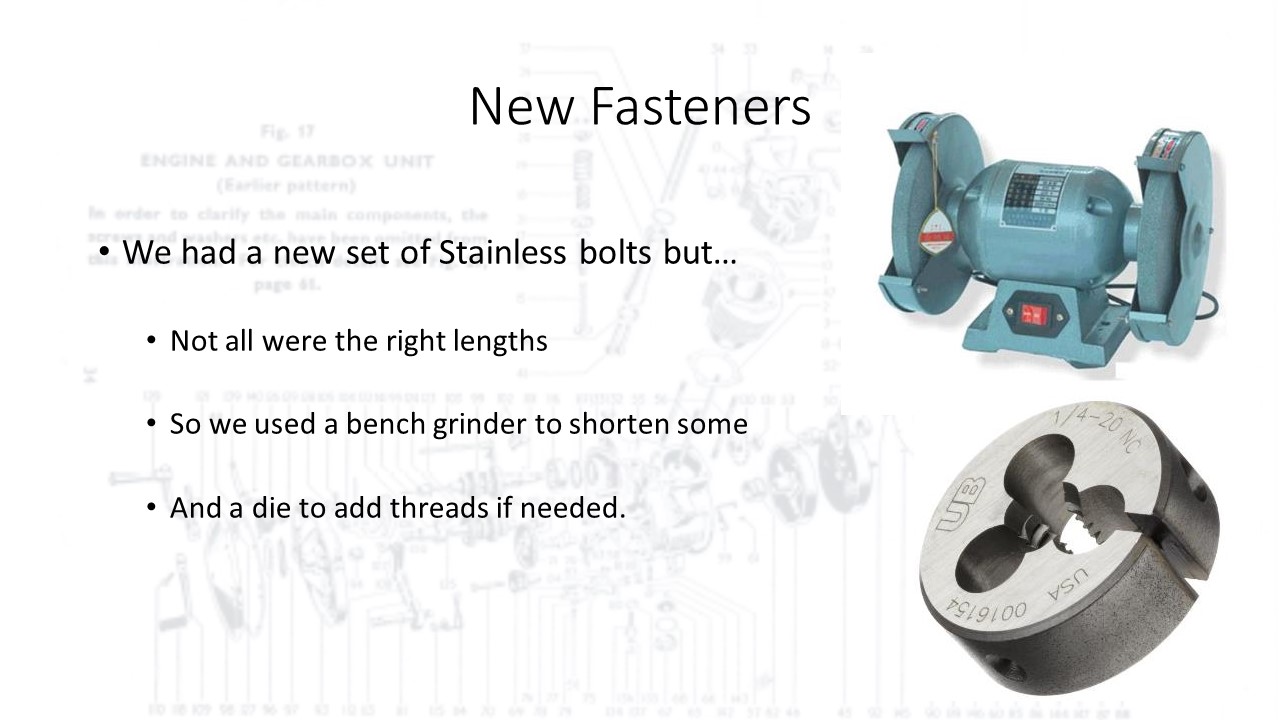
The new set was great, but did not exactly match the fasteners we needed. Therefore, we took some fasteners that were too long and cut them shorter on the grinding wheel. Since the bolts were only partially threaded, this left some bolts with not enough thread remaining. We then held the bolts in a lathe and used a die to add threads to the bolt.
Photos: Bench grinder from www.cossolarenergy.com Die from www.amazonsupply.com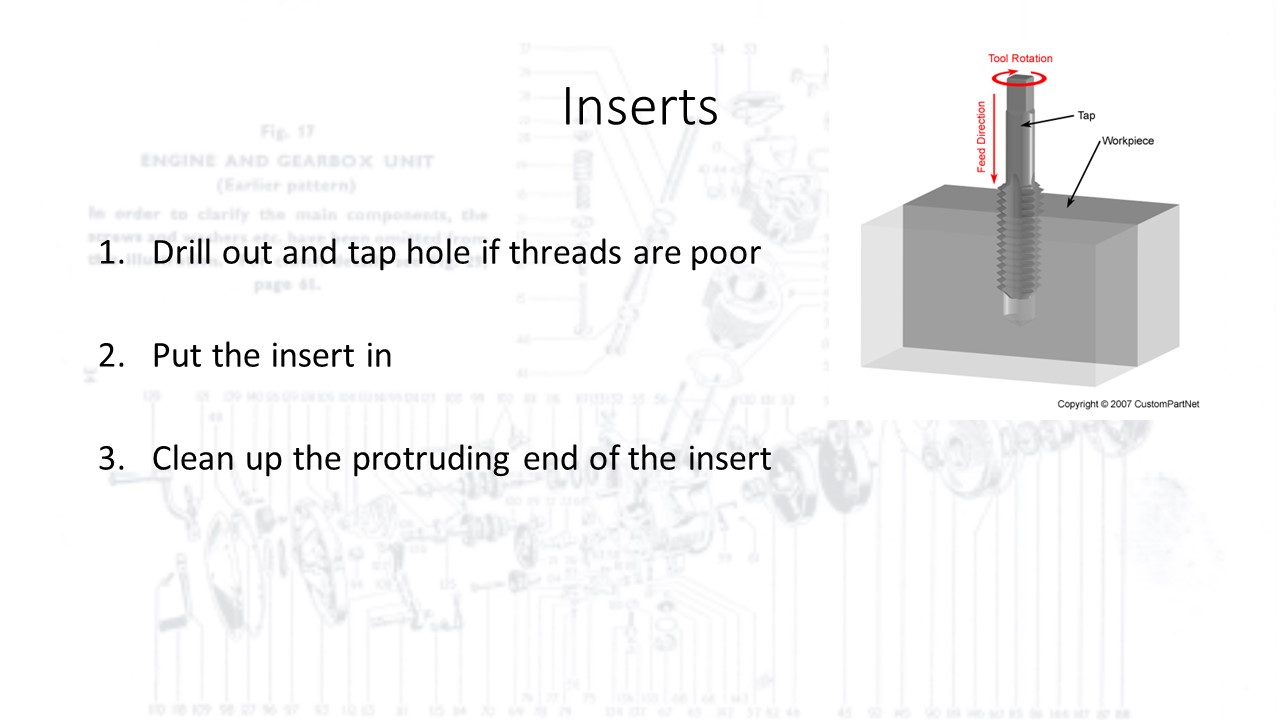
Inserts can be used to put smaller fasteners in larger holes. They decrease the diameter of holes and can also be used to change the thread pitch.
Inserts need threads to go into, so for holes with poor threads, we first drilled out the old threads, then rethreaded the large hole with a tap.
Then we could screw in the insert. Finally, we could clean up the protruding parts of the insert so that the surface would be flush. This was very important for the surfaces of the engine block, which would match the cover surfaces to prevent oil leakage.
Photo of Tap from www.custompartnet.com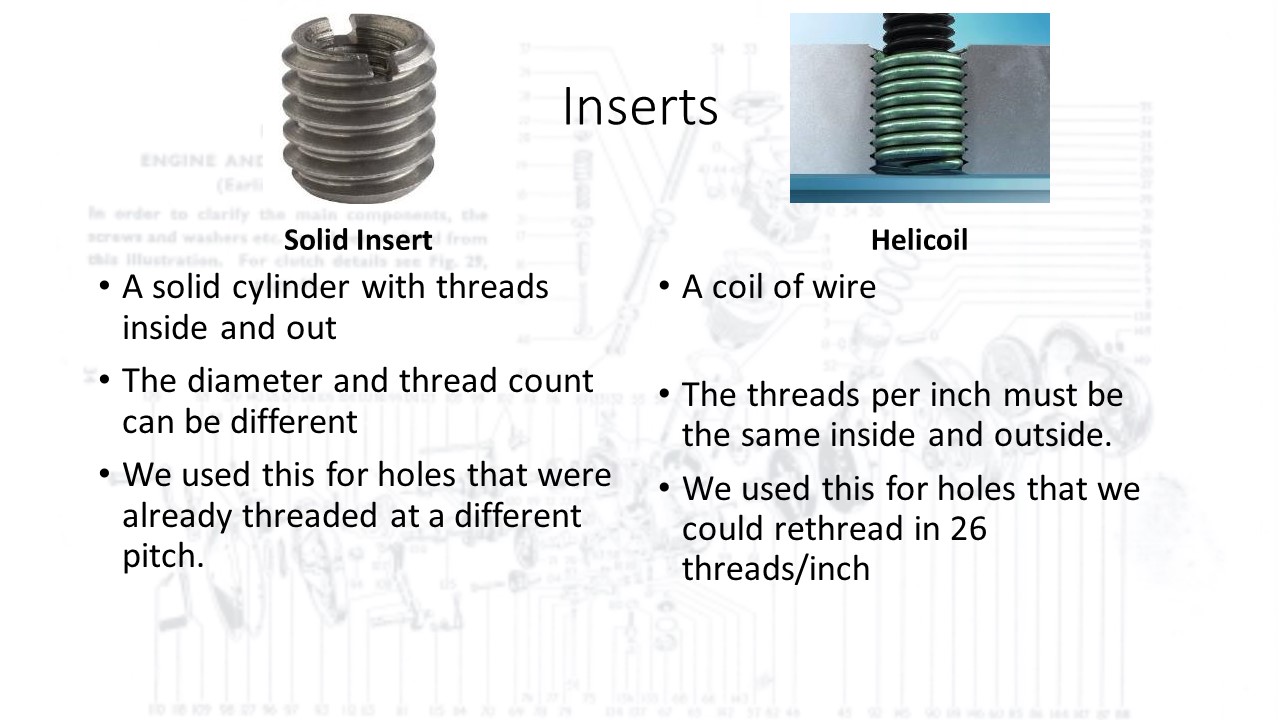
There are two basic types of insert we used.
The solid insert is basically a hollow cylinder with threads inside and out. The exterior threads match the threads in the larger hole, and the internal threads match the desired threads for the bolt. This can be used for changing the pitch of a hole (say from 28 to 26 threads/inch). To clean up the protruding surface, we could sand the rough edges down.
The helicoil looks like a spring or coil of wire, with somewhat triangular wire cross-section. It also screws into a threaded hole, but, since the threading comes from the wire coil, the pitch inside has to be the same as the pitch outside, though the diameter will be smaller. We could use this for holes that were already threaded at 26 threads/inch, or holes that we had drilled out and threaded at that pitch. To finish the surface, we just had to clip off a bent piece of wire that was used to screw it in.
Photos: Solid Insert from www.amazon.com Helicoil from youtube.com/user/BoellhoffGroup

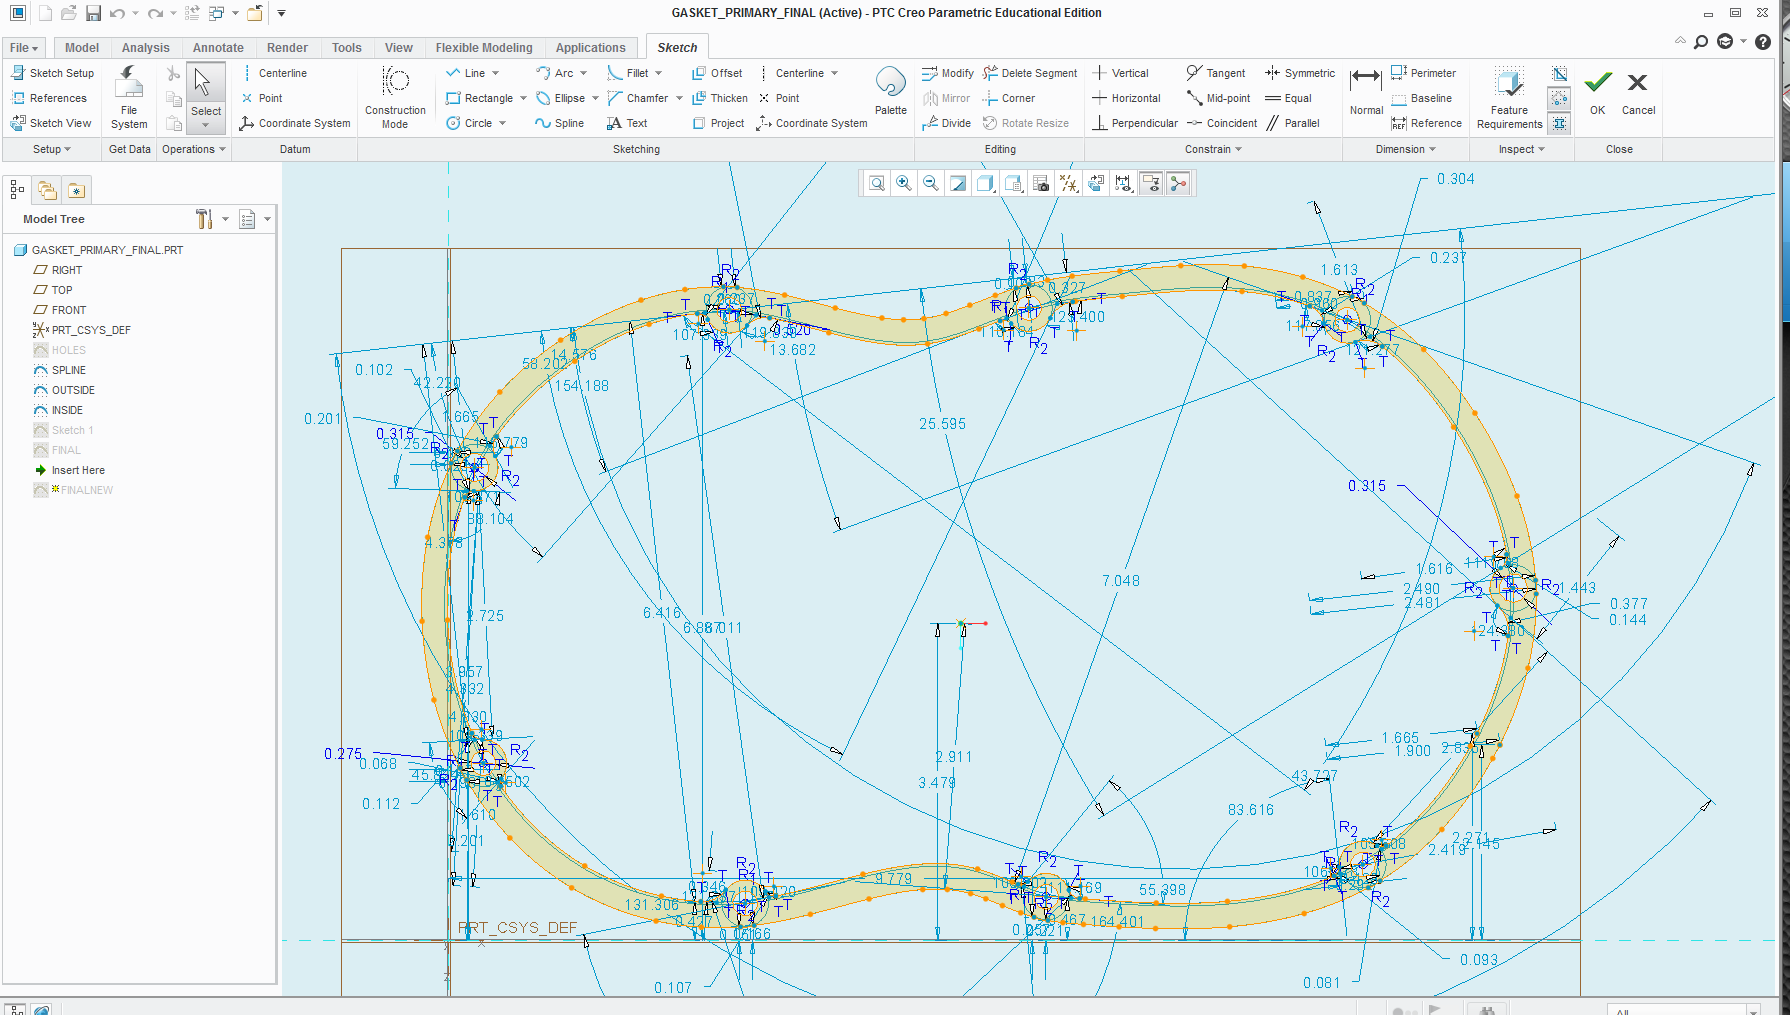
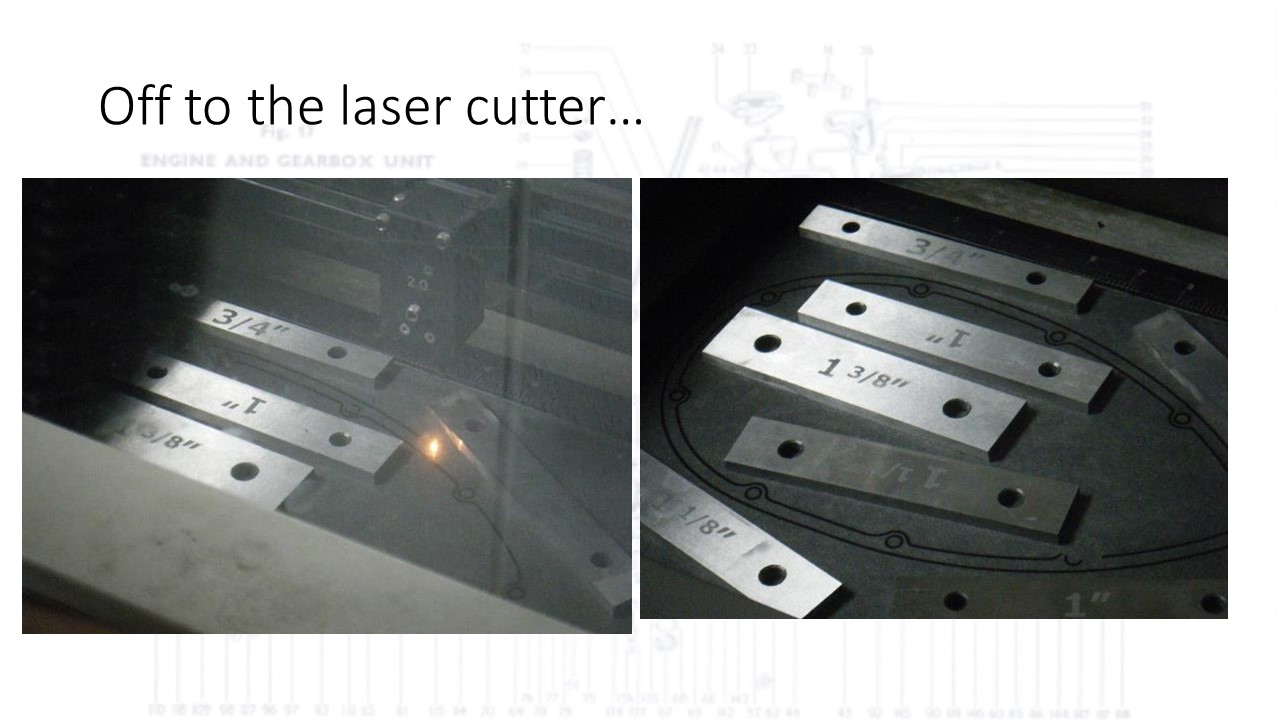
The laser cutter rapidly cuts through the rubberized gasket paper according to the vector file sketch given to it. The metal weights are only used to hold down the paper and prevent it from lifting up as the machine’s exhaust system pulls air out of the cutting area.