Our Wheels Before and After Restoration


An Overview of the Components of the Wheel
- The brakes
- The hub
- The tire
- The spokes and the rim

But first we should have a look at…
The Physics Behind the Wheel

The wheels on a bike operate on the principle of rolling without slipping. Rolling without slipping means that there is no horizontal movement of the wheel at its contact point with the ground. If the wheel were to be moving to the right without rotating, it would be skidding or slipping relative to the ground as the point in contact with the ground has horizontal movement. In order for the wheel to roll without slipping, friction must act to oppose any forces that encourage the wheel to move horizontally without rotating.
In the example above, case (a) shows a wheel accelerating forward. Friction must then act in the forward direction in order to make sure that the bike rotates without slipping and does not slide. In case (b), the opposite occurs. The acceleration is in the backwards direction, causing the friction to act in the backwards direction as well in order to combat the wheels desire to slide along the ground.
While rolling without slipping is the ideal case for a wheel, unfortunately it is rather unrealistic to expect perfect rolling without slipping for each rotation of the wheel due to outside sources that will interfere with the rolling of the wheel. For this reason, a wheel does not roll completely without slipping except in an ideal world.
The brakes on a wheel apply a torque in the opposite direction to the direction in which the wheel rotates. In doing so, the brakes will cancel out the motion of the wheel and cause the bike to stop.
Stop…Look at the Brakes

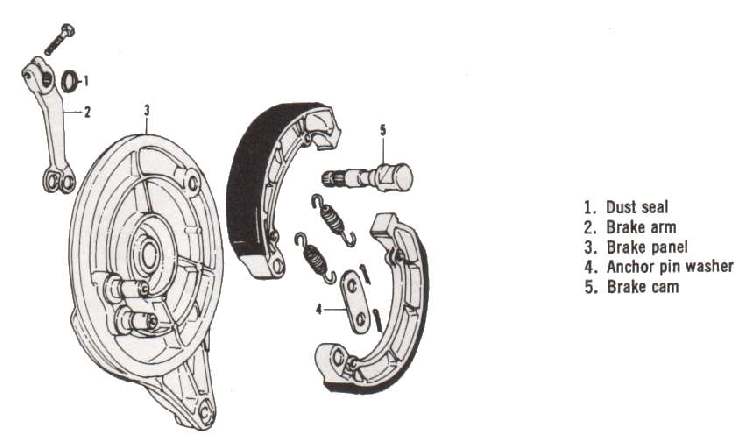
Our motorcycle uses a drum brake. A drum brake consists of two brake shoes on a shoe plate. The theory behind a drum brake is that the bike will stop because the activation of the brake on the handlebar will cause the each brake shoe to spread out and come into contact with the drum. The drum is the part of the brake that will spin with the wheel. As a result of this contact, there will be a large amount of friction between the shoes and the drum, causing the wheel to stop turning and the bike to stop.
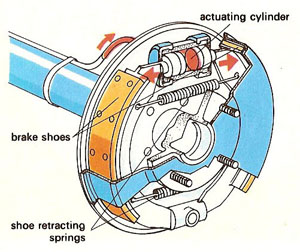
Each shoe is lined with a high friction material that will rub against the shoe plate in order to slow down the bike. The shoes are secured with two springs and are separated by a pivot on one end and by a cam on the other. The cam can be turned, which will force the brake shoes to spread out to the edge of the drum and cause the bike to brake by stopping the drum from spinning.
The drum brakes are connected to the brake on the handlebars by a cable. The brake handle lever should be able to move about an inch before the shoes hit the drum and cause the bike to stop. Drum brakes are beneficial to bikes because of their simplicity. However, they are not very efficient and are quite large.
Our Involvement with the Brakes
The original brakes on our bike were not in very good shape. They were rusty, worn down and an overall danger to the safety of the bike. For this reason, we purchased new drum brakes for both the front and the rear wheels. The assembly of the new brakes was fairly straightforward. To put together the brakes, we needed to connect the shoes with two springs and then snap these parts into place on the brake plate. In order to this, we needed several hands and a screw driver to help force the shoes into place on the plate. One part of the assembly that we struggled with was putting the shoes on the brake facing the correct way. On both the front and rear brake we originally put the shoes on in the wrong direction and had to subsequently reassemble the brakes. Overall, the brakes are now in much better shape and are ready for anything the rider throws at them!
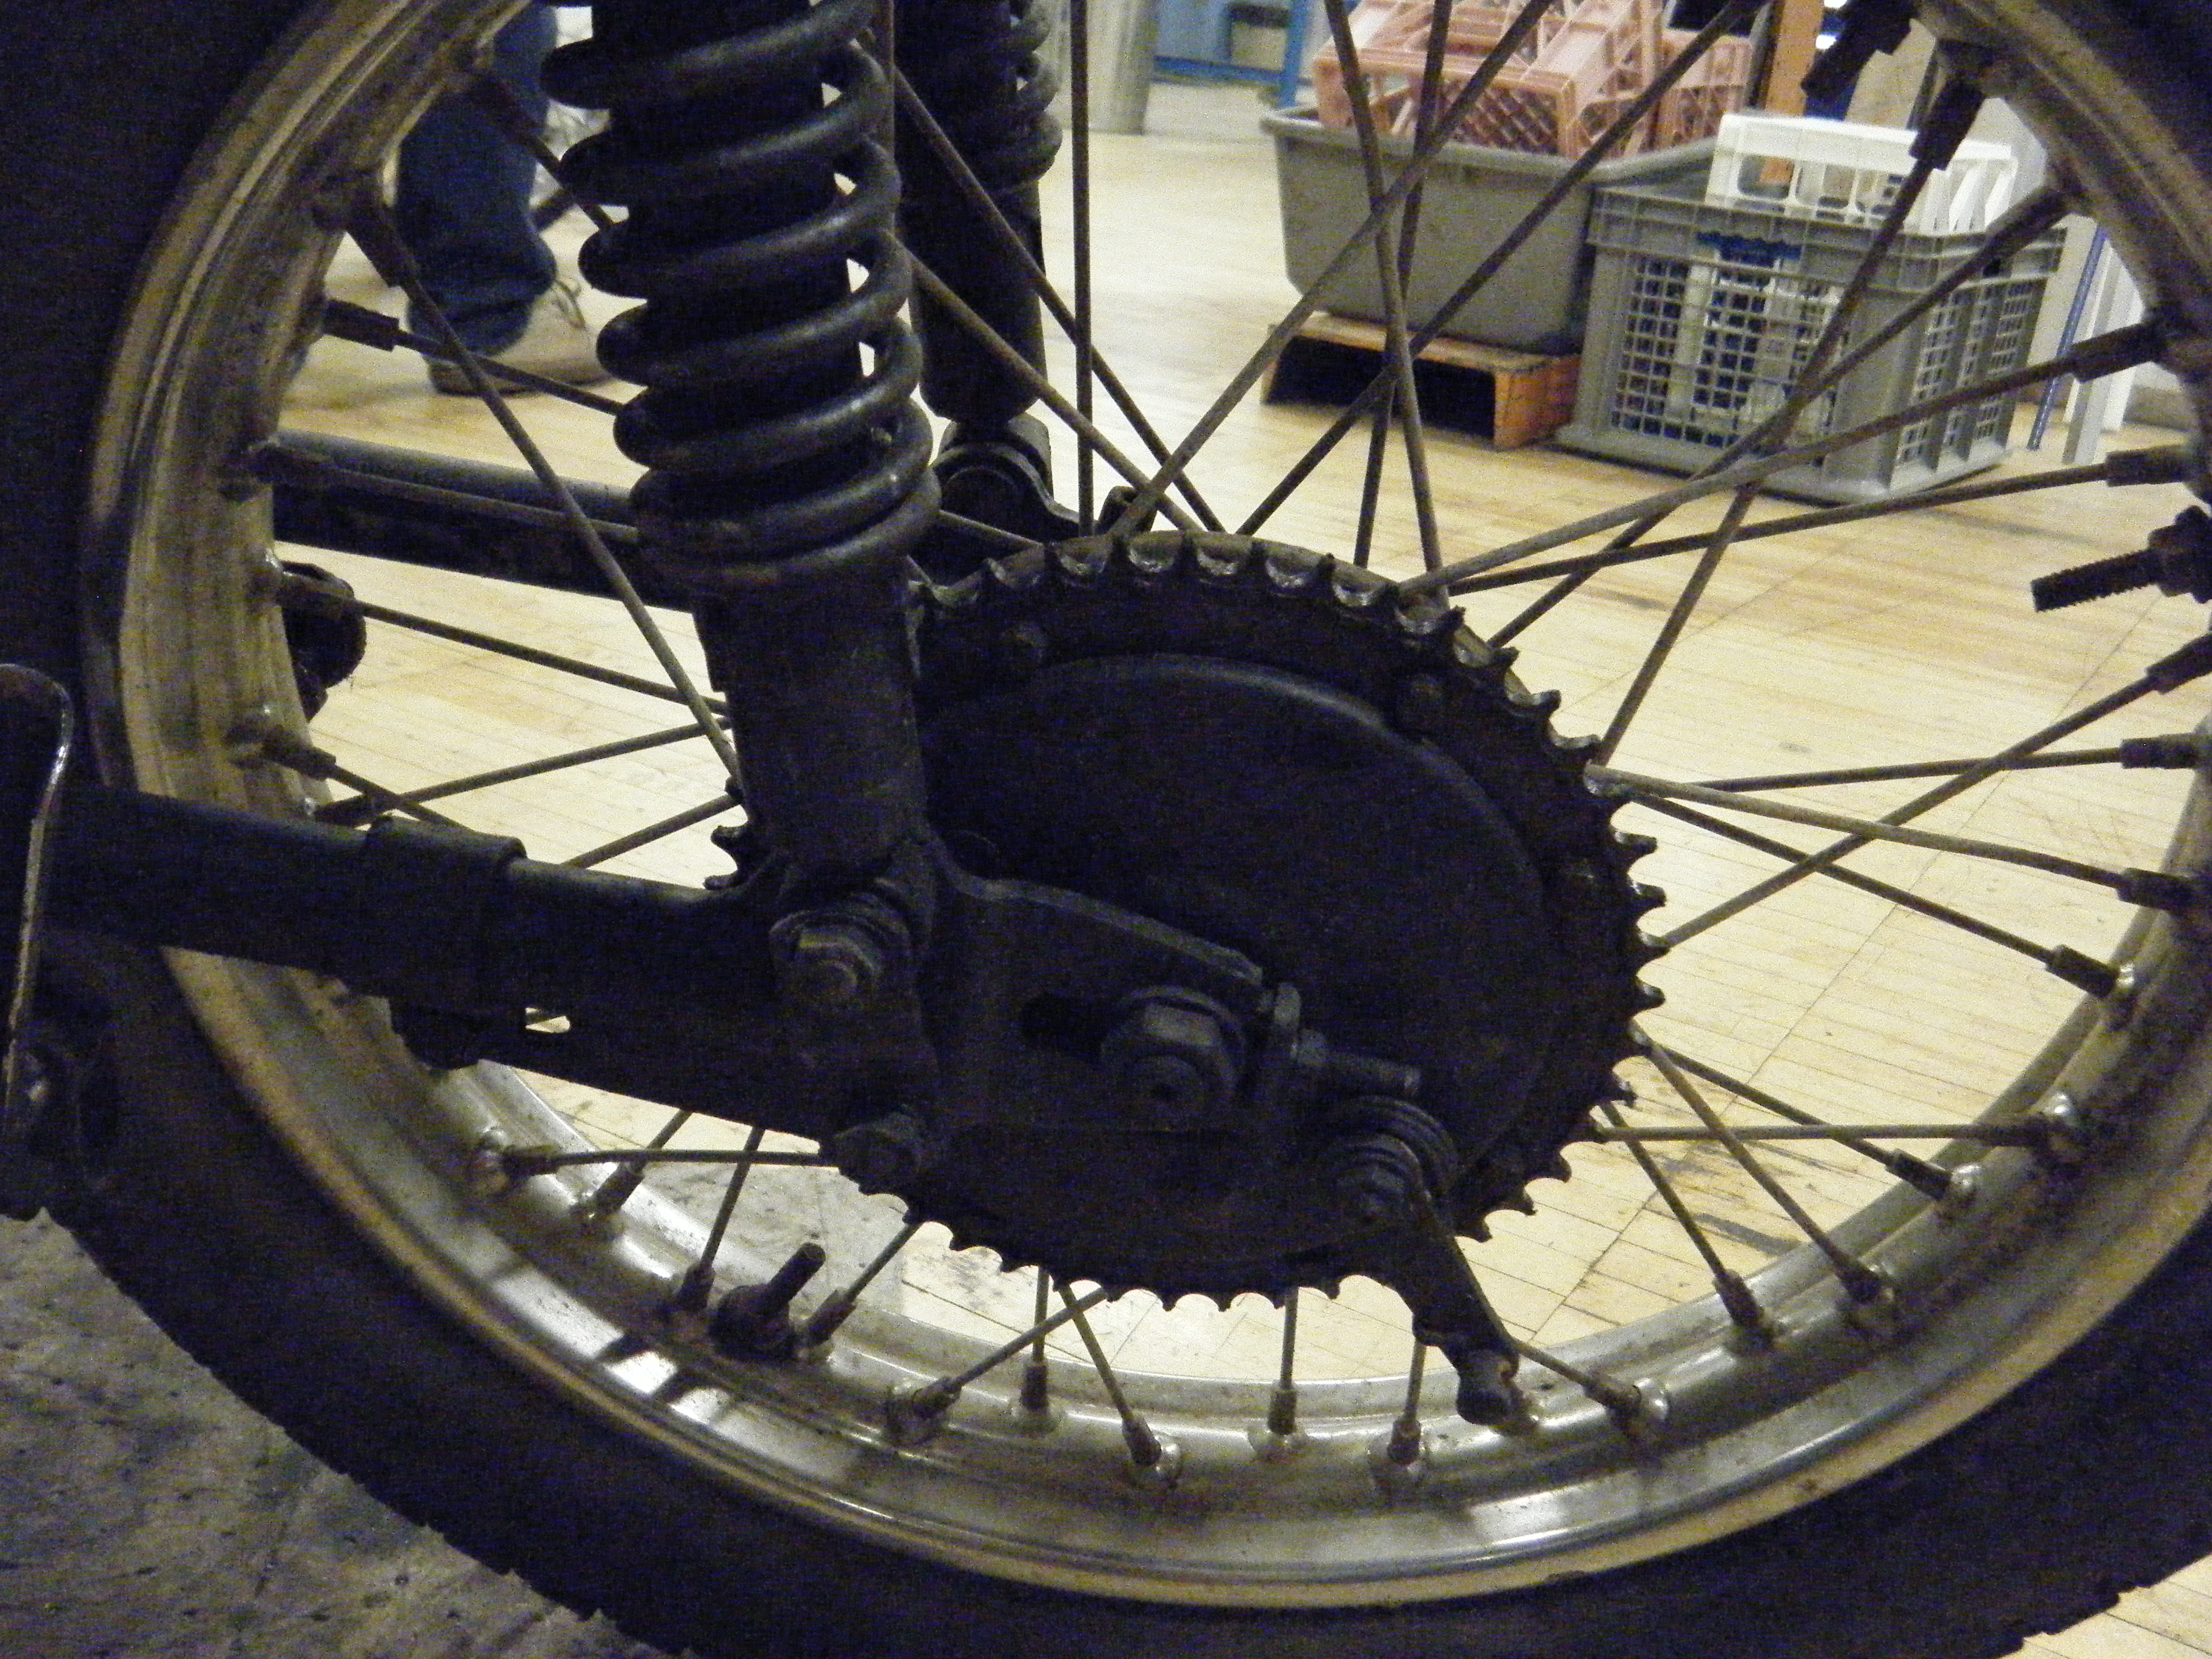
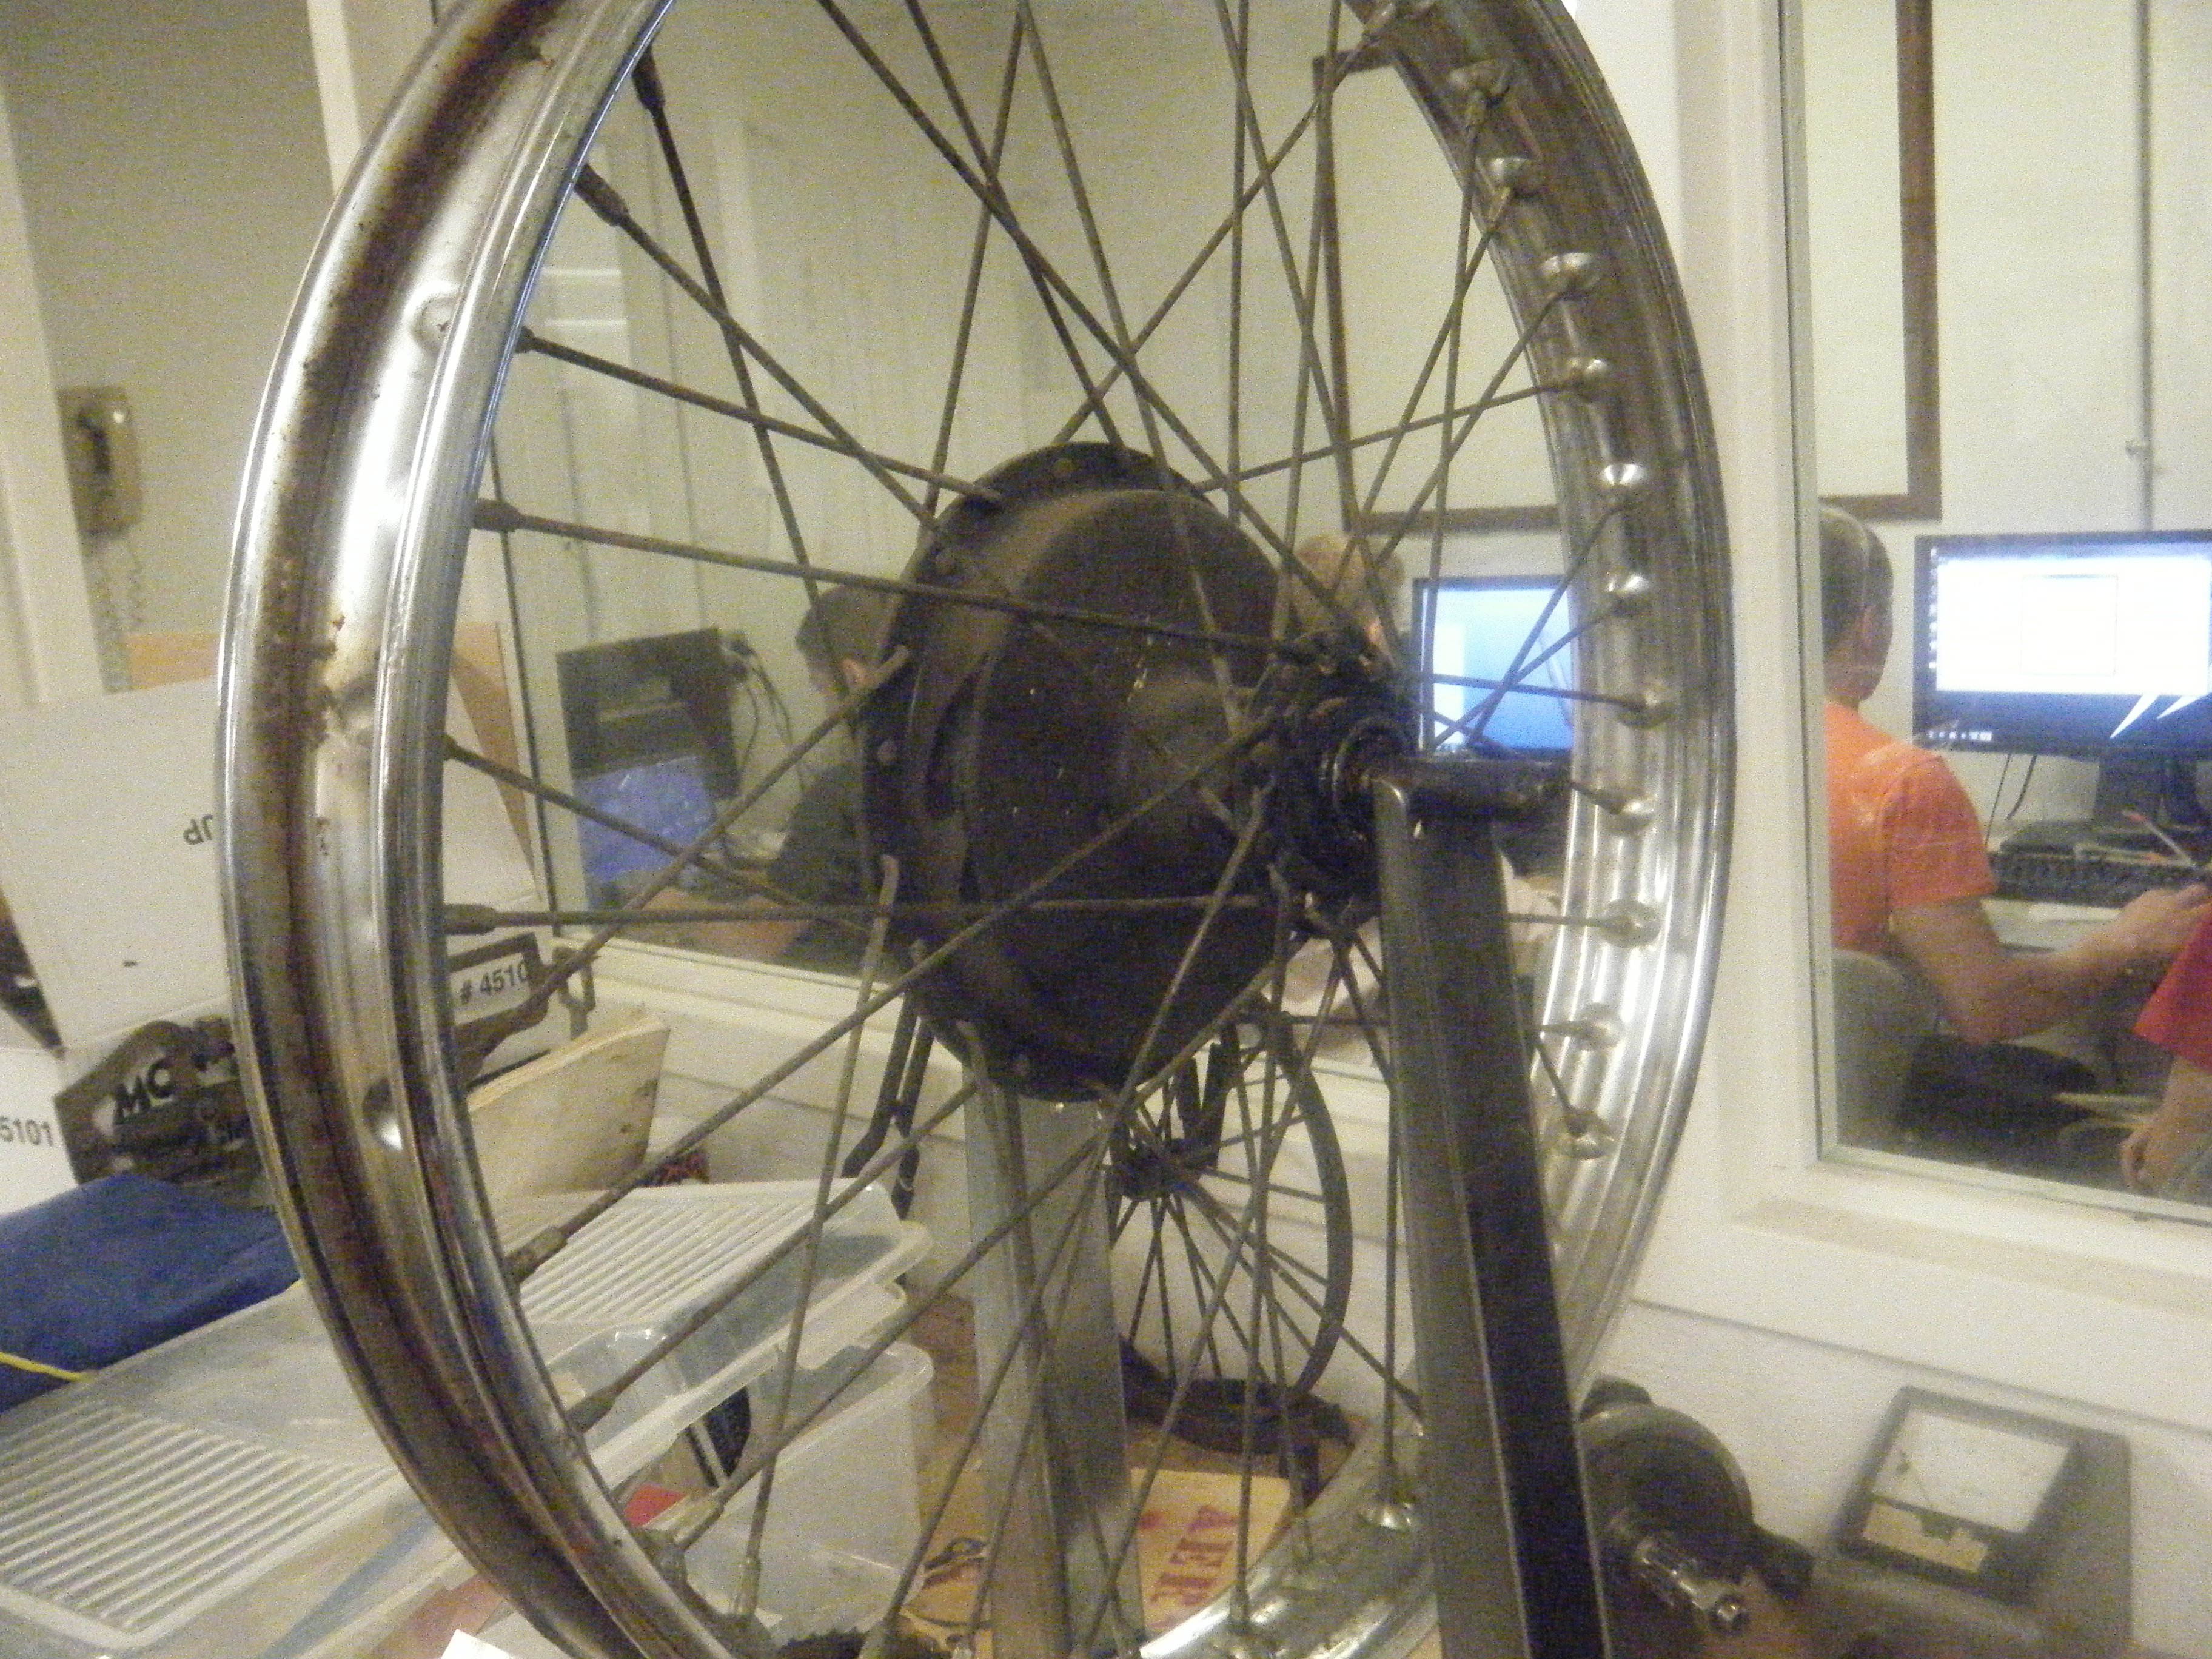
The (Rest of) the Hub
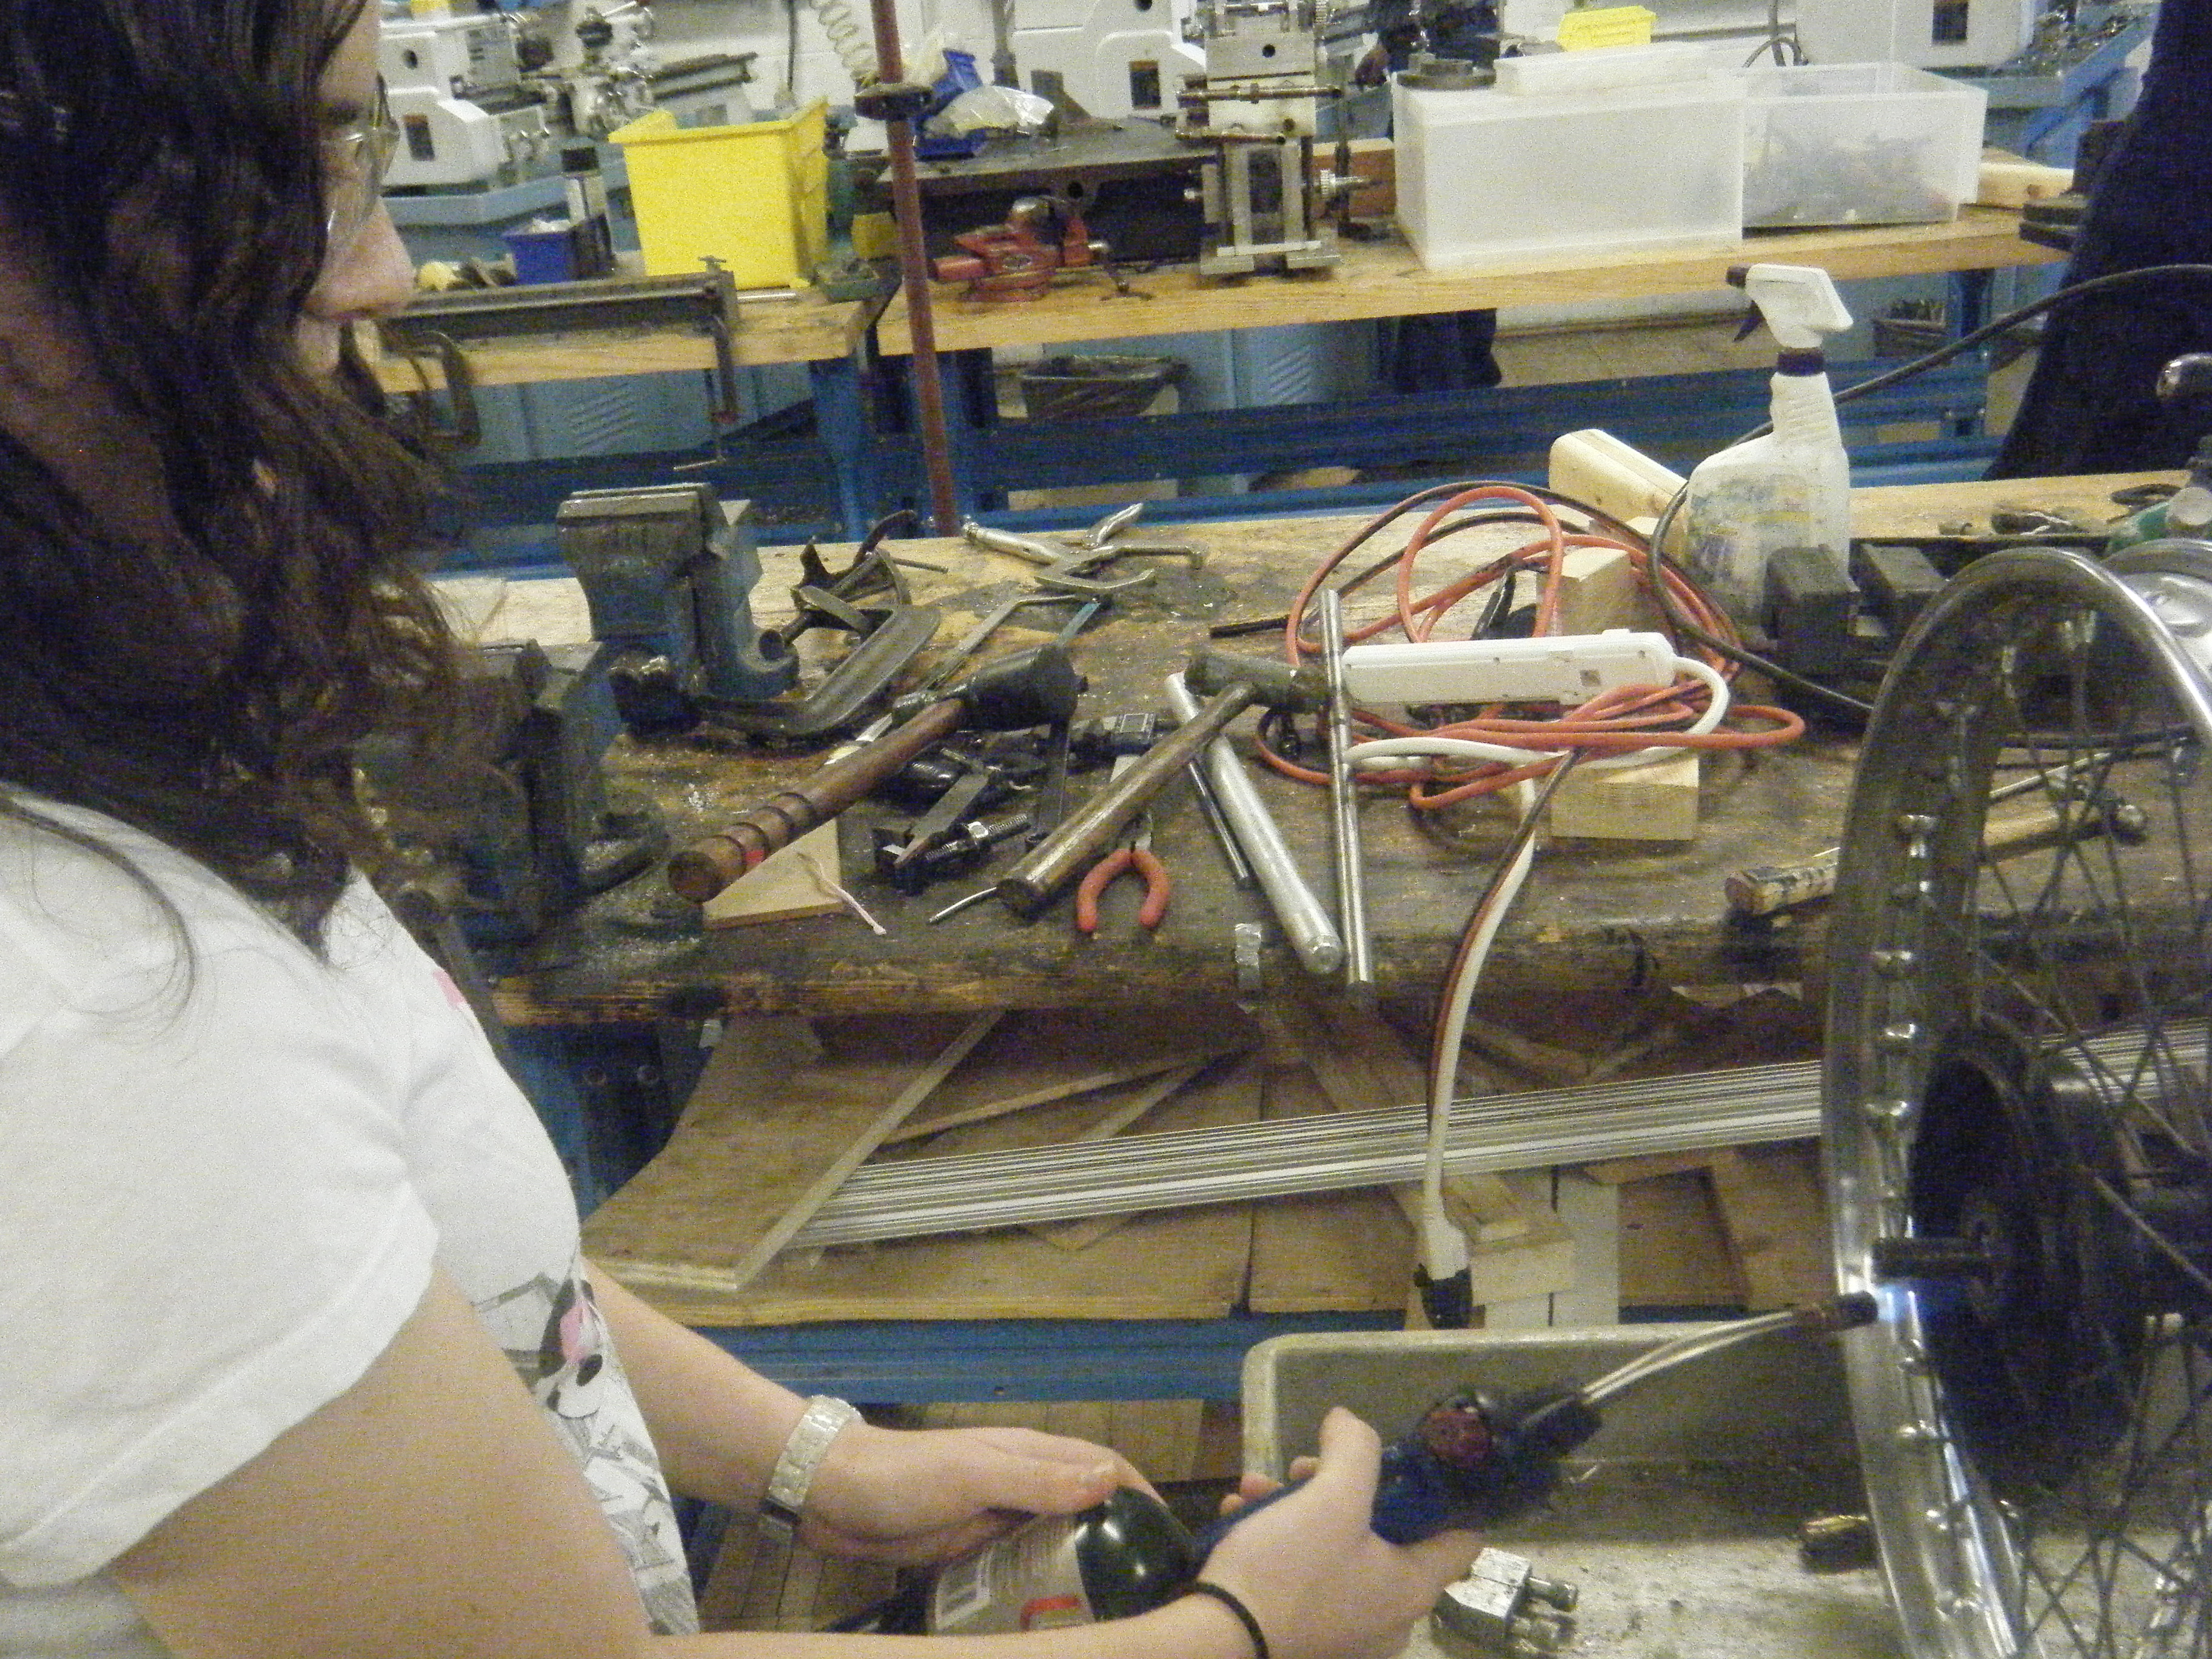
The hub contains our drum brake, as well as the spindle and bearings of the wheel. The hub is also the central part of the wheel, as the spokes come together to attach at the hub. In the above picture, Elana is using a fire torch to heat up the cast-iron hub – this is because we were having problems when trying to remove the bearings. This heating of the inner part of the hub (the brake drum) is science applied at its finest: because the bearings were stuck, we were giving the drum holding them heat; this caused it to expand (things expand under high temperature, such as a basketball in ninety degree weather as opposed to one in forty-five degree temperature) and allowed us, with some extra elbow-grease, to remove the bearings and clean them out.
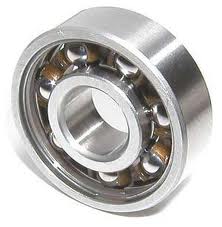
These bearings are, as shown below, allow the wheel to spin freely, without using excessive heat or friction (they are positioned on the axle). It is important to be able to remove them so that they can be repacked with grease (or, in our case, petroleum jelly) every couple years, or thousand miles.
The Tire
One of the most challenging parts of our maintenance on the wheels was when we took the tires off of the rims. This required several people, hand soap to lessen the friction, and tire irons. However, we encountered further troubles and instead had to resort to a band saw to cut away the tire. This band saw was necessary because the tire wasn’t coming off with the tire irons, but after cutting most of the rubber there was still steel banding around the inner tube. It is very important to not damage the rim when removing the tire, so cutting with a band saw is dangerous; therefore, we used a hack saw to carefully cut the banding.
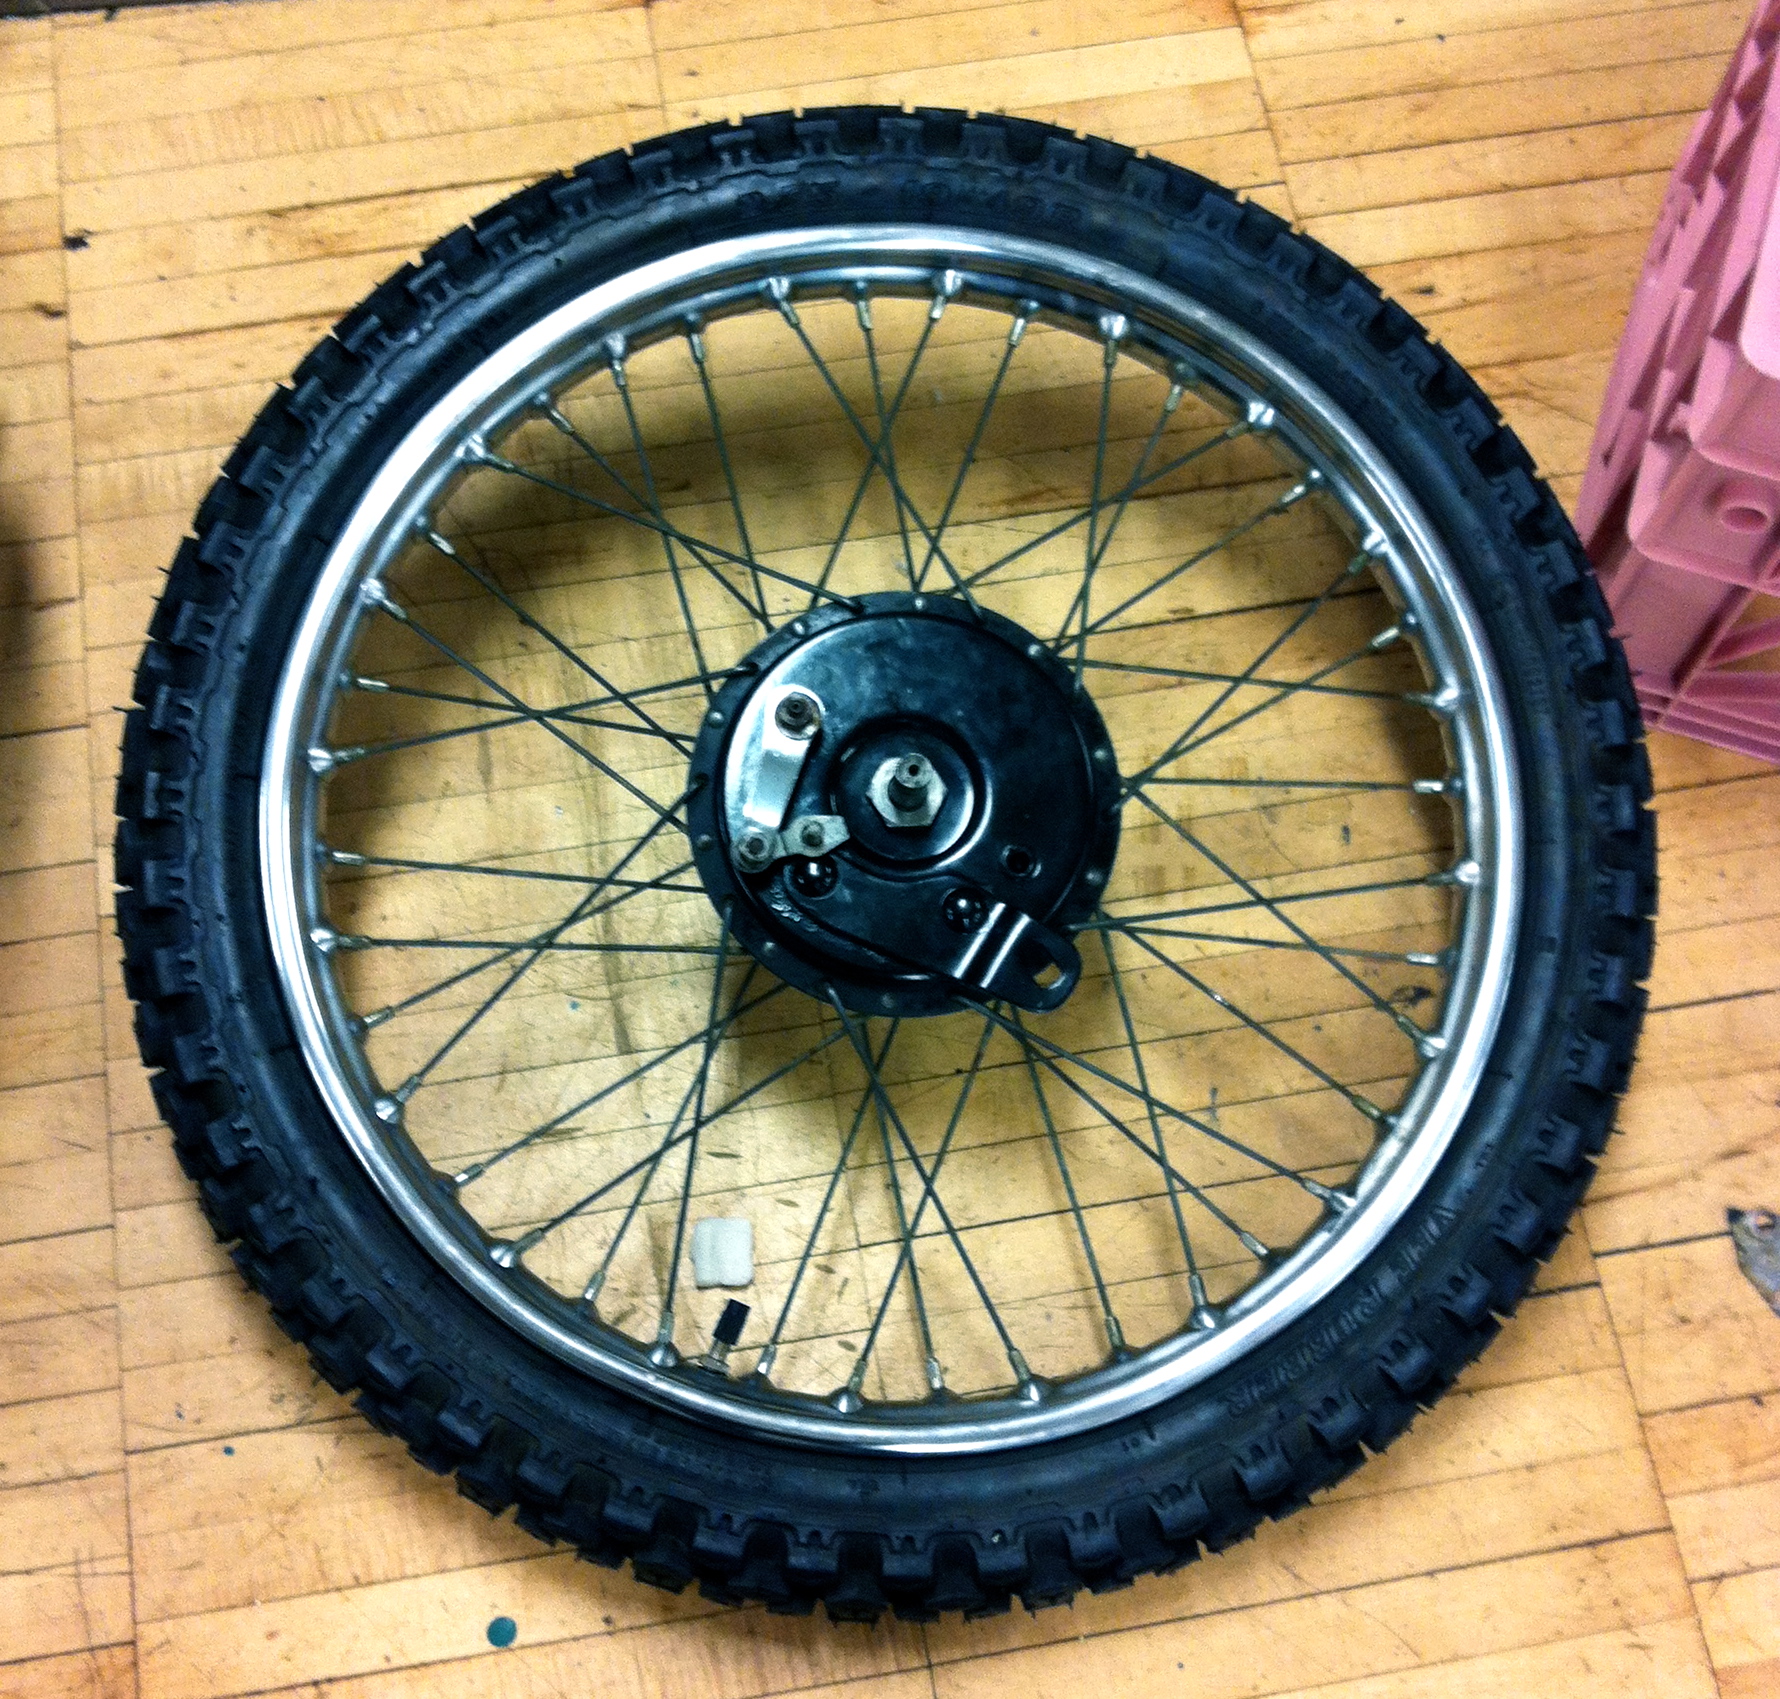
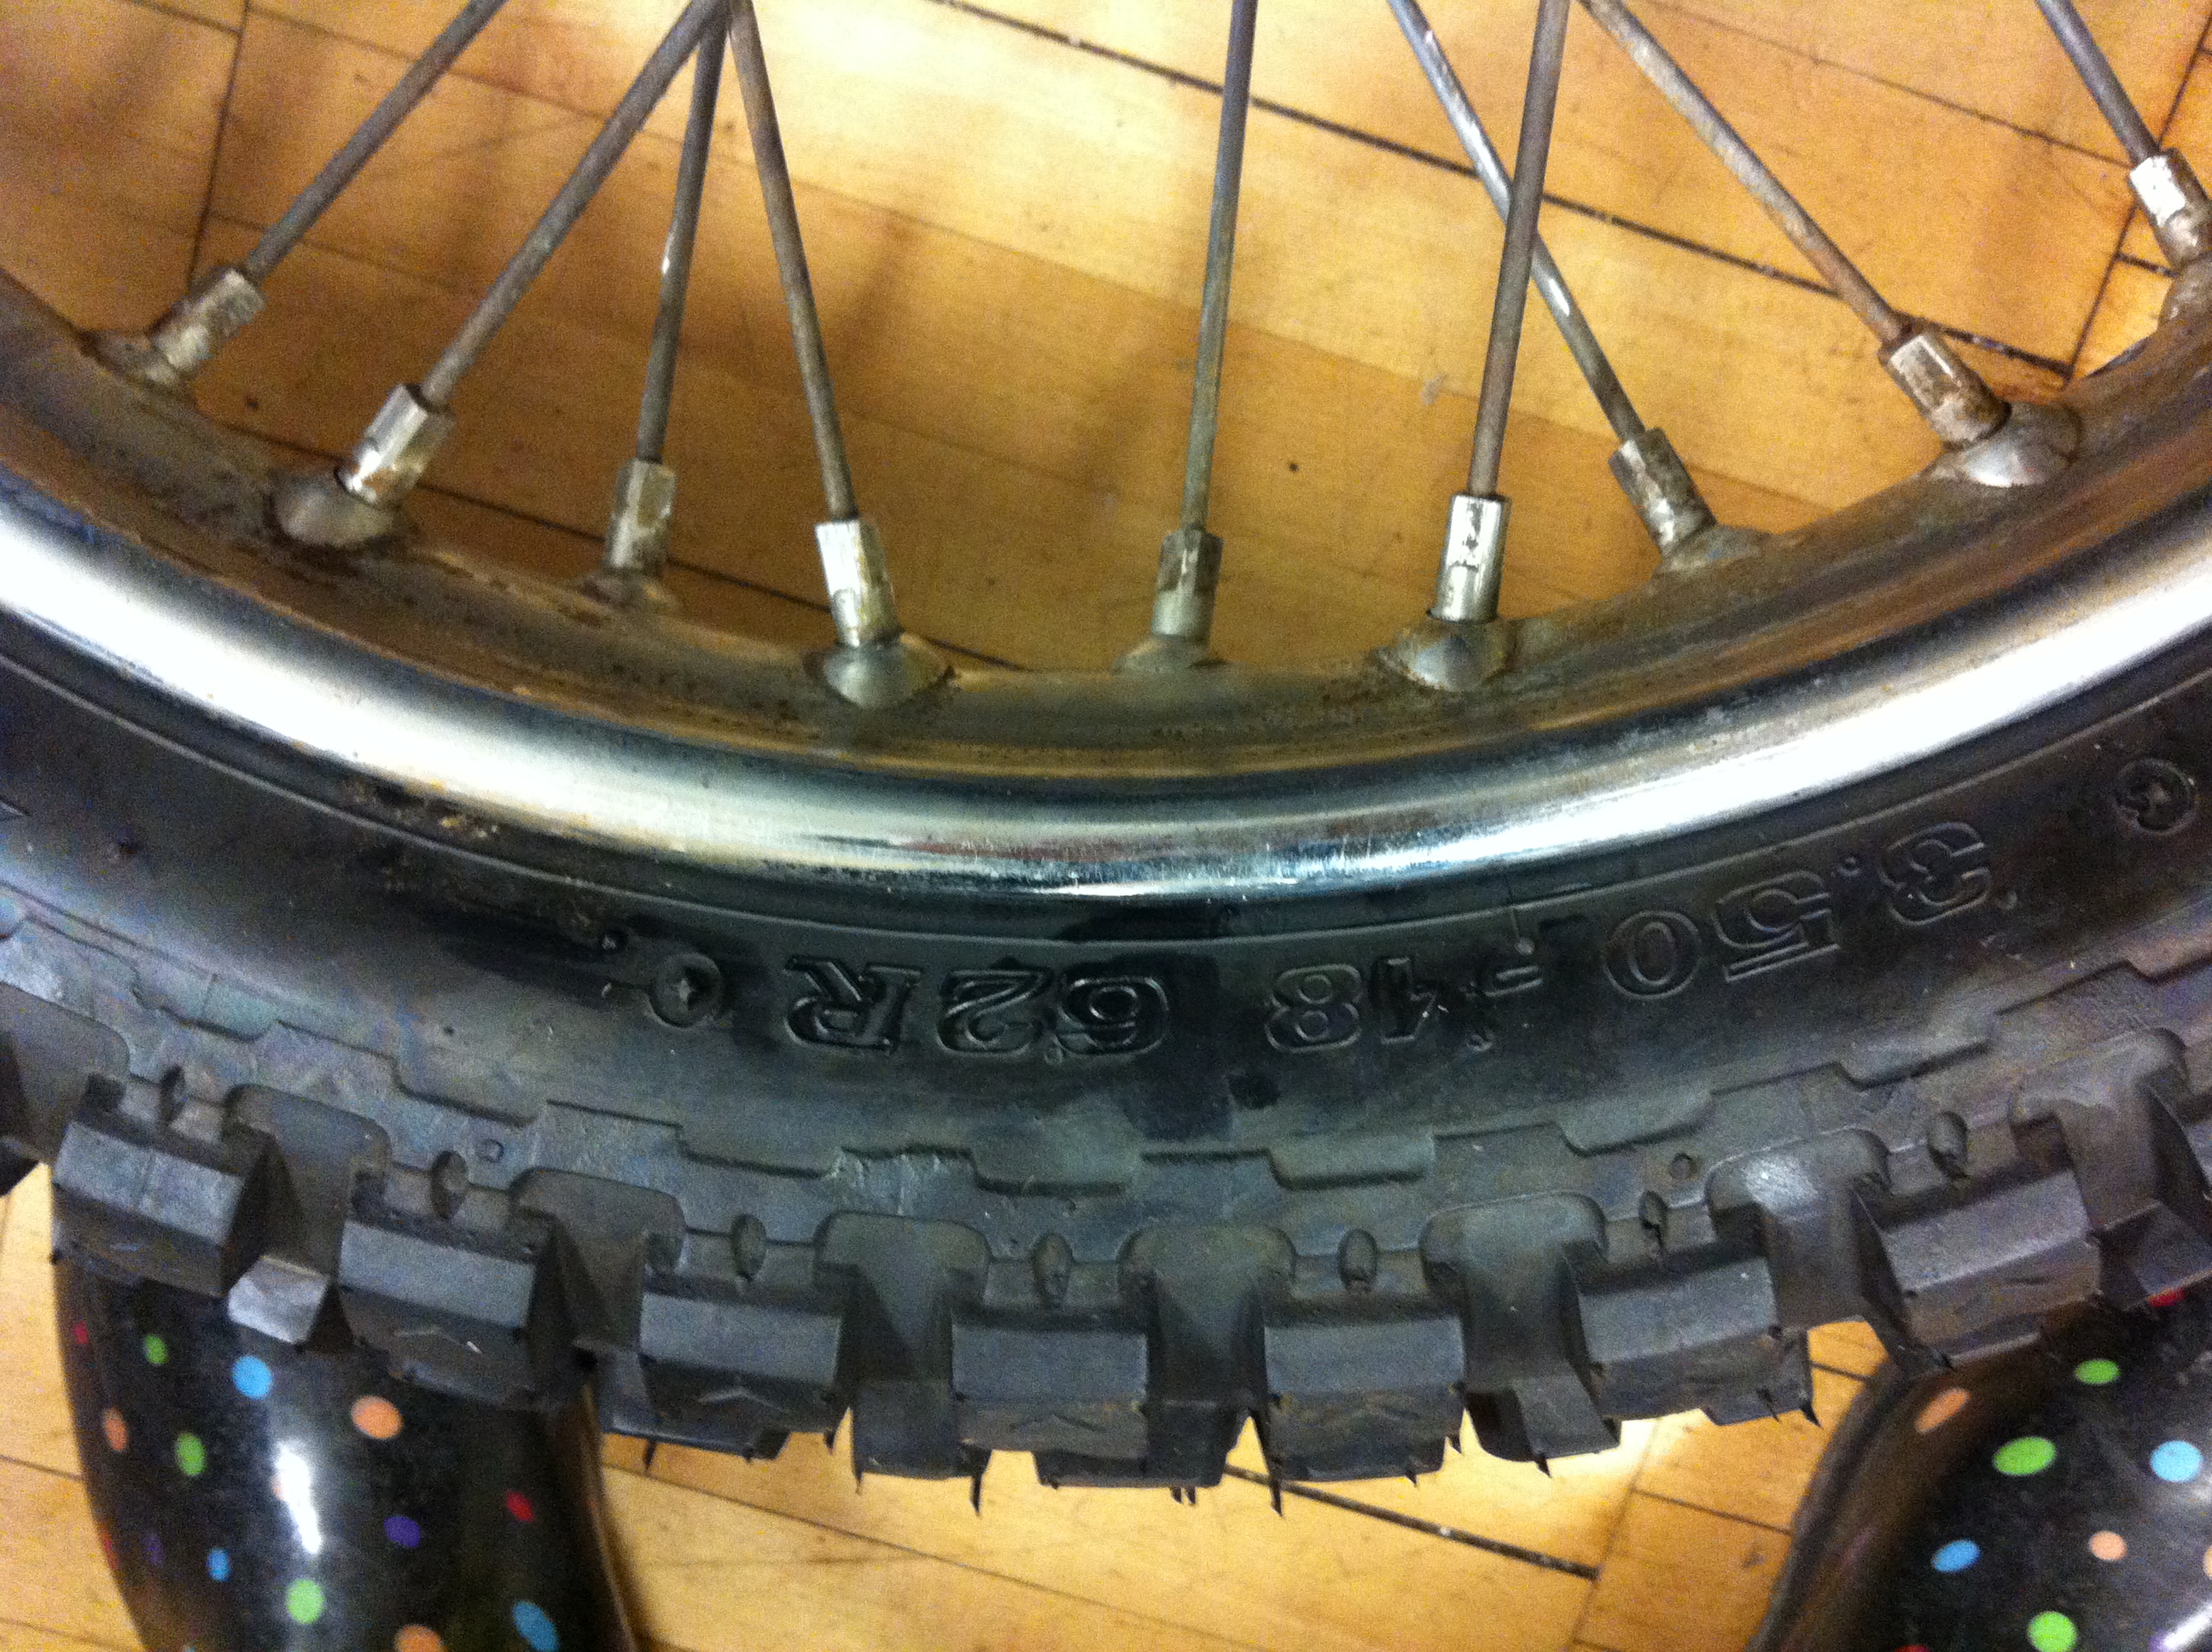
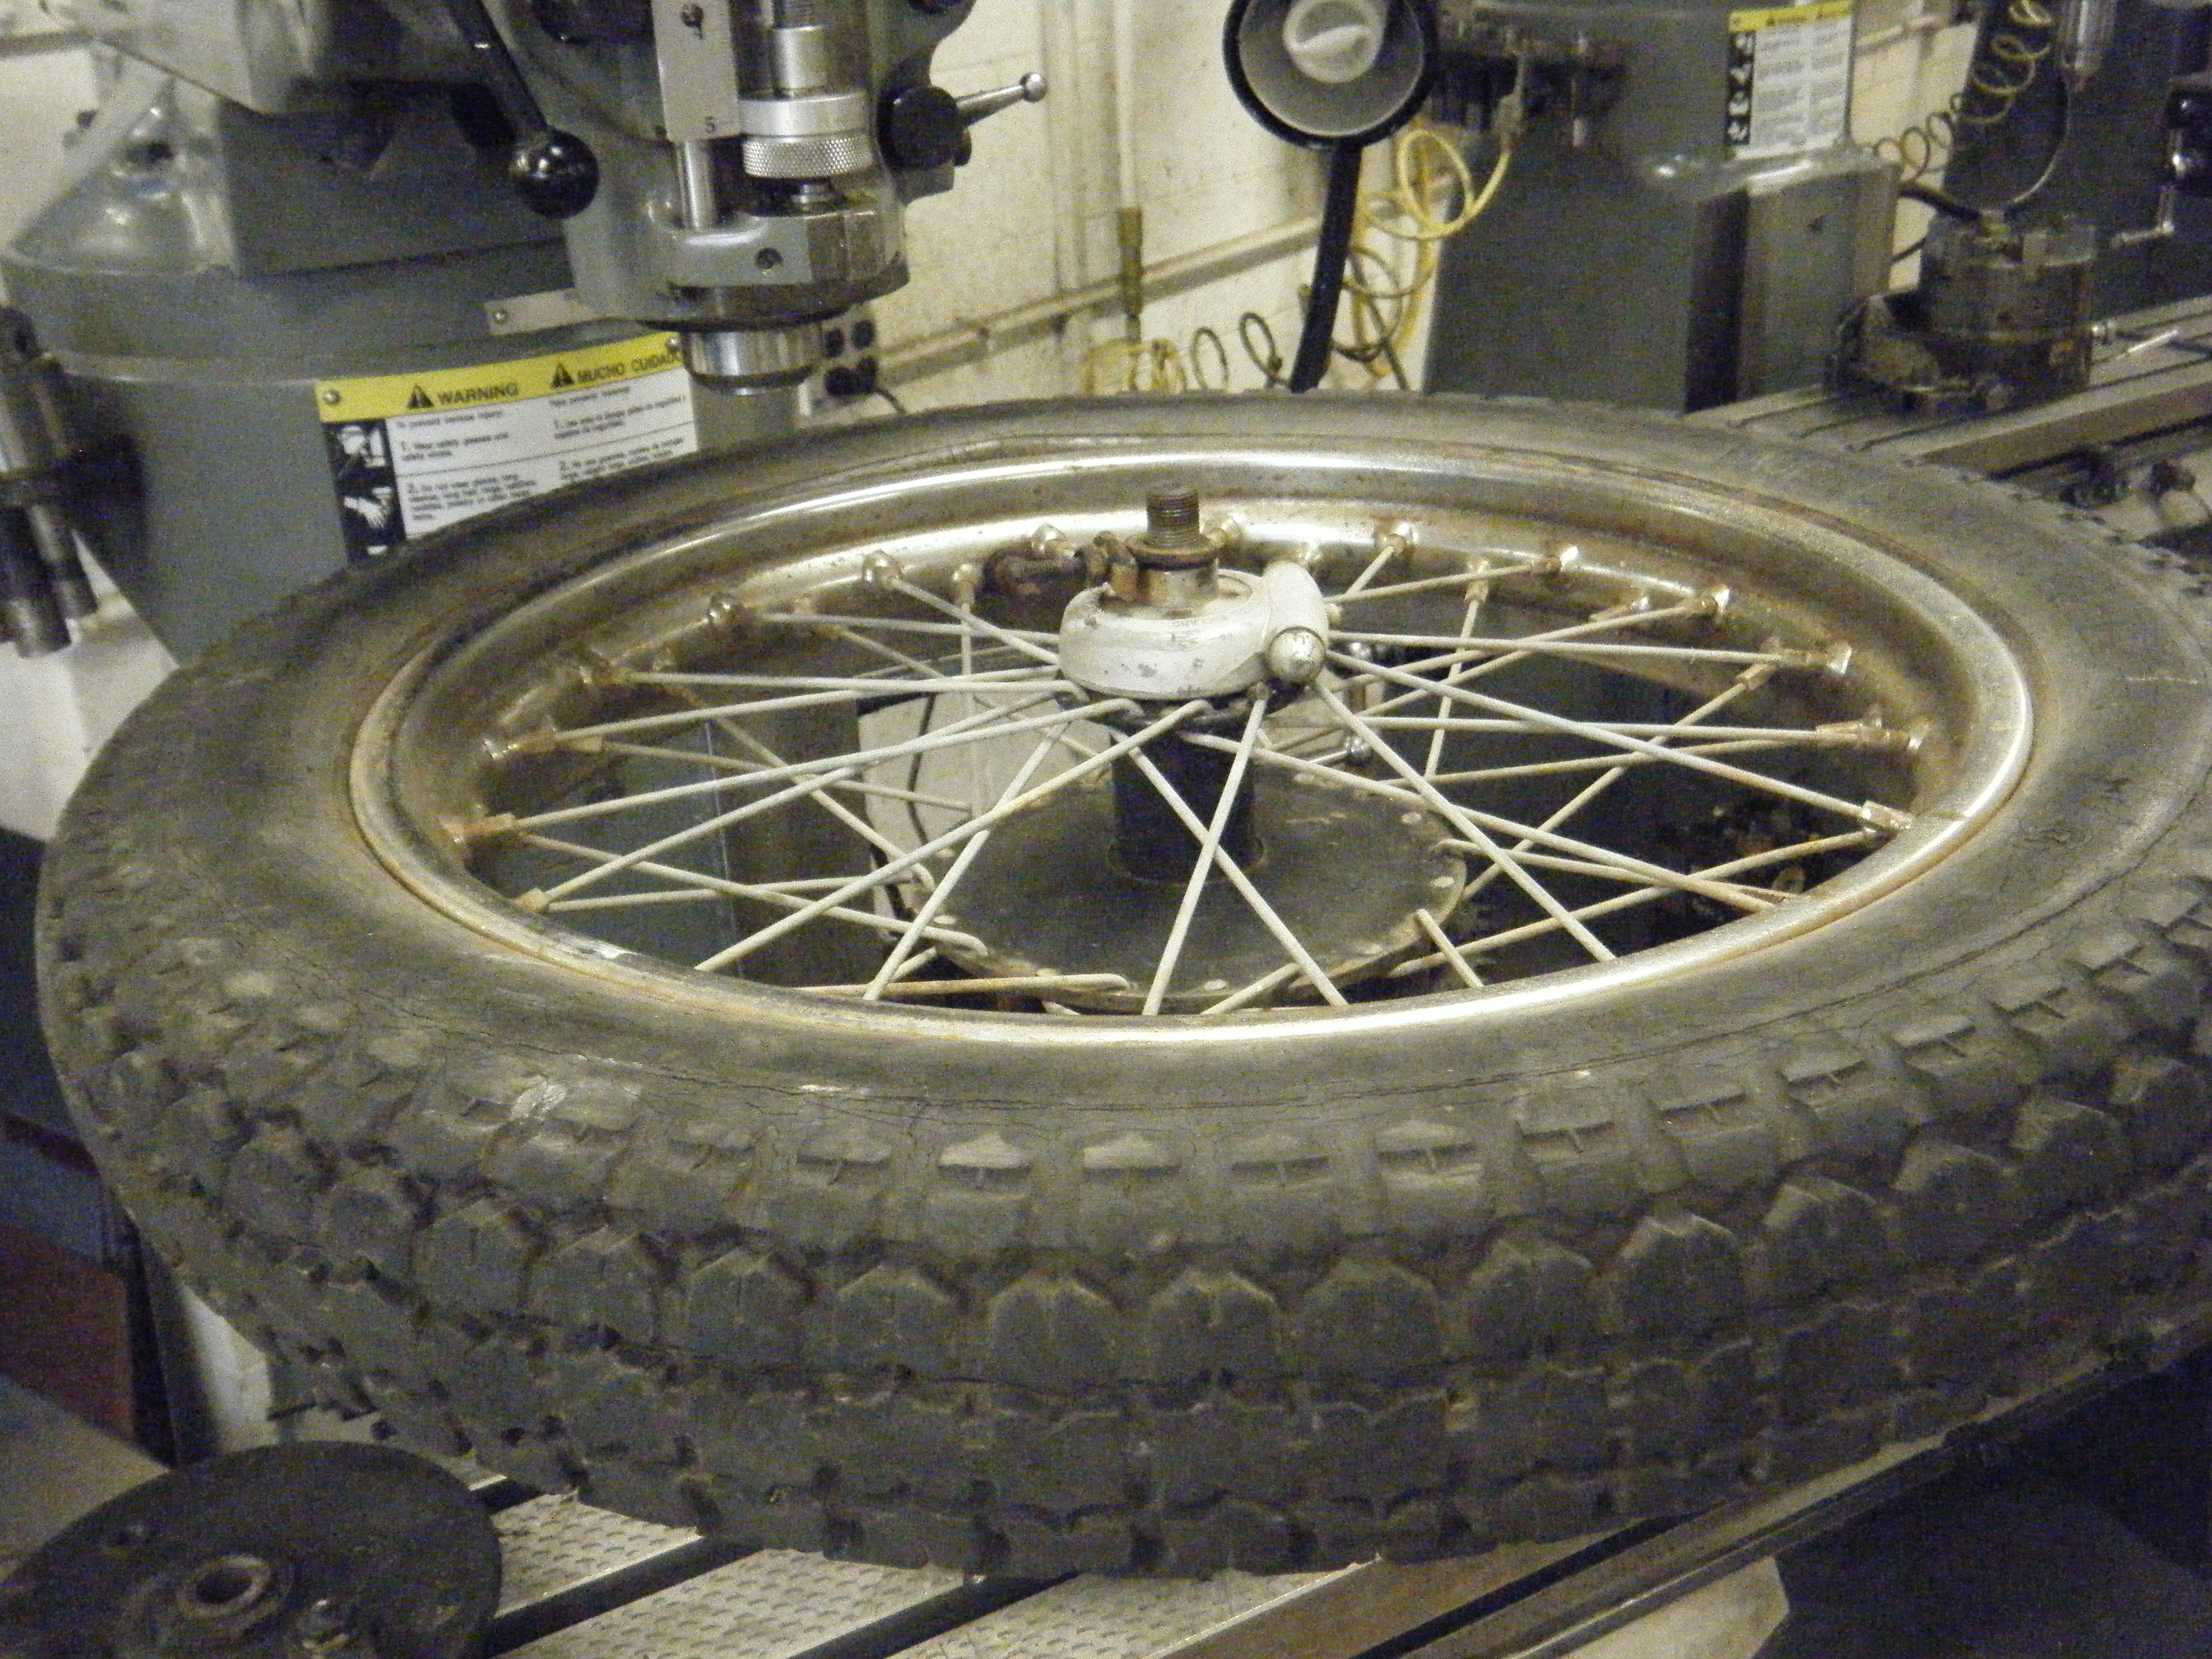
The tires on the Tiger Cub look similar in size, but they have different widths and diameters. The back tire (the front is shown below)is 19 inches, which is one inch larger than the front tire (18 in.). (The back tire is also wider – this is because it is the drive wheel.) It is important, for design’s sake, to have a large enough front wheel so that a rider can handle and absorb bumps or potholes in the road.
An interesting topic concerning the tire, and one that is heavily researched, is that of the contact patch, or footprint, of the tire. This is the amount of surface area on the tire that makes contact with the ground. Tire companies have done significant research in an effort to determine what the perfect amount of contact may be (the heavier the weight on the tire and the less pressure of the tire, the larger the contact patch). This information is highly sensitive for this reason.
Here are pictures of our tires, before and after:
The Spokes and the Rim
The wheel (with this classic bike model) would collapse without the tension provided by the spokes. When the wheel is turning, the top spokes are providing tension and holding up the drum. But the spokes would not be effective if some are much tighter than others – this would create instability in the wheel system and the bike would wobble. Because of this, it is important to occasionally monitor the tension of the spokes.
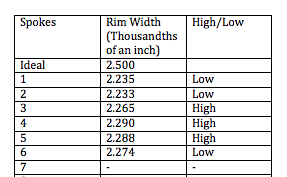
The process of correcting an imbalance in the rim (due to a dent, loss of tension of some spokes, etc.) is also known as “truing” the wheel. The rim, above, is sitting on a truing stand, named after its purpose – to allow the mechanic to fix these imbalances. Also above is a chart showing some of many rim (width) measurements we made at different spokes. The use of the calipers gave us proper analysis of where the high and low widths of the rim were; to fix these larger differentials, we tightened and loosened spokes on opposite sides of the rim in sets of four (every spoke is a part of a group of four, and they should all be tightened or loosened together, but often in differing amounts).
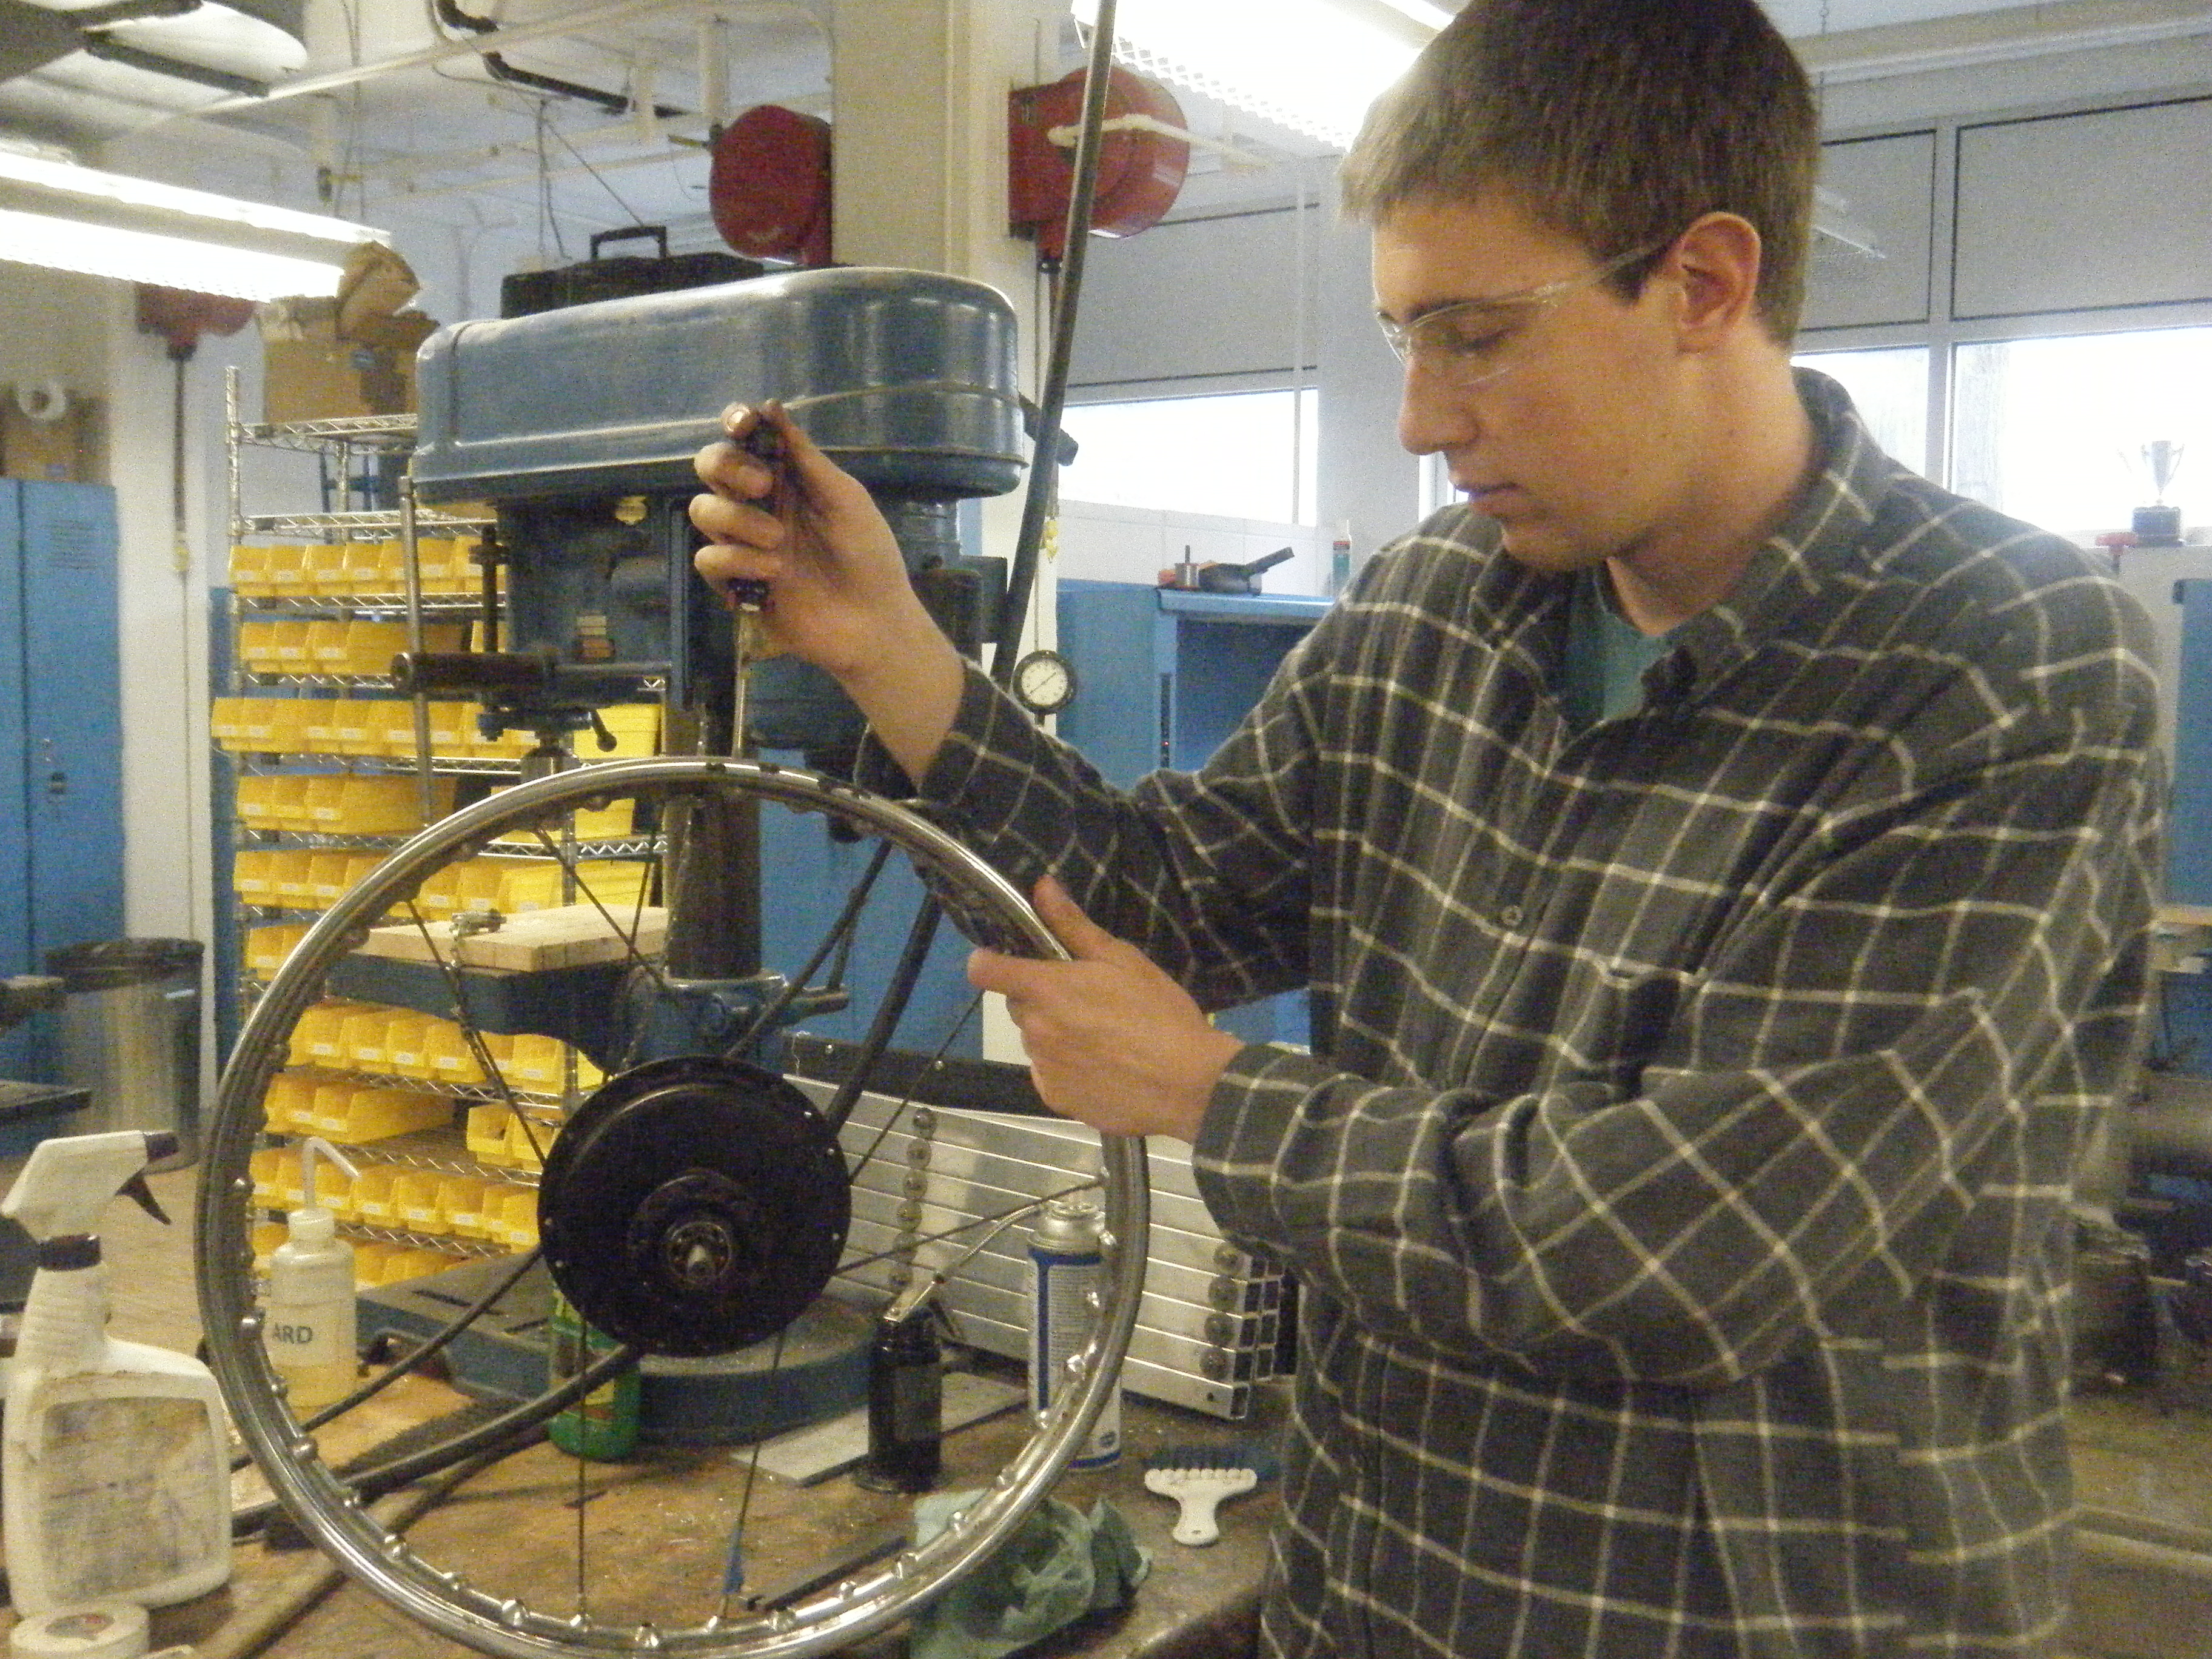
The loosening and tightening of spokes can be done with a spoke wrench. In our case, we had no spoke wrench that worked with the Tiger Cub, so we made our own spoke wrench (shown above). In the picture on the right, Mike is taking the spokes off of the rim we did not use on the bike so that it could be chromed anyway. As the spokes were removed, the hub (which is most likely to be comparable to the rim in weight) fell to one side of the wheel – due to the unevenness of tension – which distorted the shape of the wheel. This demonstrates that a wheel would not be usable under conditions of such unevenness.
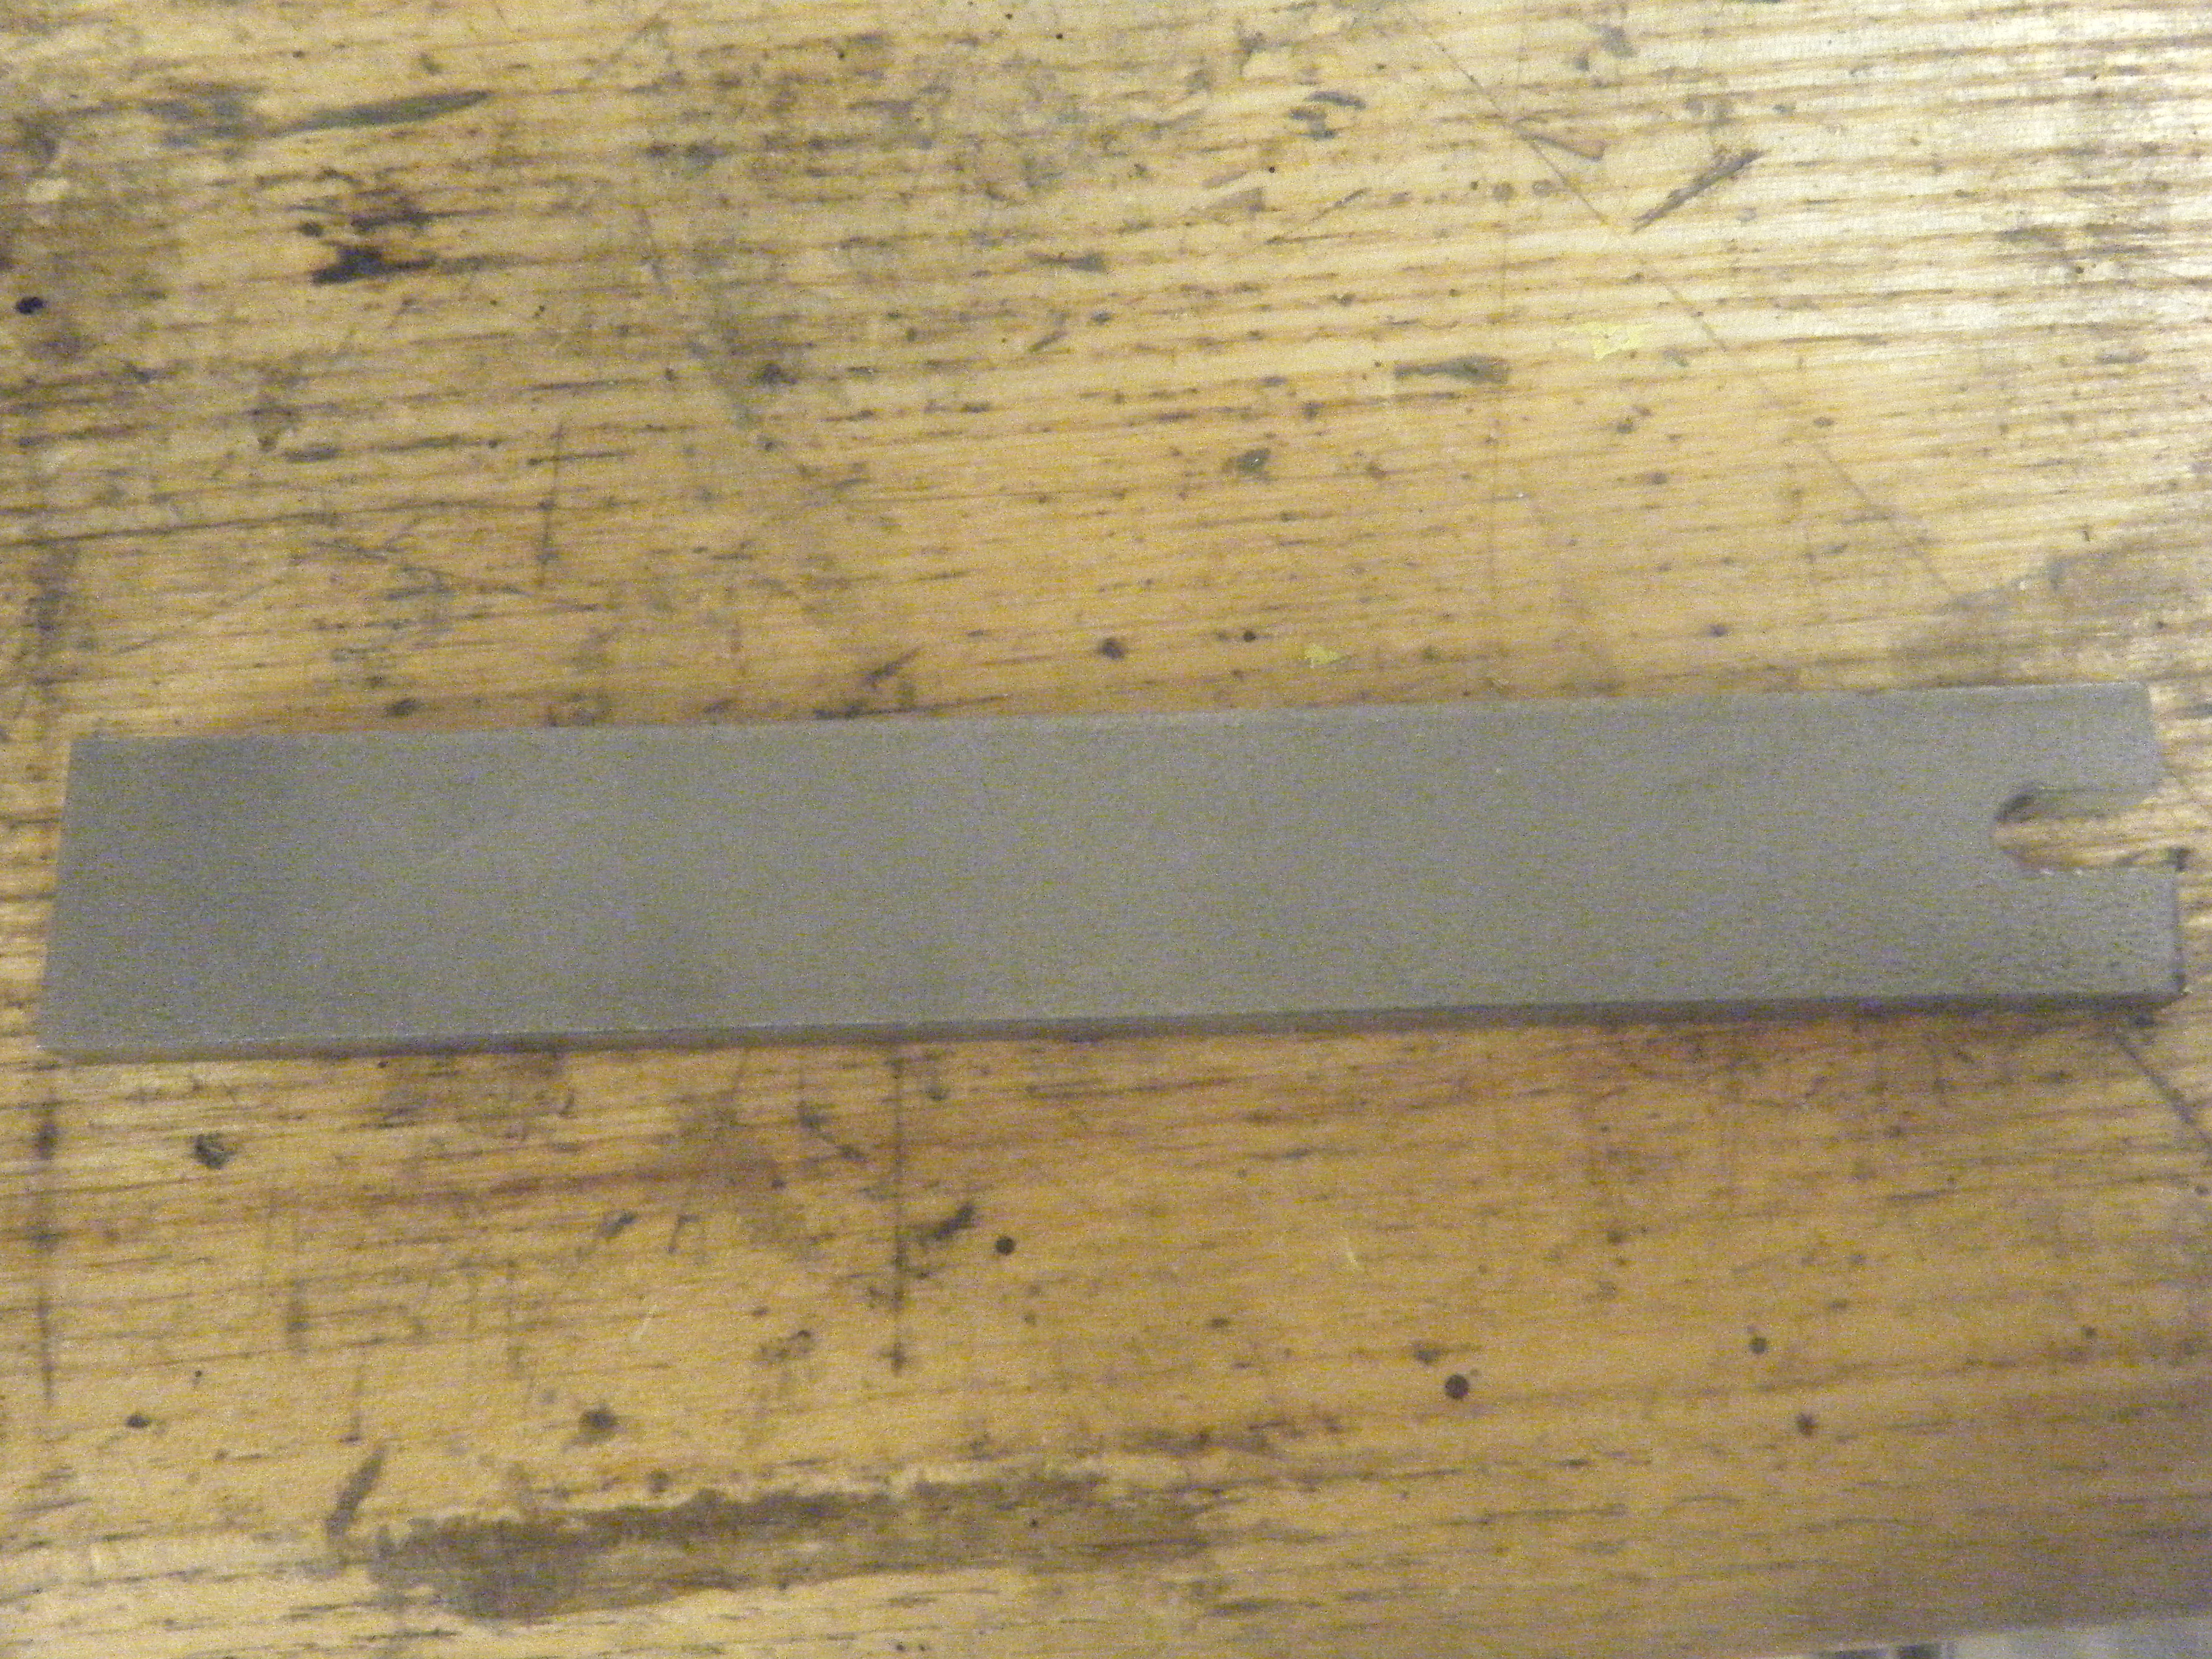
Another issue of unevenness occurred, as stated earlier, with the condition of the rim. The rim is the integral piece of the wheel – without a rim, there would be no tire and no hub. (There are now hub-less motorcycles, so the hub is no longer crucial to a working motorcycle wheel.) So when our bike had a large dent in the rim, we needed to decide how to neutralize or eliminate any wobbling it created. We used a hand press earlier to remove a smaller dent (probably from a bump or a rock on a trail), but also created a new tool specific for the bike:

This tool, one that was created during troubleshooting, is used by clamping both the top and bottom to inner and outer part of the rim – enough pressure (tight clamping) will even out the dent into the more ideal shape for the rim. After doing this a couple of times, the rim actually improved and we were able to move toward finalizing our truing process: where we listen to every spoke and make sure that it makes a ringing, and not hollow-sounding, noise.