This lab activity will lead you through the process of geo-referencing a map from Princeton Library’s Maps and Geospatial Center using the AllMaps tool. A georeferenced map is a digital map image that has been positioned over a modern map so that locations are aligned, allowing one to easily see differences between the two.
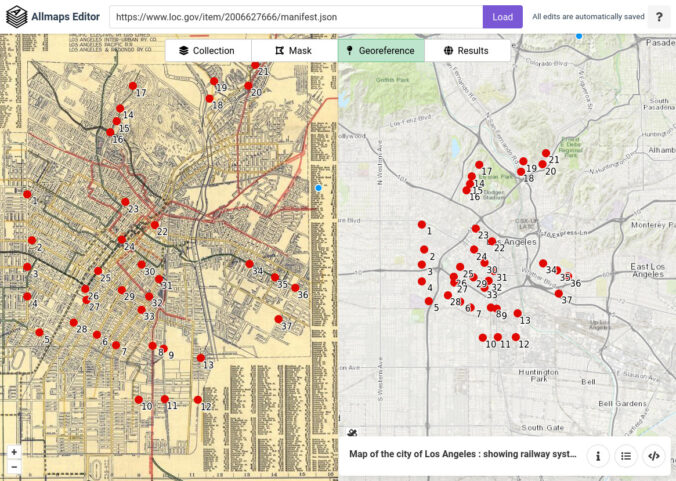
An example of a finished, geo-referenced map is below:
Create your own geo-referenced map
- Find a IIIF-enabled map that would like to georeference. Not all map repositories offer maps in the correct format. Some that do include:
Leventhal Map & Education Center
American Geographical Society Library
Leiden University Libraries
Library of Congress - Open the AllMaps Editor and paste in the URL of the manifest.
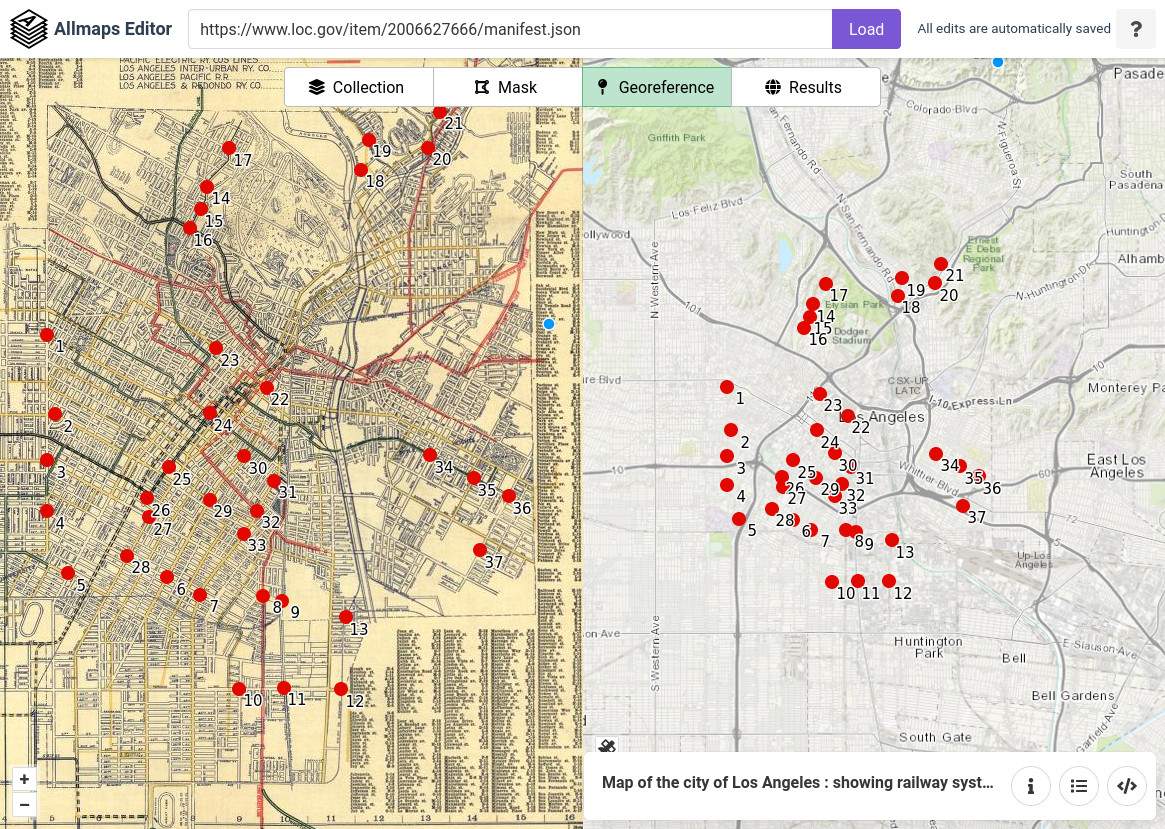
- AllMaps will create a gallery of all the images available in the manifest you provided. Select the image you would like to use and click the Georeference tab to open the georeferencing editor.
- Georeferencing is a process of placing markers on the map to the left and corresponding markers on the map to the right that designate the same physical location. The more markers you add to your maps, the more accurate the georeferencing will be. Markers should be labeled with a number indicating corresponding markers.
- Continue adding markers so that most areas of the left-hand map have a marker. Usually 15-20 markers will suffice.
- When you are satisfied with the markers, click the Results tab and the click the View current image link to see the finished map.
- AllMaps saves the results. When you later return to the AllMaps editor (editor.allmaps.org) and enter the same manifest URL to continue working.

Leave a Reply