 This WordPress website will house posts by you and others in the JRN 350 course. To add posts to the blog you might first have to log into the site using the ‘Log In’ link in the sidebar. (If you are already logged into some other Princeton service such Canvas, you might not need to log in again). Log in with your usual Princeton netid and password.
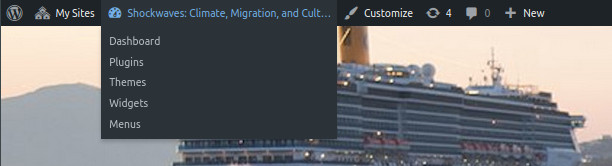
Once you have logged in, you should be taken to the Dashboard, the back-end interface for composing posts. If not, look for the black bar across the top of the screen, place you cursor over the title of the blog (Shockwaves: Climate….) sand select Dashboard from the menu.
Adding a Brief Bio
Your first assignment will be to add a brief bio to the website. This will include a paragraph about yourself with an embedded image of yourself. To create this post:
- Enter the Dashboard, and click Posts in the left-hand menu.
- Click New Post.
- Add a title for your post and enter the bio in the main text editor window.
- Add an image of yourself by placing the cursor at the point at which you would like to insert the image and then clicking the Add Media button found just above the text editor. This will open the Media Library in which you can upload an image. After uploading, you will be presented with an Insert into Post button to add the image into your post.
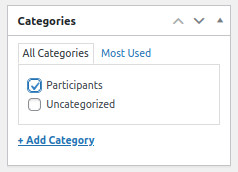 Your bio post must be categorized as ‘Participants’ so that appears in the correct place on the website. In the right-hand sidebar look for a section labeled Categories. Check the checkbox next to Participants.
- When you are finished, click the Publish (or Update) button. If you would like to save and come back to this later, save the post as a Draft by clicking the Save Draft button in the Publish section in the right-hand sidebar.
After you have Saved/Published your post, a link to the post will appear under the title on the editing screen. You can also return to the front of the blog by clicking the title in the black bar at the top of the screen. Your post will appear in two places on the blog: (1) on the homepage which simply lists in reverse chronological order all posts added to the blog, and (2) on the Participants page (found in the menu) which lists all posts that have been categorized as ‘Participant’.
Weekly post
When creating any subsequent posts, be sure to categorize your post with the correct Week (Week 1, Week 2, etc)
Other
In subsequent assignments, you will not be using Categories, but will likely want to use Tags to describe your post. You’ll find a Tags section in the right-hand sidebar of the editor window. Tags will appear in a tag cloud on the website and allow users to navigate to your post using these tags.
If you have any questions or concerns, please contact Ben Johnston from the McGraw Center for Teaching and Learning at benj@princeton.edu
