Hand Carved Walnut Sauce Spoons, Salad Forks, Spatula and Cutting Board
Students:
Luca Pontone ’24. Travis Tavoso ’23


About the Project:
At the beginning of this semester, the group originally intended to continue with our original project of designing and creating custom alpine skis. We completed quite a bit of research and design for this project, before realizing that it would not be feasible to complete it in the maker space studio. Some of these restricting factors was a lack of space in the shop to create a pair of approximately six foot skis. Additionally, the project would require us to use fibrous materials like carbon fiber in combination with strong resins. We quickly realized that this would pose a problem with possible inhalation of the fibrous materials and off gassing from the resin in the small shop. Given Luca’s background in traditional woodworking, we then decided to shift to creating a table, and again realized that we would not have enough time or the funds to build a quality table that is on par with our standards. We finally landed on creating handmade sauce spoons, a salad fork, a spatula, and a cutting board. We came to this project because we wanted to use these items in our kitchen and we thought that these three items would be the most useful. We decided that we would want to use wood with good grain in order to achieve the most visually appealing spoons. We came to the conclusion that we would use dark walnut to achieve this. In terms of other planning and research, we went through images online to determine some possible designs. Ultimately, the group decided that it would be best to come up with our own designs to incorporate a level of creativity and uniqueness to our project. The design process did not take us very long as most spoons, salad forks, and spatulas are all relatively the same. So, we determined that they would all be approximately the same length. We planned to mainly create these spoons in a handmade fashion, this would be achieved by doing all hand carving with the carving knives we ordered. We are looking forward to using them in the future.
Creating the Project:
The first step in the project was to acquire dark walnut wood that we obtained from a local lumber yard called Willard Brothers Woodcutters. We got 3 feet of 12×2 walnut that was cut down from the larger board for us. We then brought this board back to campus to work. (Figure 1.)
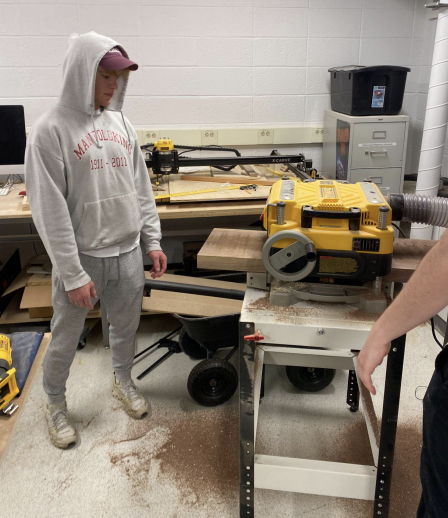
Next, we then planed the wood using the planer in the maker space. This took out impurities in the wood on each side that we would not want to show up in our spoons or cutting board. (Figure 2.)
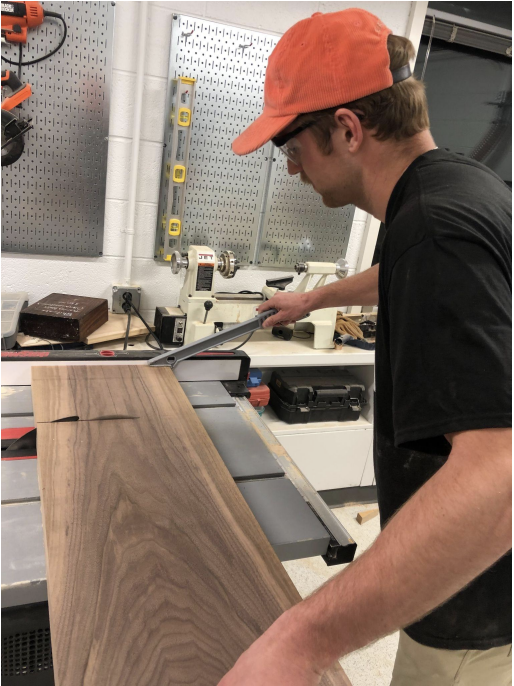
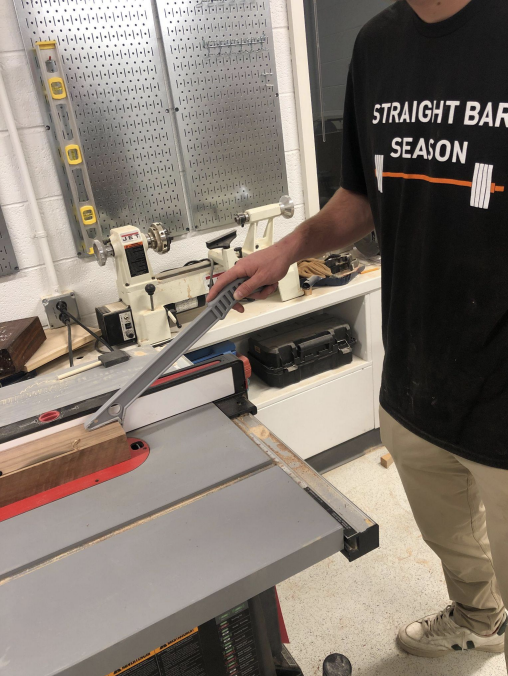
We then took our 3-foot board to the table saw in order to cut it into workable blocks for our spoons. We did our first cut which separated the board into a 2-foot piece and a 1-foot piece. The next three cuts were done on the 1 footboard. We measured and marked out 3-inch segments to create 4 of this 3-in by 1-foot blocks. These blocks were the basis for our spoons. (Figures 3.
and 4.)
The next step was to draw the shapes of our spoons, salad fork, and spatula onto the blocks we had just created. Each of these spoons are unique and so each spoon had different lengths and widths for the handle. That being said, the spoons handles were all between approximately 1 to 1.5 inches in width and 6-8 inches in length. (Figure 5.)
In order to make the carving process easier for us, we then cut out the spoons from the base blocks using the vertical band saw in the maker space. This left us with the rough outlines for the utensils that would be much easier to carve because there are fewer cuts to make to get the external material off. (Figure 6.)
Spoon
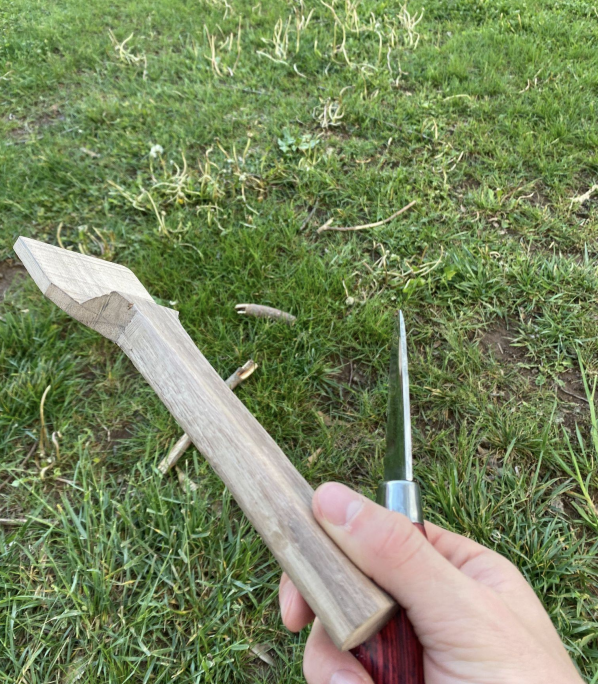
At this point, we were ready to carve the spoon. For this, we used a carving knife that we ordered online. We worked on the outer material first, shaping the handles into round cylinders. We carved along the grain of the wood, which allowed us to make clean cuts. After some time we created the handles for our spoons.
After we had achieved a desirable shape, we moved on to carving the bowl of the spoons. We made the bowls of the spoons with a hook-shaped knife. We quickly realized that this would be difficult to do as the hook knife was a bit smaller than we needed. In order to work around this, we clamped the spoon to the work table in the maker space and used a U-shaped chisel to work the material out. After we had removed enough, we went back over the bowl of spoons with the knife to give it a smoother feel. This allowed us to create a circular bowl shape for the spoons.
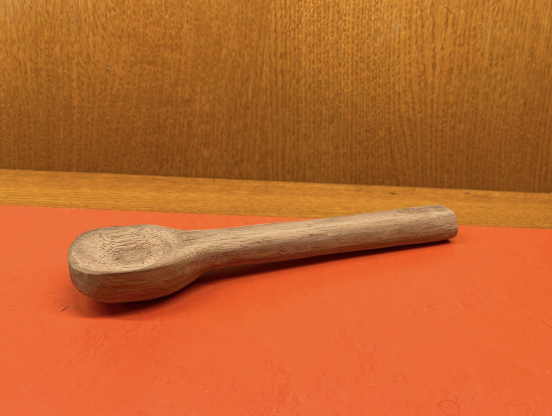
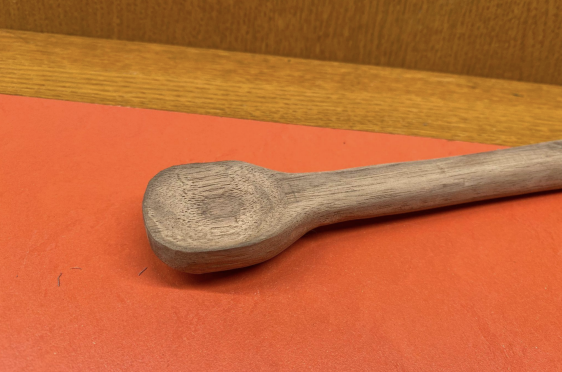
At this point, we then brought our unfinished spoons to the sanding wheel where we brought them to a smooth finish. In addition to the sanding wheel, we used 120 and 220 grit sandpaper to smooth the surfaces on the outside of the bowl and handle. Moving to the interior of the bowl, we used the Dremel with a circular sandpaper bit to smooth the interior of the bowls. Our spoons were now virtually complete. (Figure 8)
Spatula
For the spatula, the process was very similar to that of making the spoon. We began again with the pre-cut outline piece of wood. We cut the base block in half on the bandsaw to create a thinner block that would require less hand-carving work and a more adequately sized spatula. In order to make our lives easier, we cut out the drop of the spatula on the bandsaw. This was done with two cuts, the first being along the grain and about 1.5 inches into the block. And a diagonal cut to give the slope down. (Figure 7)
Next, we again carved the shape of the handle with the carving knife. This took a considerable amount of time due to the hardness of the wood chosen. We worked along the grain again and tried to eliminate sharp corners in order to round the handle. Given that this would be a spatula, we did not need to work to carve out a bowl. The bulk of our work came from trying to smooth the ‘flipper’ of the spatula and the downslope from the handle.
What Still Needs to be Done
Spatula
The last thing left to do is to hit the entire spatula with 120 and 220-grit sandpaper. This will smooth the wood on the handle to a consistent texture, additionally, I would like to use the sanding belt and orbital wheel to thin out the ‘flipper’ of the spatula as well as the downslope from the handle to the ‘flipper’.
Other Utensils
In order to complete the rest of this project, we will need to carry out a similar process as described above to create a sauce spoon and a salad fork. We do not expect this to take a very considerable amount of time. For the salad fork, the only additional work that will need to be done is to cut out the prongs on the bandsaw. This is the only foreseen extra step.
Cutting Board
The cutting board we plan to make will be a rectangular cutting board and resemble more of a thick charcuterie board. The main thing that will need to be done will be determining the length of the board. The tools we will be using will be the table to make this cut and a router to create the juice groove that will run around the perimeter of the cutting board. We will then need to coat the board in an edible-friendly finish.
Finishing for all Project
For all the pieces in our kitchen collection, we are going to coat them in an edible-friendly finish. This is going to bring out the dark color of the wood and the visually appealing grain pattern. This will also make them safe to use in a practical setting. In sealing the spoons, they will become safe to eat with and wash in the dishwasher. The finish we are going to use for this is shellac.
Group Roles:
Material Pickup – Luca, Travis
Planing – Luca, Travis
Table Saw Cutting – Luca, Travis
Drawing onto Wood – Luca
Band Saw Cutting – Luca
Spoon Carving – Luca, Travis
Sanding – Travis
Finishing – Luca, Travis
Images
Figures (1-3)

Figures (4-7)
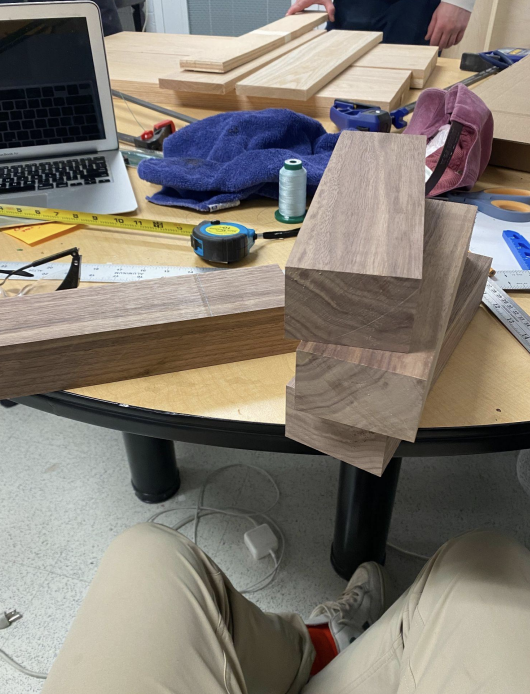
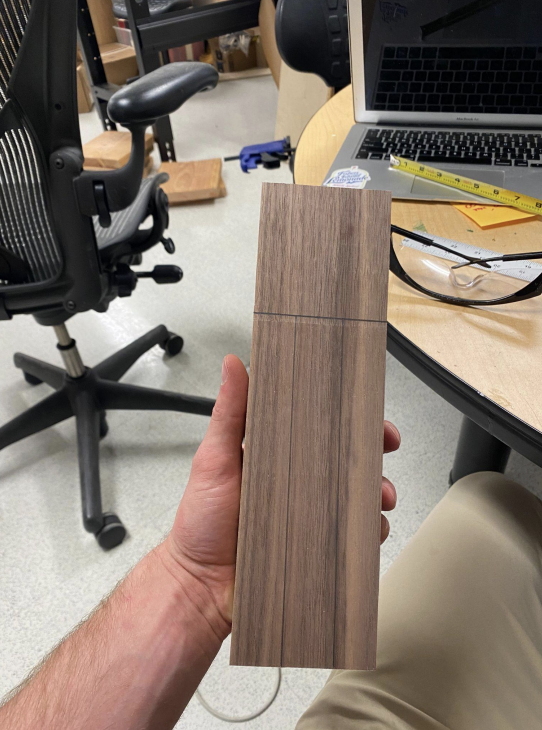
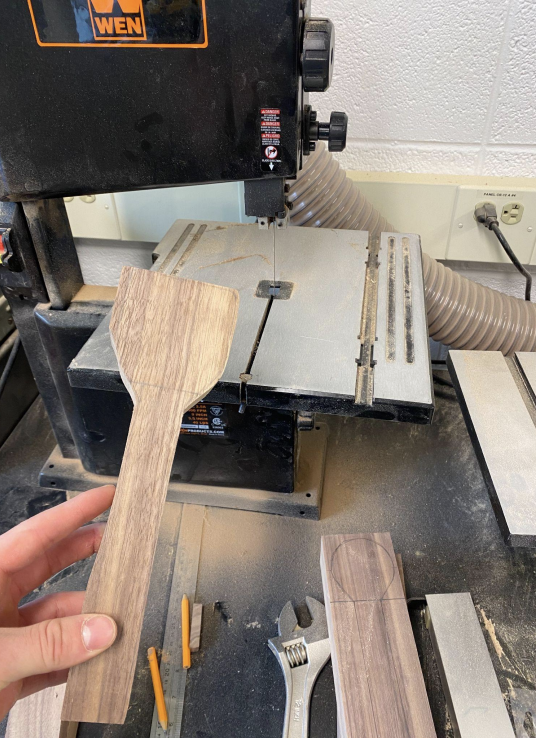
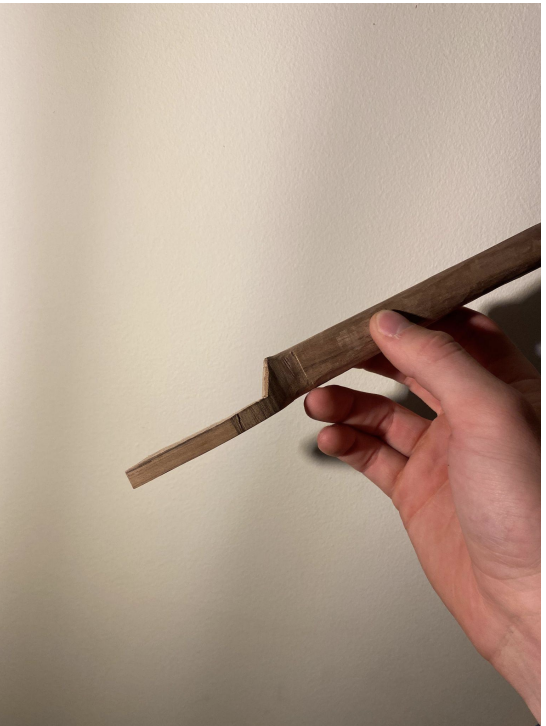
Figure (8)

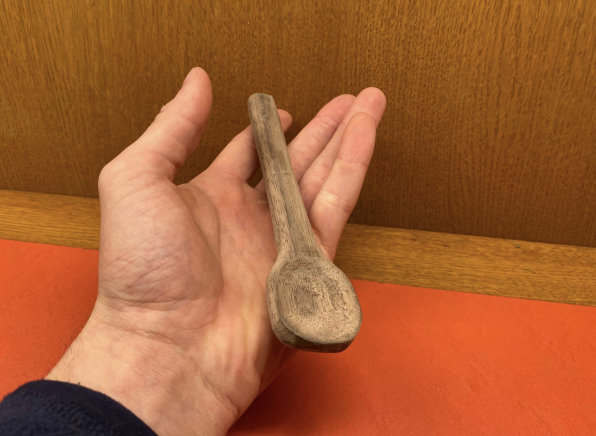
additional photo of carving
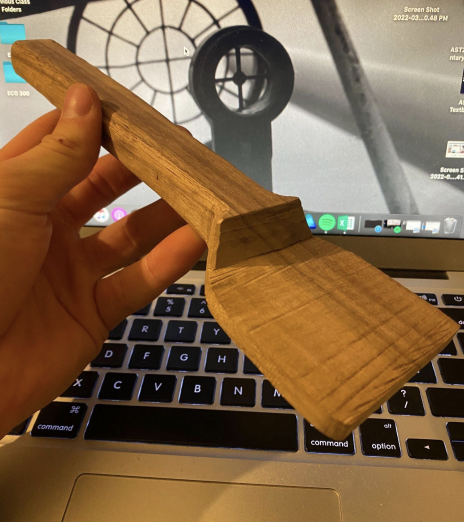
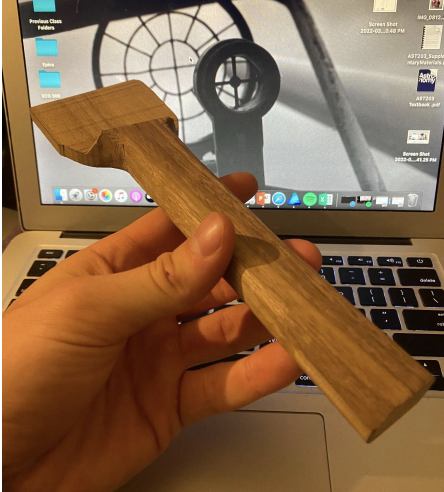
Final image of spoon and unfinished spatula