Students:
Coulter Mackesy ’25 Braedon Saris ’25
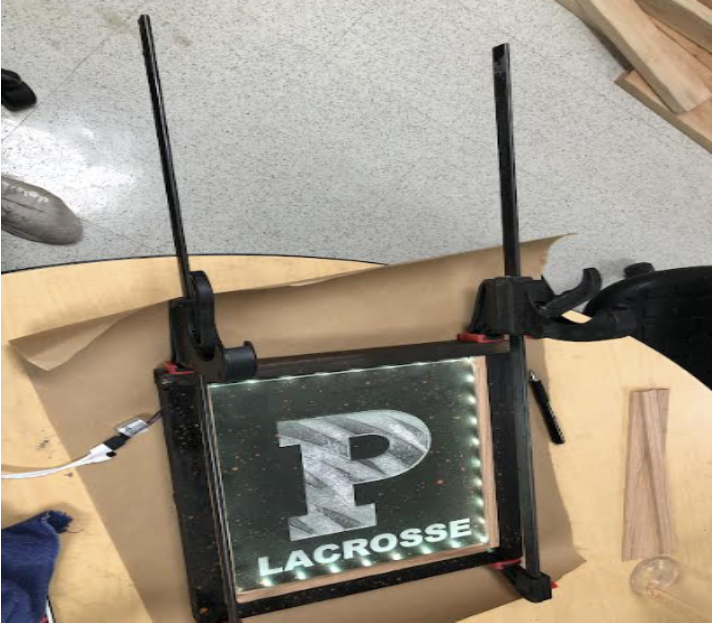
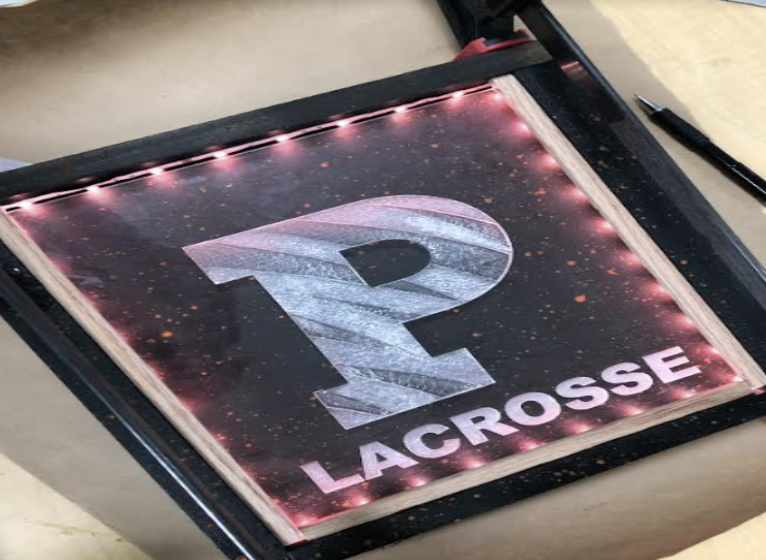
- Images of the entire project process (research, design sketches, experiments, etc.) with each image labeled
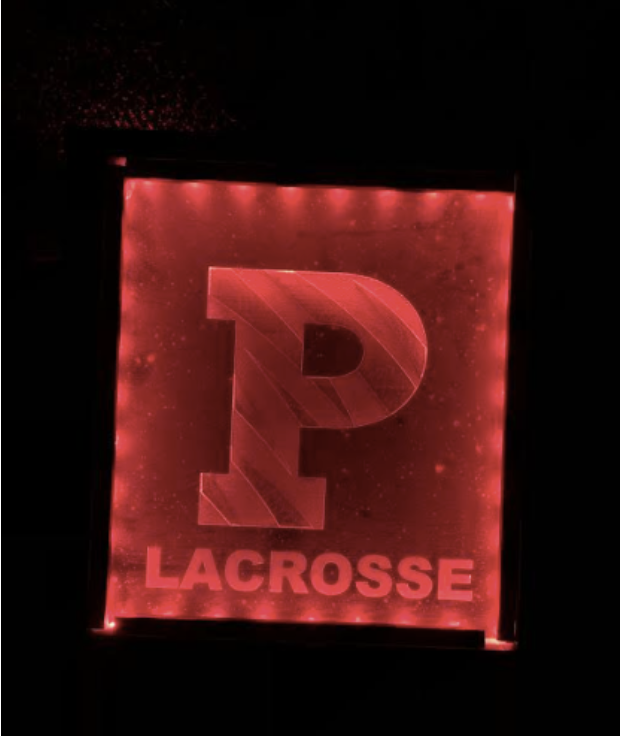
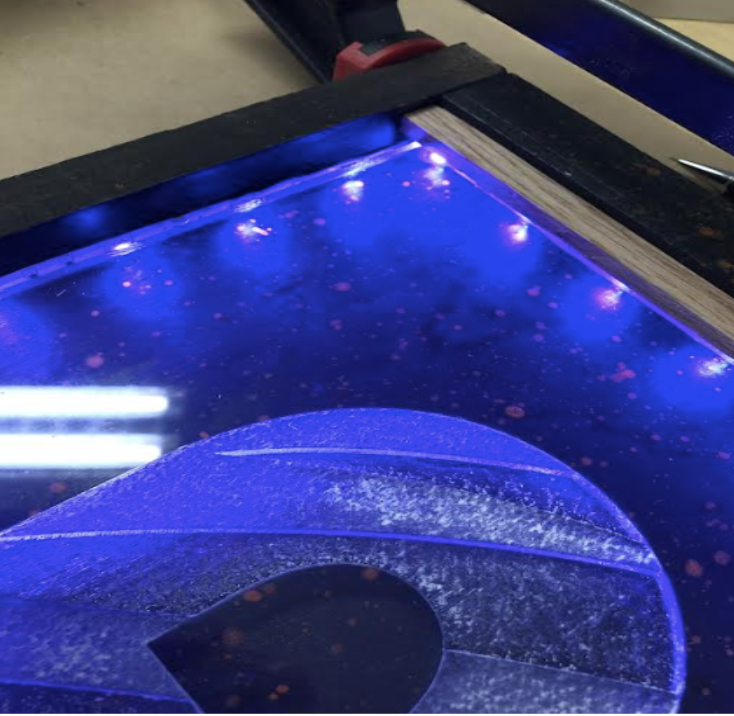
- Unfortunately, we did not take as many progress pictures as we hoped, but below is an assortment of photos from our final day putting all the pieces together. In addition, top left is the sign finished with the lights on in the dark.
- Description of the project & intent (what & why)
In the spring semester of 2022, we decided to take epics to learn to be more creative and try to build something that we thought was interesting and difficult, but still manageable to complete. After 1 or 2 classes of hard thought and multiple discussions outside of class, we came up with the idea of building a “Princeton Lacrosse LED sign.” Our original idea was just to build the sign using plain wood and acrylic, but as we progressed with our project we gradually got more and more creative. We decided on building the sign because we thought it could be a cool addition to our locker room as the walls are plain and in need of some design. We also figured it could just go into one of our dorm rooms if the locker room did not end up being a good idea. We started our project by watching multiple Youtube videos on similar projects, and that helped us get a good idea of what size acrylic and wood we wanted as well as how we wanted to design our project. We drew some pictures of the possible dimensions and thickness of our project and played around with the design in Adobe Photoshop. We pulled photos from google and were able to manipulate them in Photoshop. After finalizing our logo and size, we then uploaded the design to Gloforge where it was ready for cutting. Before we were ready to construct the real project, we built a prototype of our sign with smaller pieces of acrylic and wood to get a better feel of what we needed to do to make the best sign possible. We tested three different acrylic thicknesses ¼”, ½”, and ⅛”. We also played with the Gloforge settings to find the best possible setting to etch the logo into the acrylic. We decided on ¼” acrylic, as it was the optimal thickness for a deep enough cut while being lightweight. When we were ready to begin our real project, Coulter was responsible for using the laser printer while Braedon cut the pieces of wood using the compound miter saw. After that beginning process, we generally worked together on the rest of the project. We also used the table saw to cut slits in the pieces of wood to slide our piece of acrylic into the wood. On the last class day, when we were assembling the final product, we thought painting the wood could be a good idea and add a nicer appeal. We spray-painted all the wood black and then Coulter had a good idea of adding a splatter effect to it with orange spray paint, which worked out really well and made it look cool. We finished our project on the last day of class and we are looking forward to taking epics in the future semesters to keep expanding on our engineering skills and knowledge.
- Description of the tools used (how)
- Table saw to trim down pieces of wood and score the frames in order to slide the acrylic in
- Miter saw to cut larger pieces of wood
- Sander to smooth edges and make precise adjustments
- Laser cutter to etch the design into the acrylic
- Wood glue to hold the final pieces together
- Black and orange spray paint to coat the exterior of the sign
4. List team members & a brief description of their responsibilities (who did what)
- Braedon handled most of the woodworking and constructing the framing, while Coulter focussed more on creating the design and using the laser cutter. Once both of our parts were completed, we then assembled all the pieces together to create the final product.