Students:
Whit Gamblin had the initial ideation to make a hang board and the ambition to make it unique from what was available online. He made the initial sketches for the design and took the measurements needed for construction. He created the presentations needed for the class and took lots of pictures of the process.
Mateo Godoy was our woodworker. With shop experience from his art teacher dad and Sculpture 101, he handled the machinery and lead the charge for constructing our project. He delegated tasks to Sam and Whit in the construction process and made our idea come to life.
Sam Morton was our Fusion 360 expert. He took Whit’s initial idea and made it into a hyper-specific model in Fusion that had the right angles, sizes, and shapes for Mateo to base his woodworking on.
Project Vision
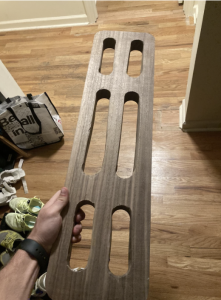
Our goal for this project was to create a functional, portable, and robust hang board. During our COVID year, the three of us lived in a house together and got introduced to rock climbing when we watched the famous documentary, Free Solo. We were captivated by the mental and physical skills needed to climb any structure let alone an entire 7,000-foot rock face. In the documentary, Alex Honnold never leaves home without his trusty hang board that he uses to improve his finger and arm strength.
The hang boards that you can buy online are heavy, bulky, and super smooth to the touch. Although an ergonomic fit is good for comfort, we wanted to make something that had sharper edges to simulate what actual rock would feel like on your hands. Our idea was to create an initial model in Fusion 360 that had varying grip shapes, sizes, and textures and then replicate the model in the shop.
- Initial Model
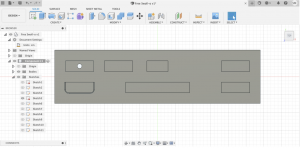
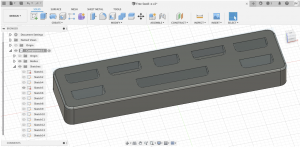
As you can see in these images, our initial model was mostly just a black box sketch so that we could map out where we wanted the holds to be. The initial design included different depth, size, and angle for each hold for a diverse rock climbing workout.
2. Description of tools
In this project, we did all of our modelings in Fusion 360. We used various functions built into the software to extrude, curve, and shape our initial model.
For the construction, we used a walnut wood plank. We used a shaving saw to flatten the wood first. We then used a push drill to create the desired curvature at either end of each hold. We then used a jigsaw to cut out the holds, a router to create the angles we wanted in each hold, and then a sander for the finish.
3. Wood Work
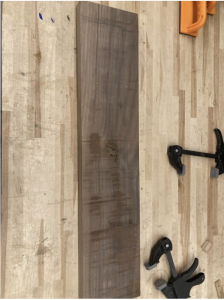

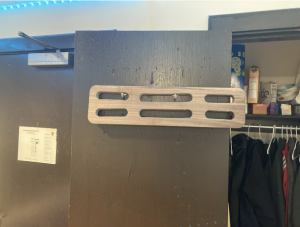
You can see Mateo using the push drill here to create the desired curvature at the edges of each hold. These holes can be seen in the images below.

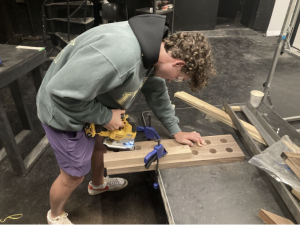
Here we used a jigsaw to cut out the space in between each circle to create holds that our hands can easily fit in.
 .
.