Students:
● Cash Goodhart: operated 3-D printers, helped John M. with CNC machines
● Cole Smith: co-lead work with fusion (putter design and CNC paths)
● Mitchell Stroebel: co-lead work with fusion (putter design and CNC paths)
● John Tracy: operated 3-D printers, helped John M. with CNC machines
Project Description:
Among our various hobbies and interests, the sport of golf has always held a special place in our hearts, despite it being the toughest of said interests to master. The hardest aspect of the game that causes headaches for many people beyond ourselves is the art of putting. Clearly, the putters we have been using all of our lives have been the reason for our shortcomings, and it was for that reason that this group decided to take matters into our own hands and build our own.
Process:
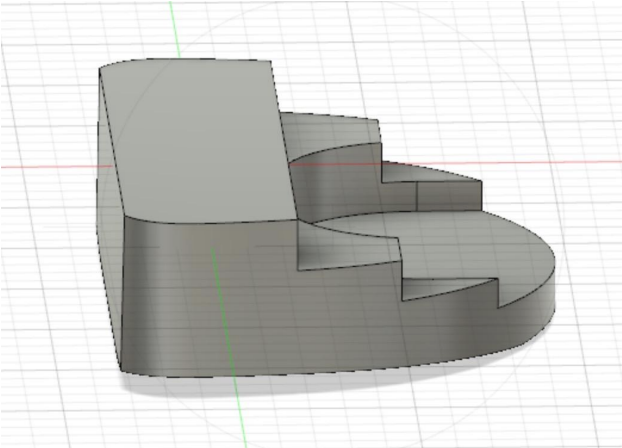
We began this project by analyzing the various types of putters in circulation today, along with their shapes, weights, and the material they were made from. There were three general types of putters we could have chosen: blade, half mallet, and the mallet. Our group then took to Fusion to play around with these various types of putters to see what design we deemed the best fit for our project. We settled on a half mallet design. The reasoning behind this was that we believed it would provide the best performance with the tools we had at our disposal given our budget and time constraints. The half mallet design offered sufficient mass to be balanced and strike the ball while also having a simplistic design that would be easily achieved by a mill.
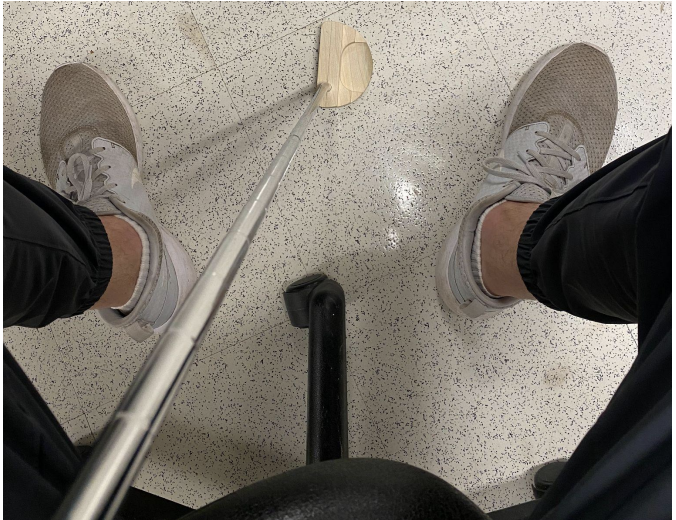
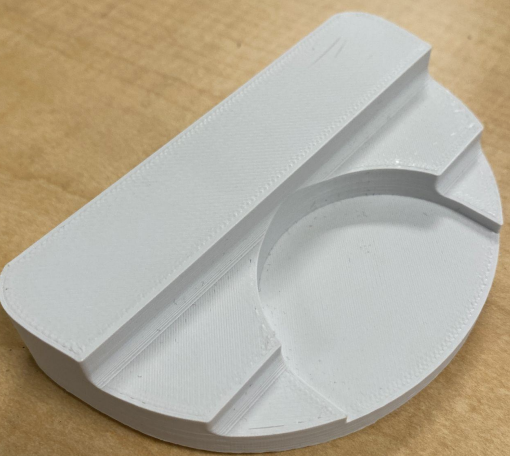
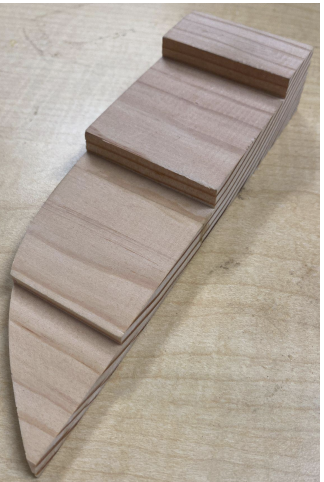
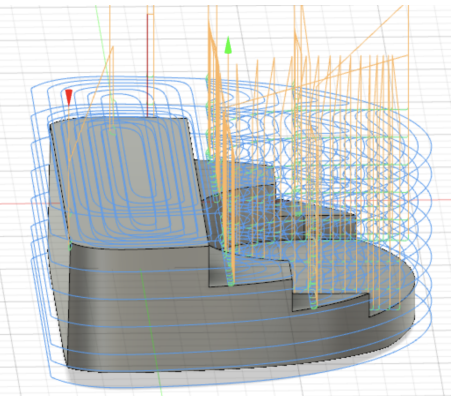
We then brought our design to life by first 3-D printing a plastic model of the design to see how the dimensions looked. Once we completed and revised a couple of iterations of our 3-D printed design, we then took to milling it out of wood. Before milling the actual putter design, we got some practice milling wood by milling a practice object that was similar in contour to our putter. This gave us experience with both the programming process in fusion, as well as the physical machinery. Once this was successful we milled the putter design out of wood on the 3-axis milling machine. After this, we ordered 4 35” aluminum shafts and 4 blocks of 6061 aluminum to begin our final milling processes and ultimately end up with 4 aluminum half mallet putters.
The 3-axis mill at our access was not able to mill metal. With that in mind, we contacted and have been in touch with other machine labs here at Princeton. Currently, we have everything ready in terms of our inalized design, which is fully coded and ready to mill. Because the other machine shops have access to 4-axis milling equipment, we also made a few slight modifications to our putter design. We added a slight 2-degree angle to the face (most putters typically have this for better contact), and a rounded bottom (so the edges would not catch on the ground during a swing). We have been waiting on the machine managers to complete other projects from their direct students and classes to mill our putters. Once the mill is complete, we will attach the grips to the shafts and shafts to the putter heads to finish our project.
Design:
Early Iterations
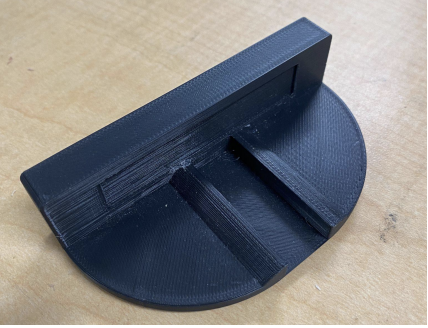

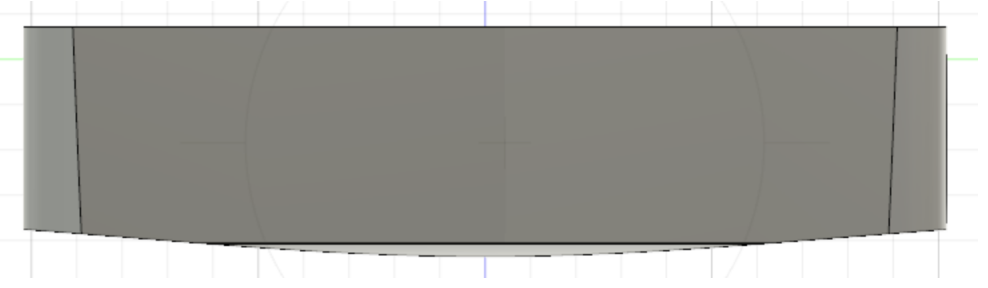
Final Design (fusion front and side profile, and 3D print)
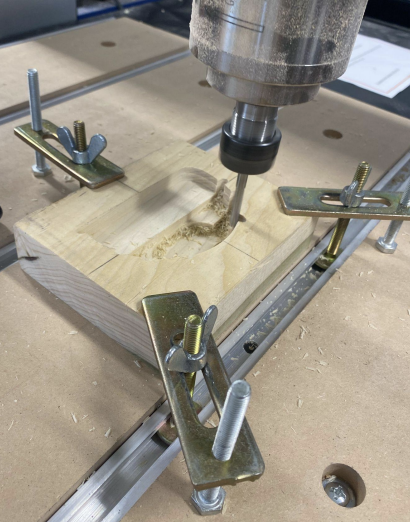
Fabrication: (in order: CNC process in fusion, practice piece of wood, milling putter
with CNC machine, determining correct drill bit size for shaft, milling practice piece)
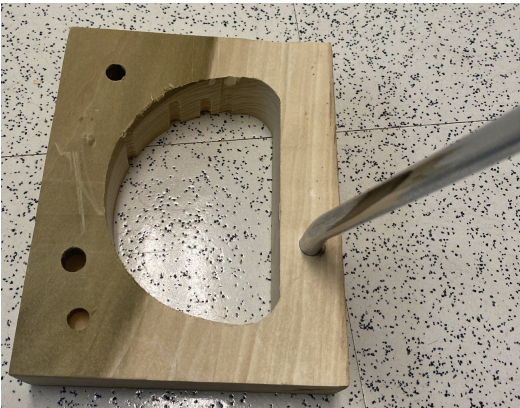

Current (but not final) product: