Team: I was the only person in my group, so I was responsible for the entire design and build process by myself
Mikey Squires ’24
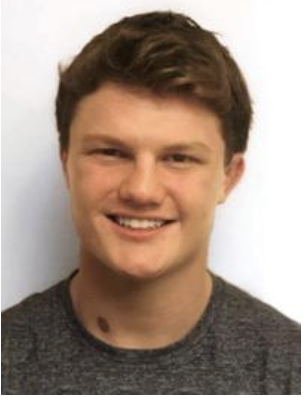
Original Pictures:
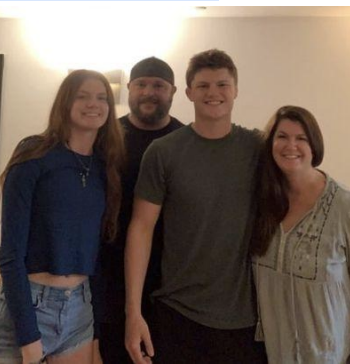
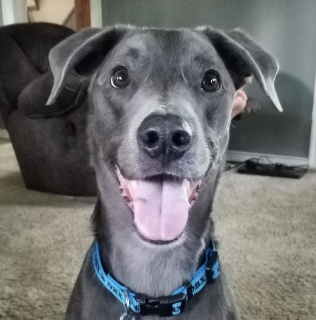
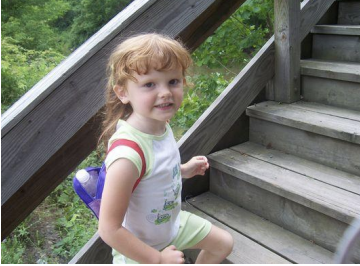
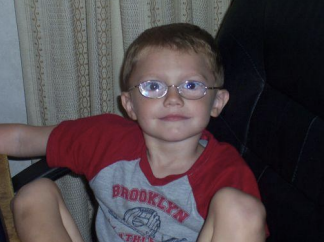
These are the original pictures before any photoshop or color manipulation was applied.
PHOTOSHOP:
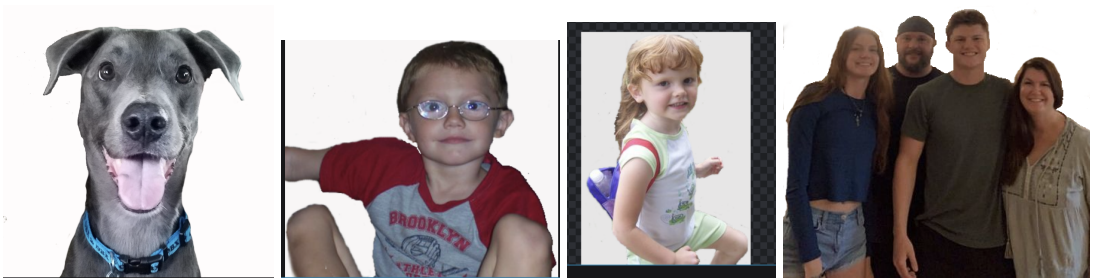
I had to erase the background behind every person, I did this using a magic eraser (did not work the best) and going through and erasing individual pixels around the border of the head/bodies. I had to erase the background behind every person, I did this using a magic eraser (did not work the best) and going through and erasing individual pixels around the border of the head/bodies.
GIMP:
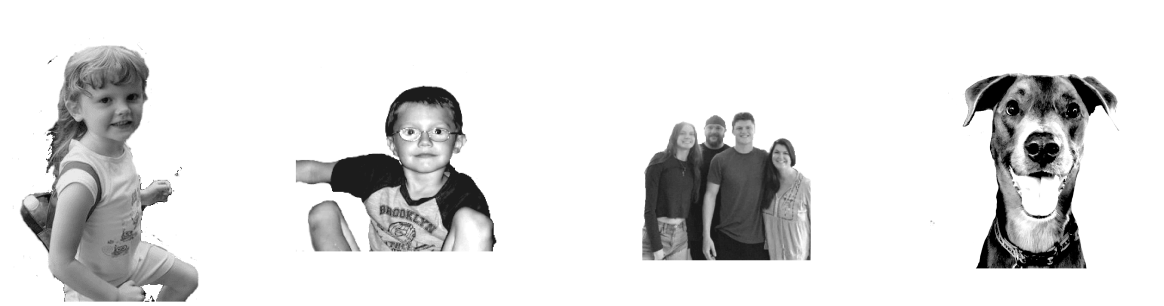
I used GIMP to manipulate the color of the images. After turning them to grayscale, I messed with the exposure, highlights, contrast, shadows and other similar features that produced the best contrast between light and dark areas and defined small details the best for the glowforge.
CAD SKETCHES:

Pictured: Arms with circles – meant for engraving smaller outer pictures, Long arm – to connect the arm with the circle to the main hex on the right side, Center hex – the main image, all arms will attach to corners of this.
MATERIAL TESTS:
These are just some of many tests, picturing mainly the early stages (the late stages all look nearly identical, it was just very minor tweaks on them, and I was unable to get a picture of these in the lab the last time)
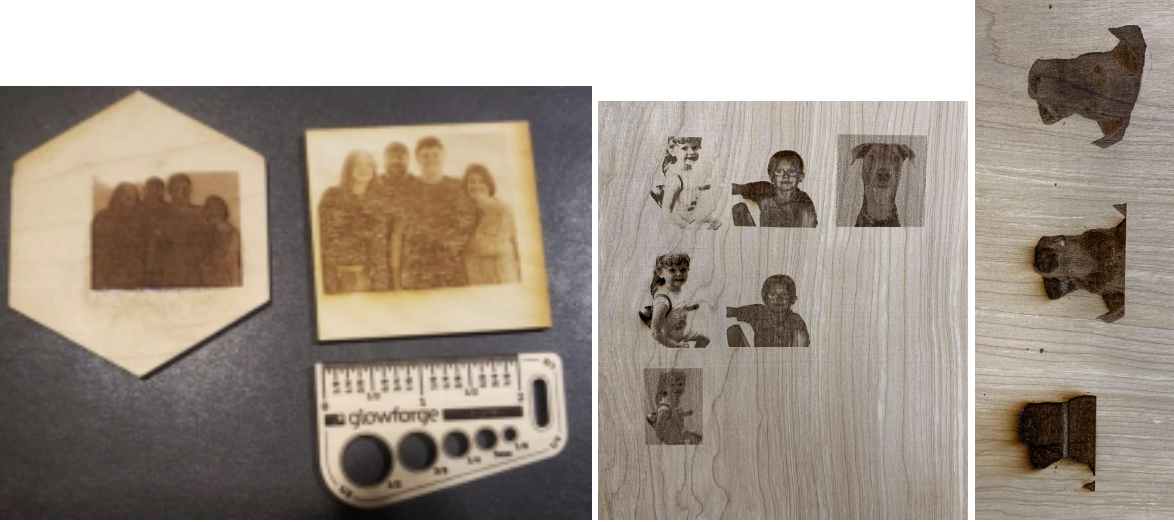
Final Product:
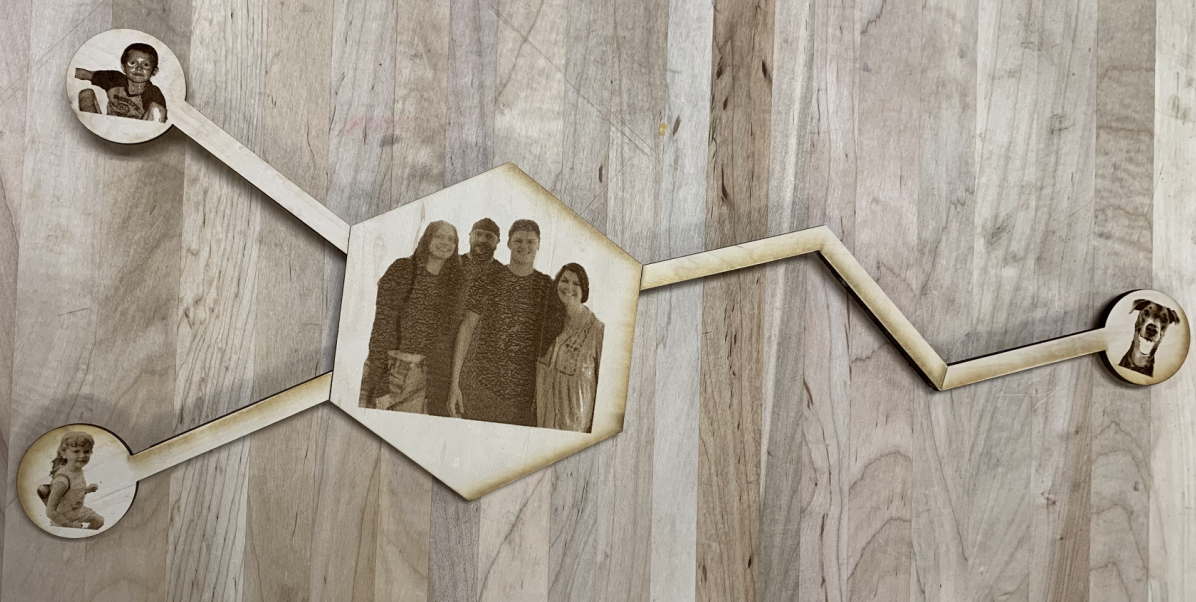
FRONT – all parts attached
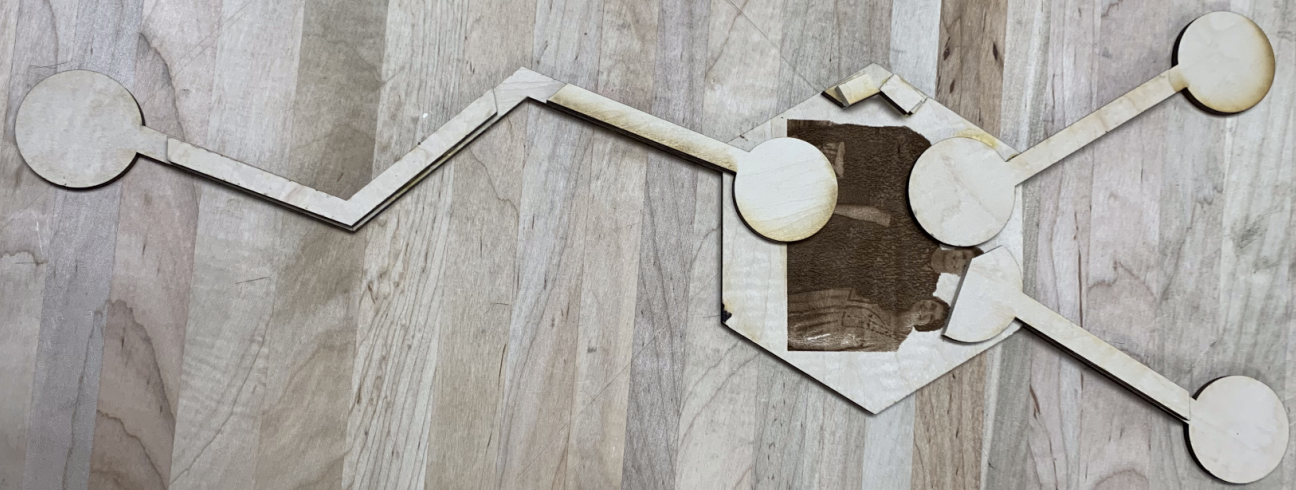
BACK – supporting pieces and hook
Project Description / Intent:
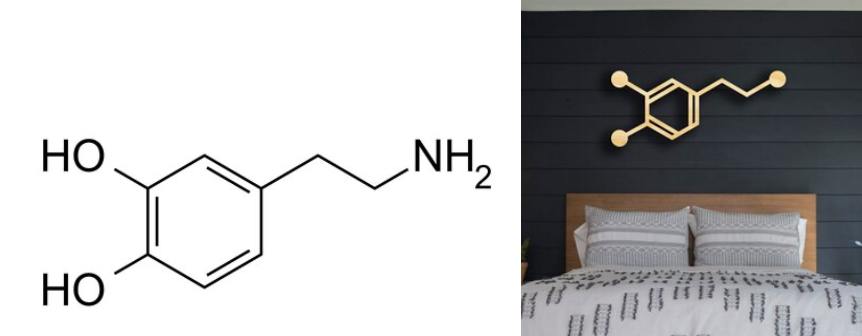
The Dopamine chemical structure and project inspiration
I wanted to use this class as an opportunity to make a gift for a loved one, so I decided to build a Mother’s Day gift for my mom. My project is in the form of dopamine, the chemical that makes us happy. In it, at the end of each branch of the chemical, I have engraved images of our entire family and my mom’s 3 kids, me, my sister, and our dog Fog. The structure can be placed on a desk or hung on a wall, thanks to the nail hook attached to the back top of the center hexagon.
Process / Tools Used:
This process was longer and had many tedious aspects that I did not expect. I first started by drawing up my plans in Autodesk Fusion, and trying to figure out measurements that would keep the structure balanced, sturdy, and light enough to hang on a wall. I also had to determine how I would connect the edges of the structure, and find the best angles/flush edges.
Next, I used photoshop to erase the backgrounds of images, which was very tedious as the magic eraser was very inaccurate, so I had to go through pixel by pixel on most parts of pictures to erase the background along the border. After that, there was a heavy testing phase that alternated between putting the pictures in gimp and printing them in the glowforge (this was annoying because the glowforge doesn’t support the file types of Fusion or Gimp so I had to slowly convert files online every time for a new test). I had to try to remove shadows and bring out details through highlights and contrast and also experimented with different numbers of passes, different power amounts, and varying pattern densities. After many classes of going back and forth between the glowforge and gimp, I was able to put the pictures in a form I was happy enough to print onto my final project.
Next, I did many cut tests. The glowforge camera was not as accurate as I thought when trying to determine sizes, so it took a while for me to learn its calibration and print different parts that were the same size. I started by cutting out all arms and the center and then engraved the images onto them. The glowforge left some darker burn marks around the edges which I sanded down to make them look less defined. After this, I had to put the project altogether.
It turns out the angles between the arms and center hex did not match up well and were not strong, so I used the sanding machine to make the edges flat and attach them to the sides of the hex, which actually looked aesthetically more pleasing. After this, I trimmed down some of the testing cuts for the arms with the bandsaw so they would all fit, and used wood glue to attach the arms to these parts. This created a hidden, yet sturdy base with lots of surface area for wood glue to attach everything to. In the end, I also used small pieces of wood to build up a nail hook to rst the project on.
Overall, while harder than expected, this project improved my skills in CAD design, photoshop, and gave me a great understanding of how the Glowforge works. I am happy with the final product.