Students:
George Baughan ’22. Erik Peters ’22 Carter Zavitz ’22


Description of Project and Intent:
We started with the intent to make a useful project that would benefit the campus community in some way. After searching through several DIY forums we landed on an engraved charging box that our team could use to charge their devices between practices. We outfitted the box with three iPhone chargers – with the option to add more and different types of chargers if needed – and engraved the front with Princeton Lacrosse imagery to make it match with the rest of the locker room. Our reasoning for choosing this specific project was that we thought we could create a charging box at a very minimal cost. We ended up only spending money on the chargers and outlet adapter as we used wood, wood glue, sandpaper, etc. from the EPICS lab. The final cost of our project ended up being approximately $30. This project proved to have the perfect mix of challenges, use-cases, and personal customization and we noticed people using the box to charge their phones almost as soon as we placed it in the locker room. Below is a photo log of our progress from start to finish.
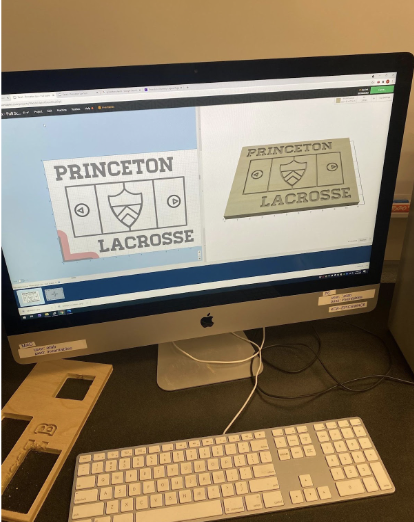
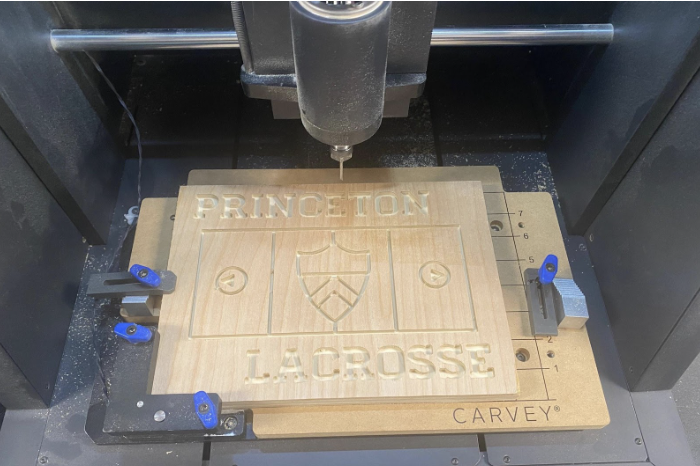
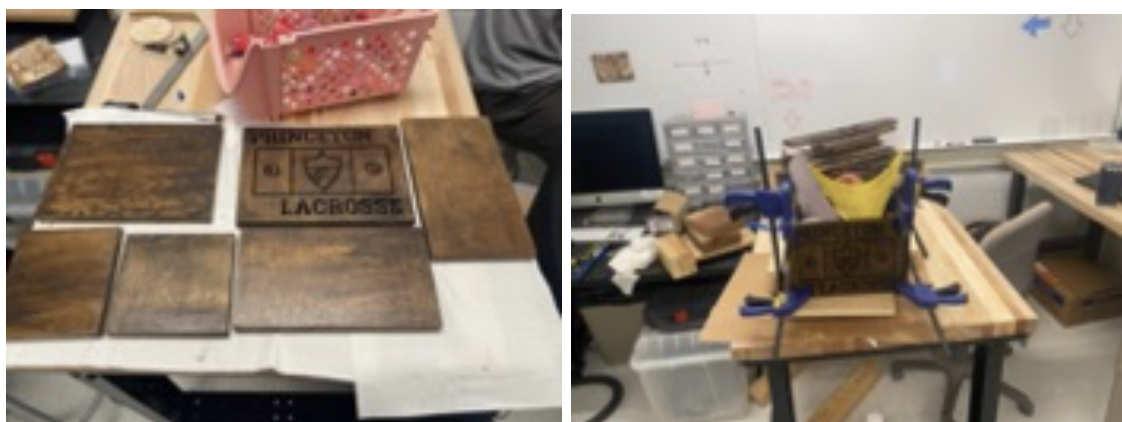
Construction Phase: (Images from left to right: a sketch of our design in easel, X-carve machine prototype, X-carve machine final, box before staining and gluing, box after staining, box at the wood glue and clamping stage)
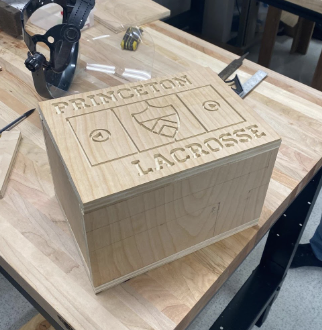
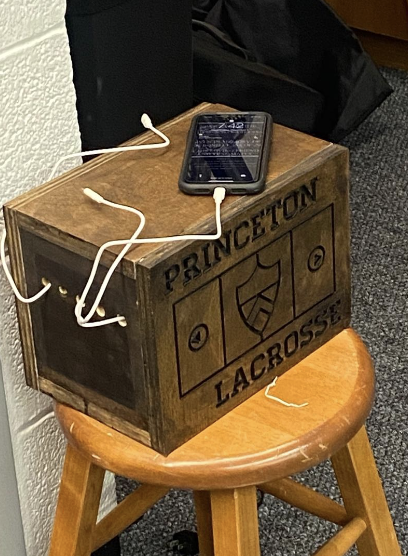
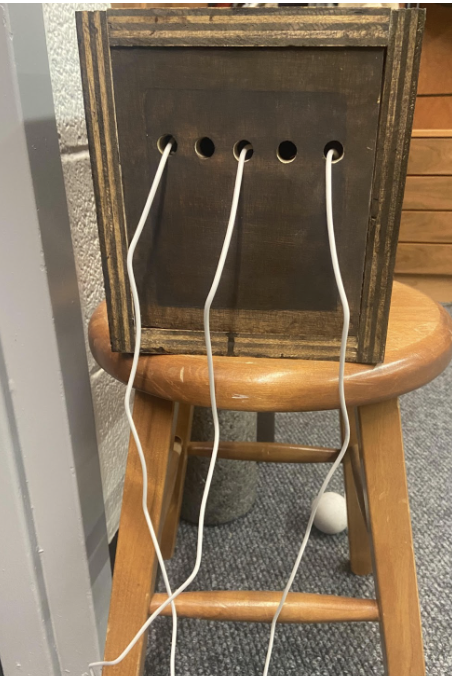
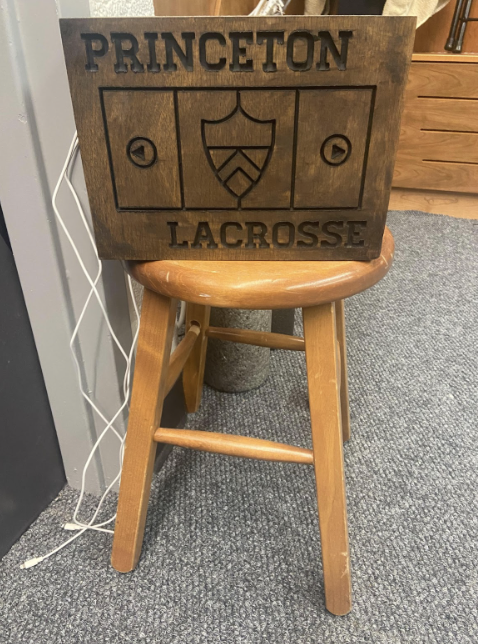
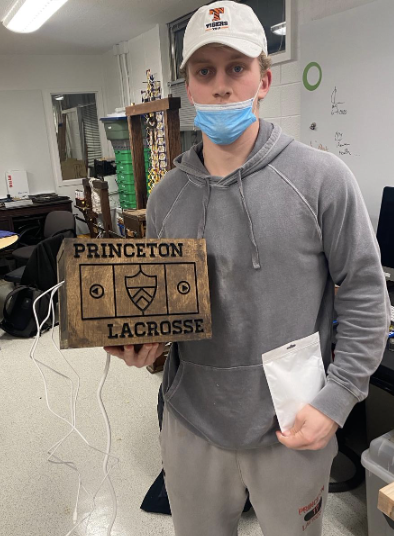
Completed Product: (Images from left to right: phone being charged in our locker room, angle of the charging holes, front view of box in locker room, box just after wood gluing stage)
Description Process and Responsibilities:
The charging box was successfully completed during the last class on November 30th. In terms of our process, we started with the Easel computer application in order to design the front of the box. George took charge of using the Easel software to sketch our design on the computer. Carter and Erik tested different types of wood, bit sizes, and board dimensions, and we were able to carve our design that featured “Princeton Lacrosse ” with a model of our field. Following that stage, the group moved into thinking about how to construct the box itself. To do so, Erik measured out the dimensions we needed and sketched the desired cuts on each piece of wood. George and Carter used the saw to cut the other five pieces of the box while also being sure to cut holes in for the power strip cable and the chargers themselves using the drill press. This took a few trials but we were able to get the pieces we wanted. Next, we used an espresso stain for the wood to achieve our aesthetic both in terms of the wood stain and to fill the “Princeton Lacrosse” carve. Carter took the lead in making sure stain applications were even and consistent. Lastly, we used wood glue to construct the box and used clamps to hold it in place over the course of a day. All three of us contributed equally in the wood gluing and clamping stage.
We placed the charging box in our locker room following its completion and it has received a ton of recognition and use over the past few days. We are pleased not only with the design and outcome of the construction but also that it has a significant use case and can be passed down well beyond our years.
Description of Tools Used:
- Easel: this software allowed us to sketch our design on the computer. We decided to sketch out the words: “Princeton Lacrosse” and use the background of our field at 1952 Stadium as the background.
- Carvey: this machine allowed us to upload our sketch design and then carve it into a piece of wood that would be used as the front piece of our project.
- Drill Press: this machine allowed us to cut out 5 small holes in the side of our box as well as a larger in a hole in the back of the box for the outlet.
- Wood stain: espresso color wood stain was used to stain the box.
- Gorilla glue: this wood glue was used to piece our project together.
- Wood clamps: we used wood clamps to hold all 6 pieces of wood together once we applied the wood glue.
- Sandpaper: we used sandpaper to sand down the edges of the wood that would be glued together.
Team Responsibilities
The completion of this project was very much a team effort and all individuals of the group contributed evenly across a variety of tasks. Because we all wanted to learn how to use the different tools and construction processes, we often took turns on different cuts, glues, etc. While it may not have been the most efficient way of dividing tasks, it was definitely the most rewarding. Our entire group would agree that a balanced, well-rounded divvying up of responsibility was crucial to not only this project, but to our development.